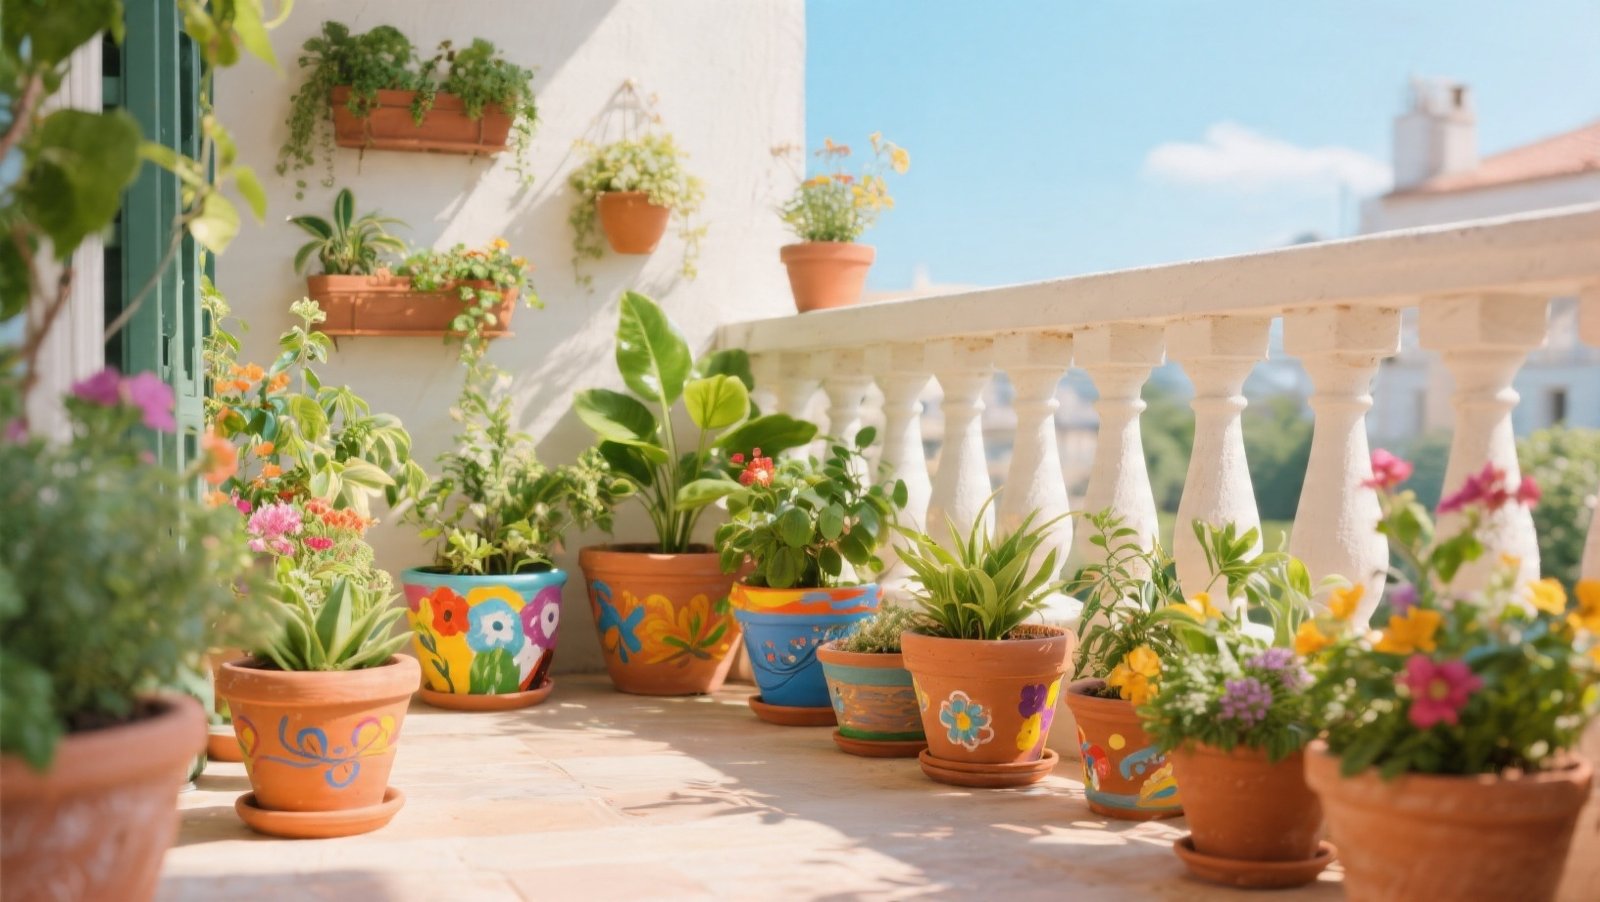
Living in a rental doesn’t mean your outdoor spaces have to be bland. A balcony, a small patio, or even a window ledge can become a vibrant extension of your home with a little creativity.
Customizing your flower pots is one of the most impactful, yet completely renter-friendly, ways to inject personality and style into these areas. Forget generic terracotta; let’s talk about making your planters truly yours.
The beauty of flower pot painting for renters lies in its flexibility. These projects are affordable, don’t require permanent alterations, and can often be easily reversed or updated if your tastes change or you move.
We’ll explore 13 practical, visually appealing ideas that focus on curb appeal, texture, and smart plant styling, turning everyday pots into garden showpieces.

Laying the Groundwork: Clean and Prime for Success
Before any brush touches the pot, good preparation is key. This step ensures your paint adheres well and lasts longer, which is especially important for items exposed to the elements. Start by giving your pots a thorough cleaning.
Use a stiff brush and soapy water to scrub away dirt, old soil, and any mineral deposits. Rinse them completely and allow them to dry fully, ideally in the sun, for at least 24 hours.
Once clean and dry, priming is crucial, particularly for porous terracotta. A good quality exterior primer creates an even, non-porous surface that helps the paint stick better and prevents the pot from absorbing too much moisture, which can cause paint to peel.
Choose an all-purpose primer suitable for outdoor use. Apply one to two thin coats, letting each dry completely according to the manufacturer’s instructions before moving on to your colors.
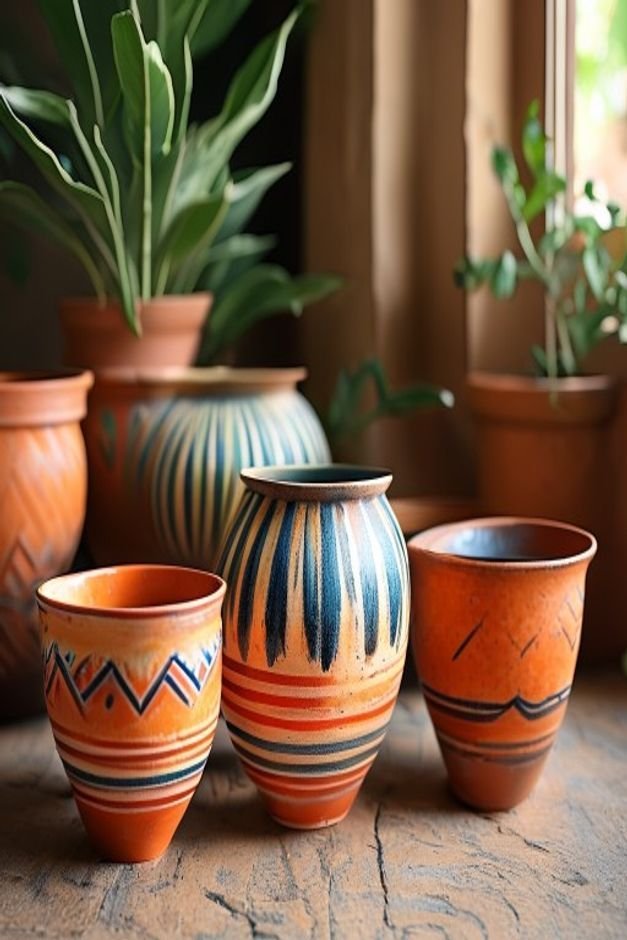
Striking Stripes and Sharp Geometric Shapes
Few things create instant curb appeal like clean lines and bold patterns. Masking tape is your best friend here. For crisp horizontal stripes, wrap tape evenly around the pot, creating bands where you want the original pot color or a base coat to show through.
Paint over the exposed areas, let dry, and peel the tape for a perfectly defined stripe.
Vertical stripes offer a different dynamic. Apply tape vertically from rim to base, ensuring even spacing. This technique works wonderfully for creating a sense of height. Beyond simple stripes, use masking tape to block off geometric shapes like triangles, squares, or even chevrons.
Paint the blocked-off sections in contrasting colors for a modern, architectural look. The key is pressing the tape down firmly to prevent paint bleed.

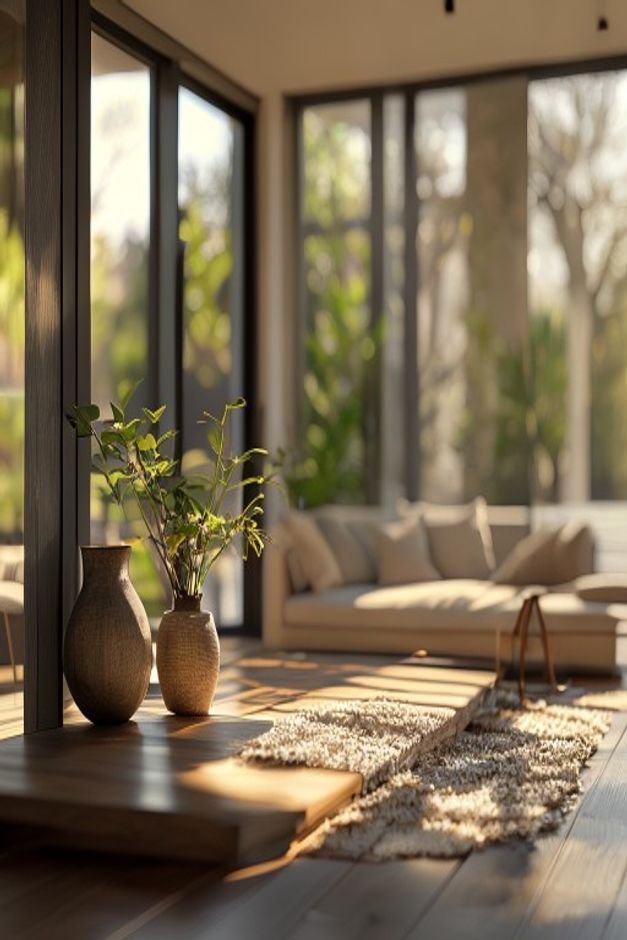
Rustic Charm with Washes and Dry Brushing
If you prefer a softer, more organic aesthetic, consider washes and dry brushing. To achieve a rustic, aged terracotta look, start with a light base color, perhaps a cream or a muted grey.
Once dry, dip a stiff, dry brush into a darker contrasting paint (like a warm brown or a darker terracotta shade) and wipe off almost all the paint until very little remains.
Lightly drag the brush across the pot’s surface, allowing the bristles to catch only the raised textures. This creates a weathered, sun-kissed effect.
Color washing offers a translucent, layered look. Mix a small amount of acrylic paint with water to create a thin, watery consistency. Apply this wash over a base color, letting it run and pool slightly.
The base color will show through, creating a subtle, nuanced finish. Experiment with shades like soft blues over cream, or gentle greens over a pale yellow for a calming, natural vibe.
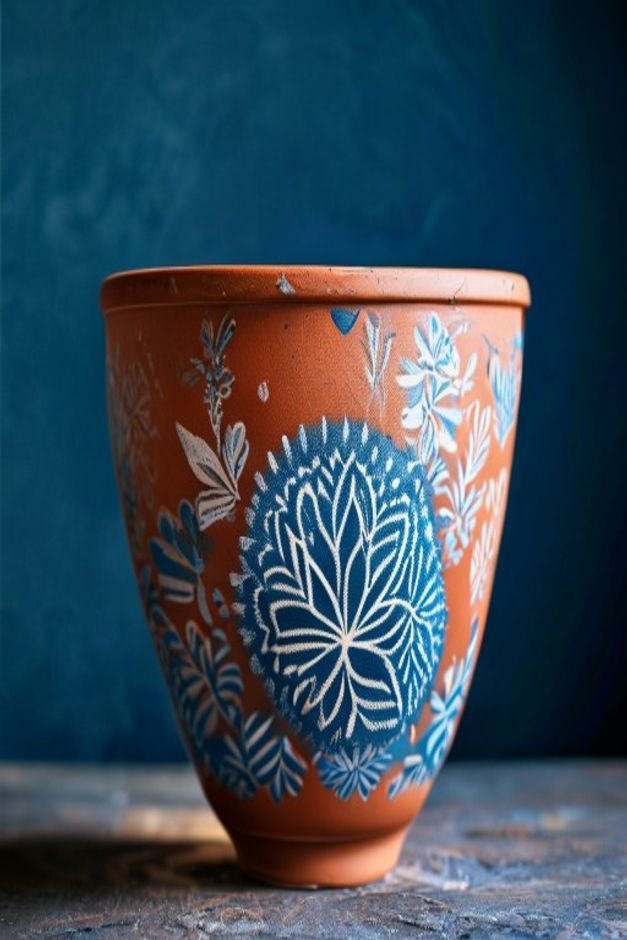
Pattern Play: Stencils and Hand-Painted Details
For those who love intricate designs but aren’t confident in freehand drawing, stencils are a game-changer. There’s a vast array of stencil designs available, from floral motifs to geometric patterns. Secure your stencil to the pot using painter’s tape or a temporary adhesive spray.
Apply paint with a sponge or a stencil brush, dabbing rather than brushing to prevent paint from seeping under the edges. Peel off the stencil carefully for a clean, repeatable pattern.
If you enjoy a more meditative approach, hand-painted details can be incredibly rewarding. Consider dot painting, where you use the blunt end of a paintbrush, a toothpick, or even a specialized dotting tool to create intricate patterns of varying dot sizes.
Mandala-inspired designs or simple rows of dots around the rim can add a handcrafted, artistic touch. This is a wonderfully relaxing way to personalize your pots, making each one truly unique.
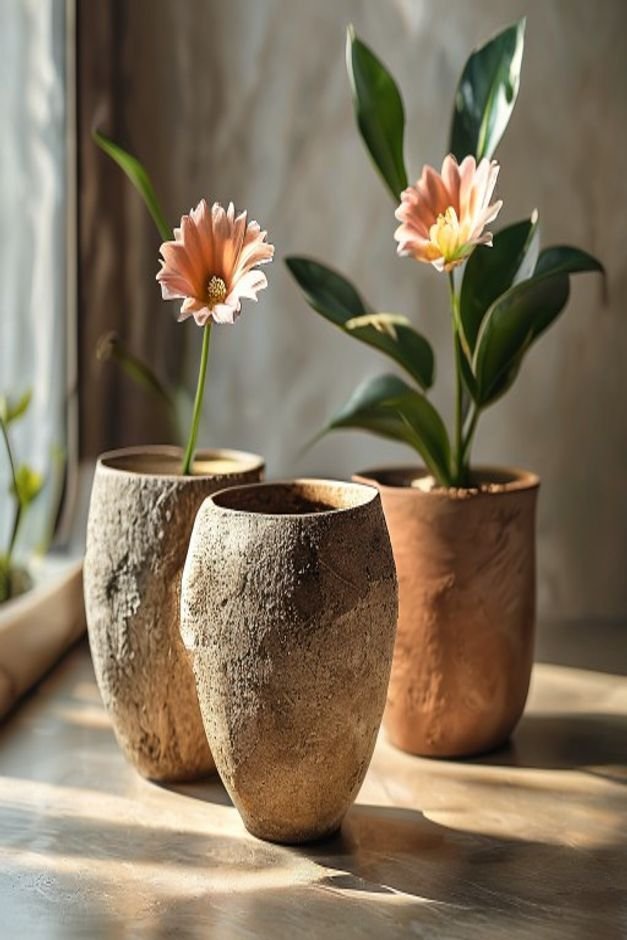
Adding Depth with Textured Finishes
Beyond color, texture adds another dimension to your flower pot painting projects. For an earthy, natural feel, mix fine sand or grit into your paint before applying. This creates a subtle, tactile surface that looks fantastic on larger pots, giving them a more substantial presence.
You can also purchase textured paints designed to mimic stone or concrete, which are excellent for creating a sophisticated, modern aesthetic without the weight of real stone.
Another option is using modeling paste or a thick acrylic medium to create raised designs. Apply the paste with a palette knife or even a stiff brush to create swirls, patterns, or even a faux relief carving.
Once dry, you can paint over these textured areas, allowing the raised elements to catch the light and add dramatic shadows. This technique is perfect for creating bespoke, high-end looking planters.
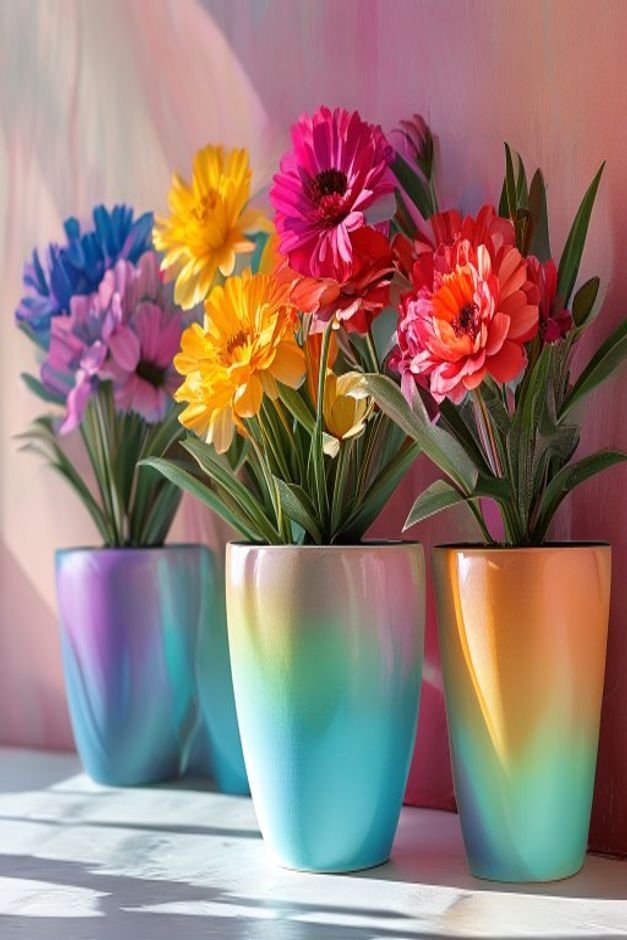
Modern Color Schemes: Ombre and Blocking
Embrace contemporary aesthetics with ombre blends and bold color blocking. An ombre effect involves a smooth transition from one color to another, or from a dark shade to a lighter one.
Start with your darkest color at the base of the pot, and as you move upwards, gradually mix in lighter shades of the same color or a complementary hue.
Blend the colors while they are still wet for a seamless gradient, using a clean brush or sponge to smooth the transitions.
Color blocking, on the other hand, uses distinct, well-defined sections of different colors. This technique creates a clean, graphic impact. Use masking tape to create sharp lines between your chosen colors.
You might paint the top third of a pot in one color, the middle in another, and the bottom in a third, or create vertical blocks of contrasting shades. This approach is striking and adds a playful yet sophisticated element to your outdoor decor.
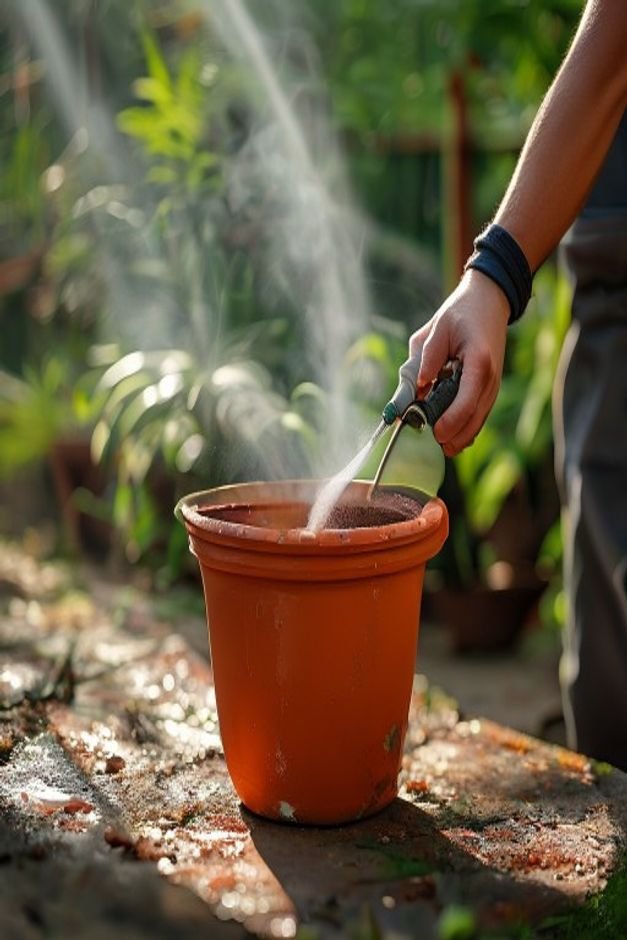
The Final Touch: Sealing Your Artistic Flower Pot Painting
After all your creative efforts, protecting your painted pots is essential, especially for pieces exposed to sun, rain, and frequent watering. A clear, outdoor-grade sealant or varnish is your final, crucial step.
Choose a product that offers UV protection to prevent colors from fading in the sun and is waterproof to protect against moisture damage. Available in matte, satin, or gloss finishes, you can pick one that complements your design.
Apply two to three thin, even coats of sealant, allowing each coat to dry completely before applying the next. Pay extra attention to the rim and base, as these areas are most exposed to wear and tear.
This protective layer will ensure your beautiful flower pot painting projects remain vibrant and durable through seasons of enjoyment, making your rental feel more like a permanent home.
Making Your Outdoor Space Shine
Customizing your outdoor containers with thoughtful flower pot painting techniques is a simple way to make a big statement. These renter-friendly ideas show that you don’t need a sprawling garden or permanent fixtures to cultivate beauty and personal style.
Whether you prefer rustic textures, sharp geometric lines, or intricate hand-painted details, there’s a technique here to inspire your next garden project. Embrace the process, enjoy the transformation, and watch your outdoor living areas blossom with character and charm.