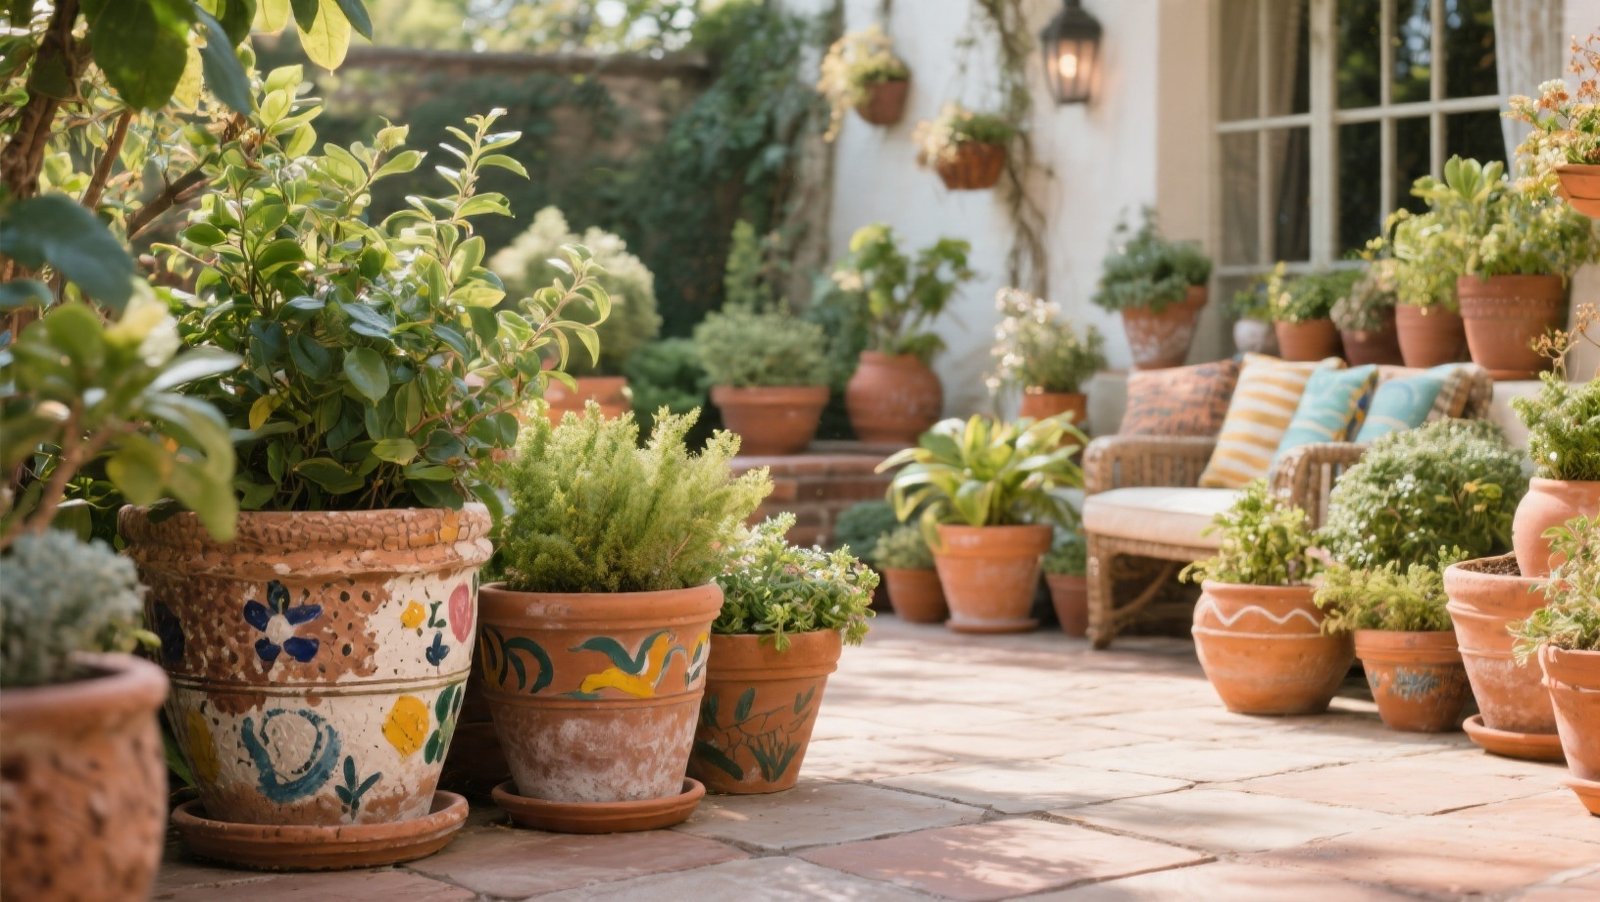
Terracotta pots are garden workhorses. They’re breathable, affordable, and incredibly versatile, forming the backbone of countless plant displays. But let’s be honest: while their rustic charm is undeniable, sometimes a collection of plain terracotta can feel a little unfinished, even a bit mundane.
If you’ve ever looked at your patio and felt like your pots were just… there, you’re not alone. The good news is, giving these classic vessels a more polished, intentional look is simpler than you think. You don’t need a massive budget or artistic talent.
Just a few thoughtful touches can transform basic terracotta pots into curated pieces that truly enhance your outdoor spaces.
This guide shares nine practical, visual upgrades that bring a fresh, finished feel to your terracotta pots. We’ll explore techniques that add texture, color, and a touch of personality, all while keeping your plants happy and your wallet intact.
Get ready to see your garden containers in a whole new light.
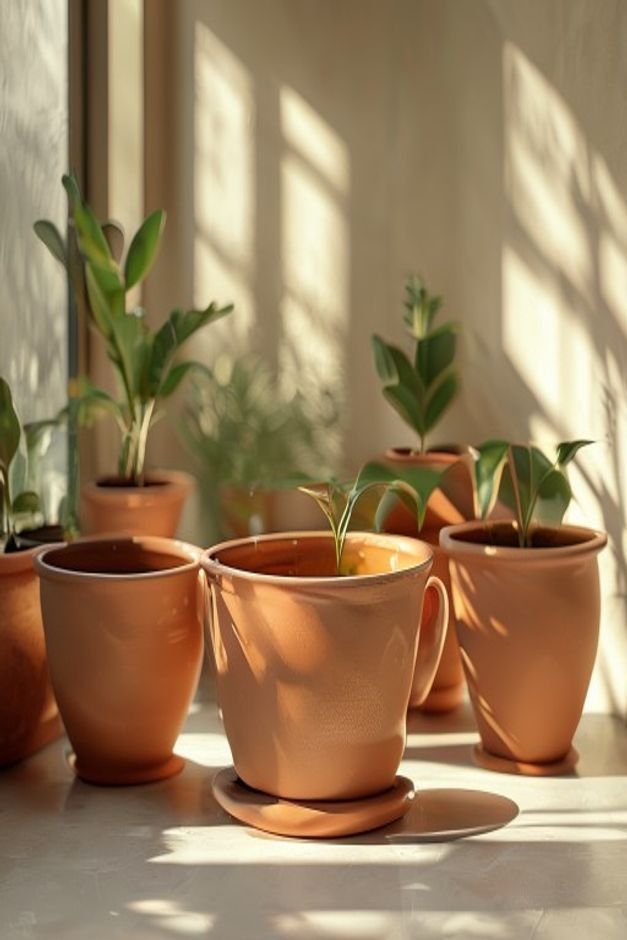
Paint with a Matte Finish
One of the quickest ways to change the entire feel of your terracotta pots is with a coat of paint. But not just any paint. Opt for exterior-grade, water-based paints with a matte or eggshell finish.
These finishes absorb light rather than reflecting it, giving your pots a sophisticated, almost ceramic-like appearance without the high gloss. Colors like deep charcoal, soft sage green, muted blue, or even a warm greige can instantly modernize a space.
Before painting, ensure your pots are clean and dry. A light sanding can help the paint adhere better. Apply two thin coats for even coverage, allowing ample drying time between each.
This simple step creates a uniform backdrop for your plants, letting their foliage and flowers truly pop.
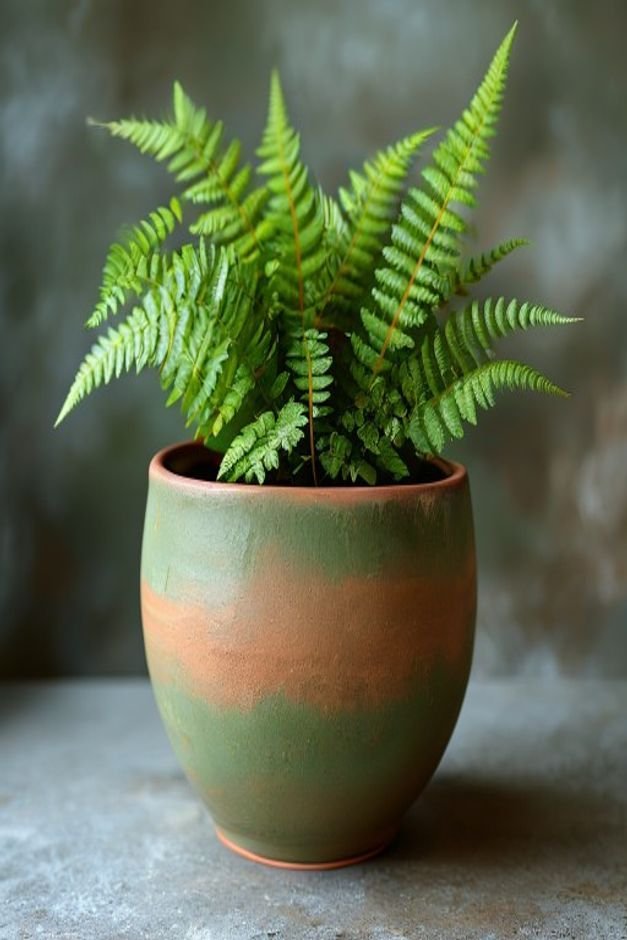
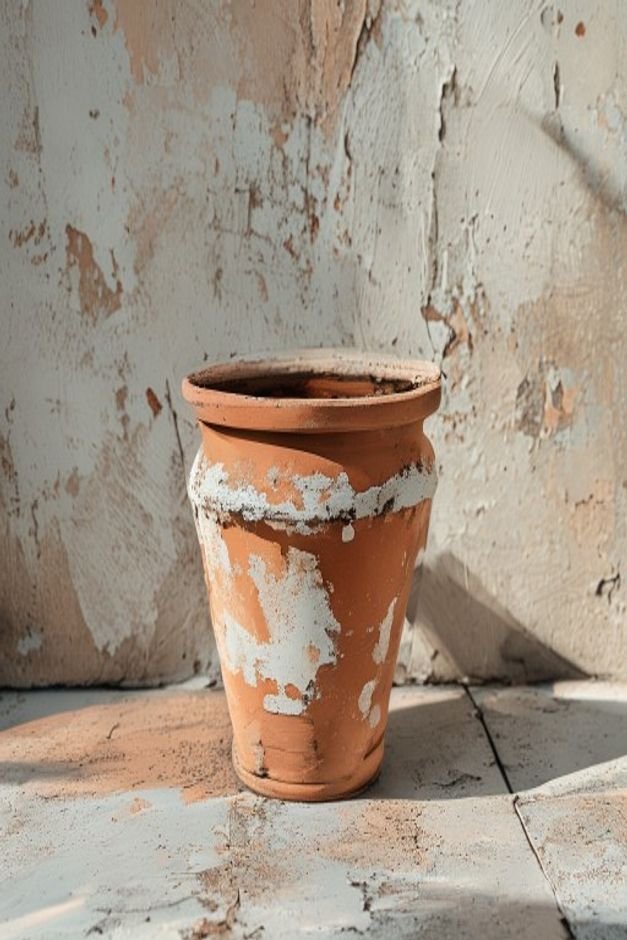
Whitewash or Limewash Effect
For a softer, more rustic-chic look, consider a whitewash or limewash. This technique allows some of the natural terracotta color and texture to peek through, creating a beautiful, weathered patina. It’s perfect for cottage gardens, Mediterranean-inspired patios, or any space seeking a gentle, sun-kissed aesthetic.
To whitewash, simply dilute exterior white latex paint with water, usually a 1:1 or 1:2 paint-to-water ratio. Apply it unevenly with a brush or sponge, then gently wipe away excess with a damp cloth before it fully dries.
For limewash, you’ll use a specialized lime-based paint, which offers a unique, chalky finish that deepens over time. Both methods provide a beautifully aged character that feels instantly timeless.
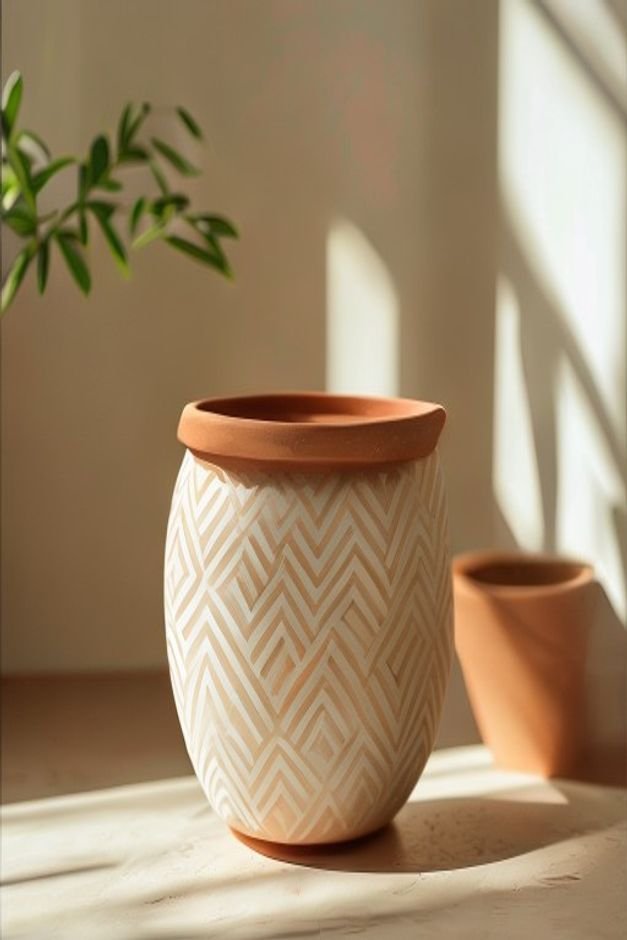
Stenciled Patterns
Adding a stenciled pattern introduces a layer of intricate detail and visual interest without requiring freehand drawing skills. Geometric patterns, simple floral motifs, or even subtle stripes can elevate a plain pot into a custom-designed piece.
Choose exterior-grade stencils and paints that contrast subtly or boldly with your pot’s base color.
Secure your stencil firmly with painter’s tape to prevent bleeding. Apply paint sparingly with a stencil brush or sponge, dabbing rather than brushing, to achieve crisp lines. Remove the stencil carefully while the paint is still slightly wet.
This technique works wonderfully on pots painted a solid color, or even on natural terracotta for a more understated effect.
Distressed or Aged Look
If you love the charm of antique garden elements, you can deliberately create a distressed or aged finish. This involves layering different paint colors and then strategically sanding or scraping them away to reveal underlying tones and the original terracotta.
It mimics years of exposure to the elements, giving new pots instant history.
Start with a base coat, perhaps a dark gray or brown, let it dry, then apply a lighter color like cream or pale green.
Once dry, use fine-grit sandpaper, steel wool, or even a stiff brush to gently rub away paint in areas where natural wear would occur—rims, edges, and raised details. The goal is an organic, imperfect finish that feels authentically old.
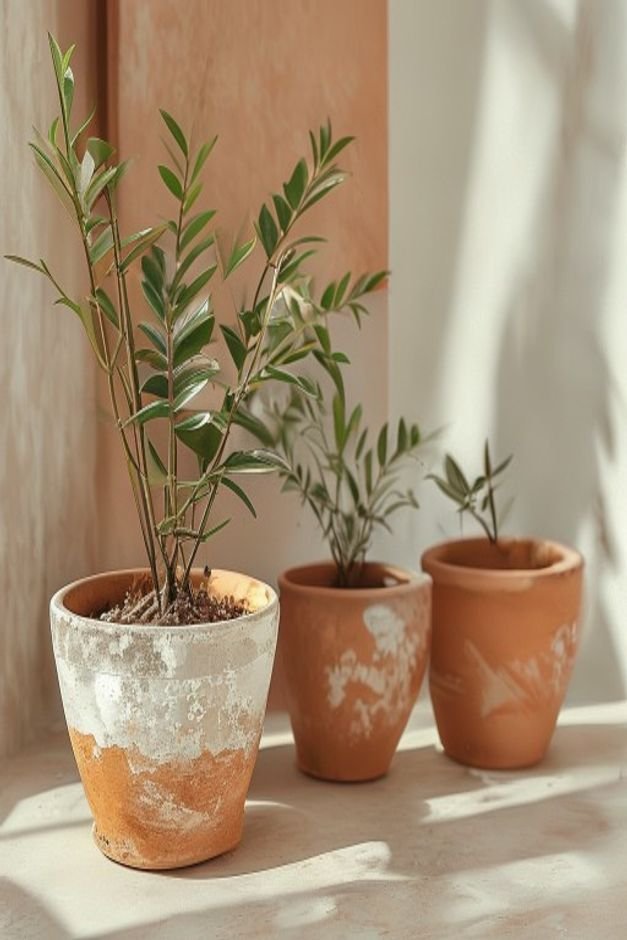
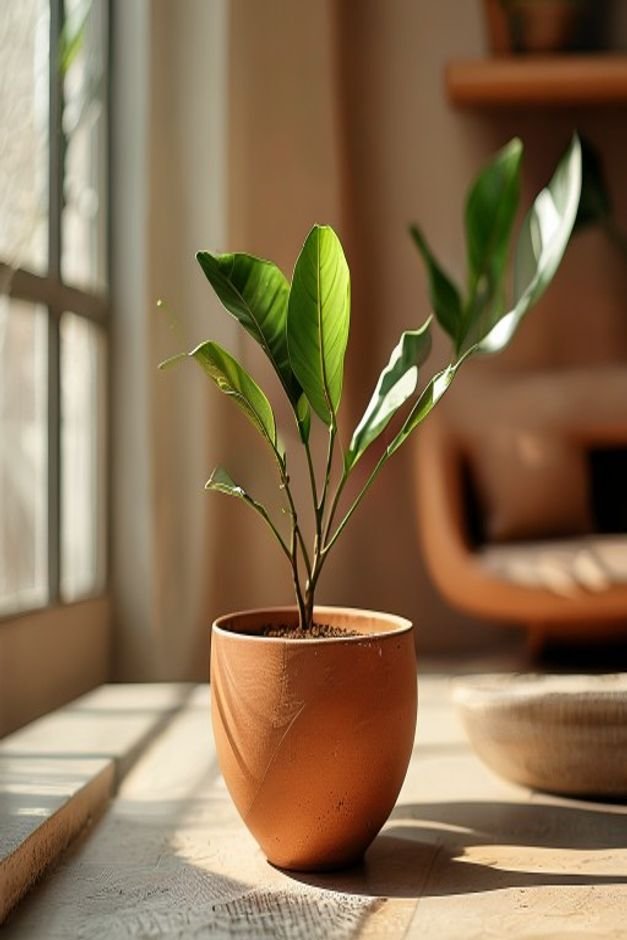
Sealing and Glazing Terracotta Pots
While terracotta’s porosity is great for plant health, it also means pots can look dull or absorb stains over time. Sealing your pots can give them a more finished, intentional appearance while also making them easier to clean and slightly reducing water evaporation.
A clear, matte or satin sealer designed for masonry or outdoor use is ideal.
Apply the sealer evenly with a brush or roller after your pot is clean and dry. Some sealers will slightly deepen the natural terracotta color, giving it a richer tone. For a subtle sheen that mimics glazed pottery, look for a clear, outdoor-friendly glaze.
This step protects your pots and provides a refined, polished finish that makes them feel more permanent and considered in your garden design.
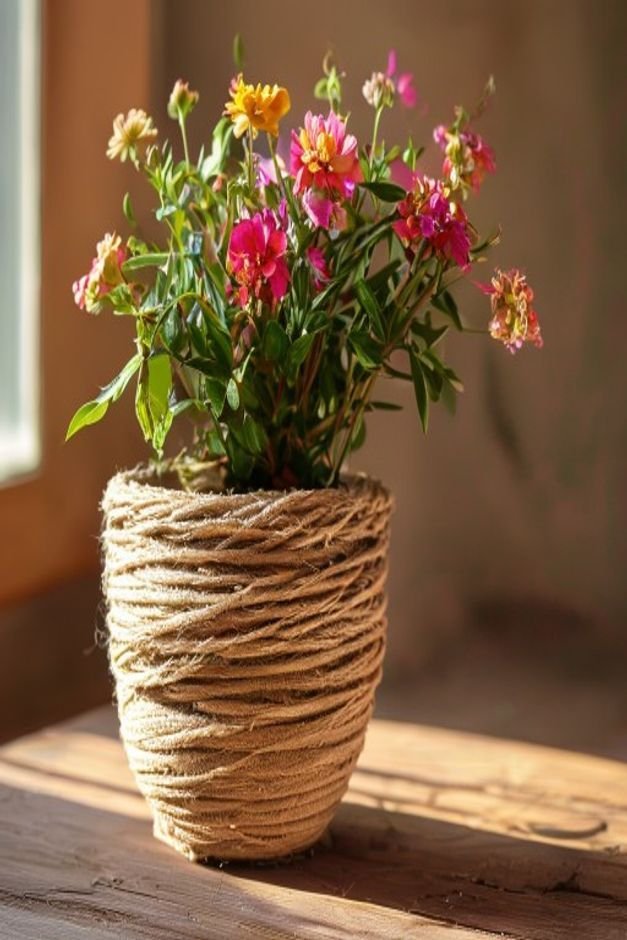
Adding Textured Wraps
Introduce tactile texture and a touch of organic warmth by wrapping your terracotta pots with natural materials. Jute twine, sisal rope, or even strips of burlap can transform a basic pot into something that feels handcrafted and unique.
This method is particularly effective for creating a coastal, bohemian, or rustic garden vibe.
Start by securing one end of your chosen material with strong, outdoor-grade adhesive at the base of the pot. Carefully wrap the material tightly and evenly around the pot, applying adhesive periodically to keep it in place, especially at the top and bottom edges.
You can wrap the entire pot or just a section, creating bands of texture. This adds a beautiful, grounded element that complements lush greenery.
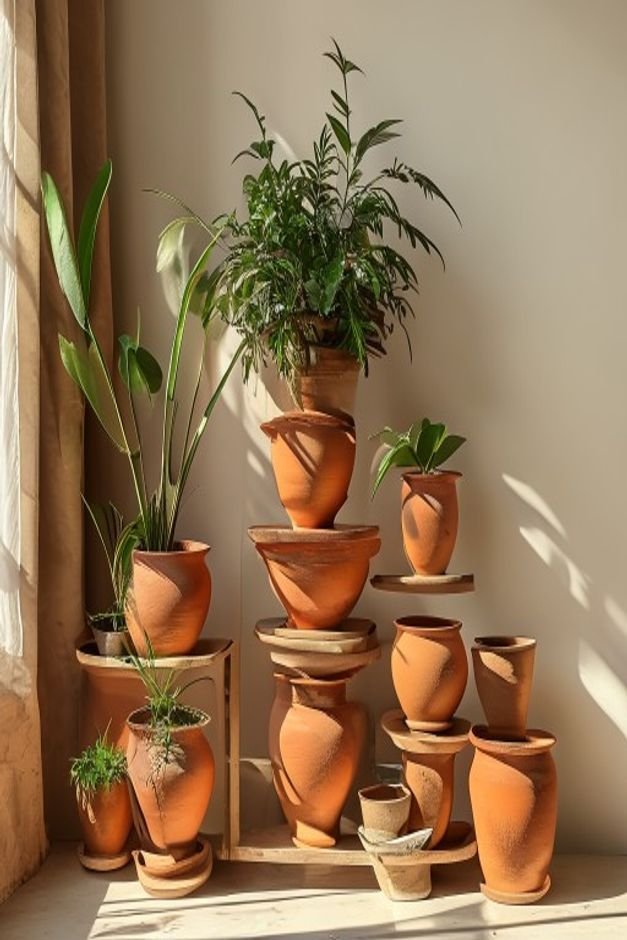
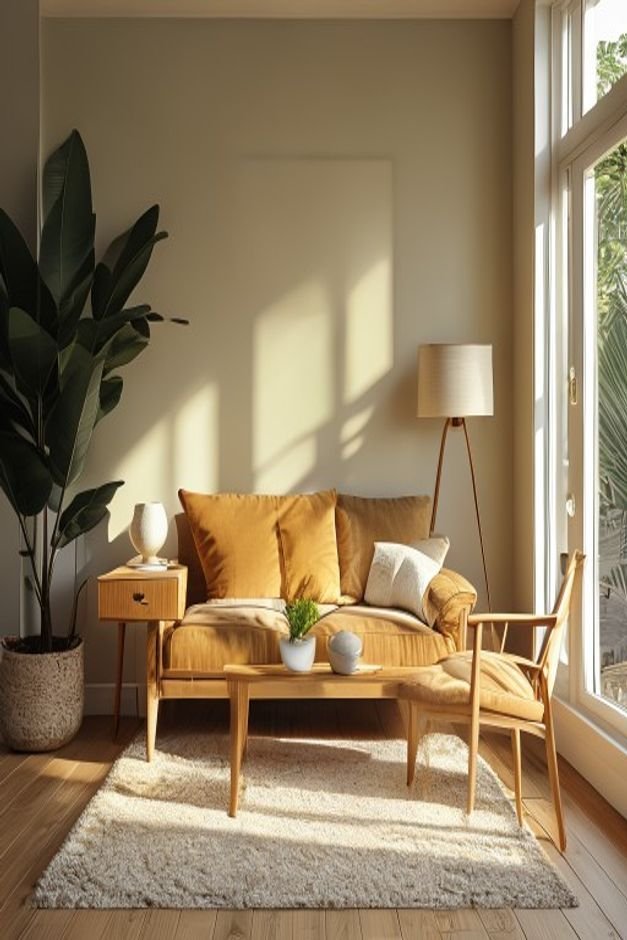
Tiered Displays and Groupings
Sometimes, the upgrade isn’t about changing the pot itself, but how it’s presented. Creating tiered displays or carefully composed groupings can make even plain terracotta pots look incredibly finished and intentional.
Varying heights and arrangements add dynamic visual interest, making your plant collection feel more cohesive and designed.
Use plant stands, overturned smaller pots, or bricks to create different levels. Arrange pots in odd numbers (three, five, seven) for a more natural, aesthetically pleasing cluster.
Mix pots of different sizes and shapes, but keep a consistent material (like terracotta) or color palette for harmony. This strategy transforms individual pots into a singular, impactful display, boosting curb appeal significantly.
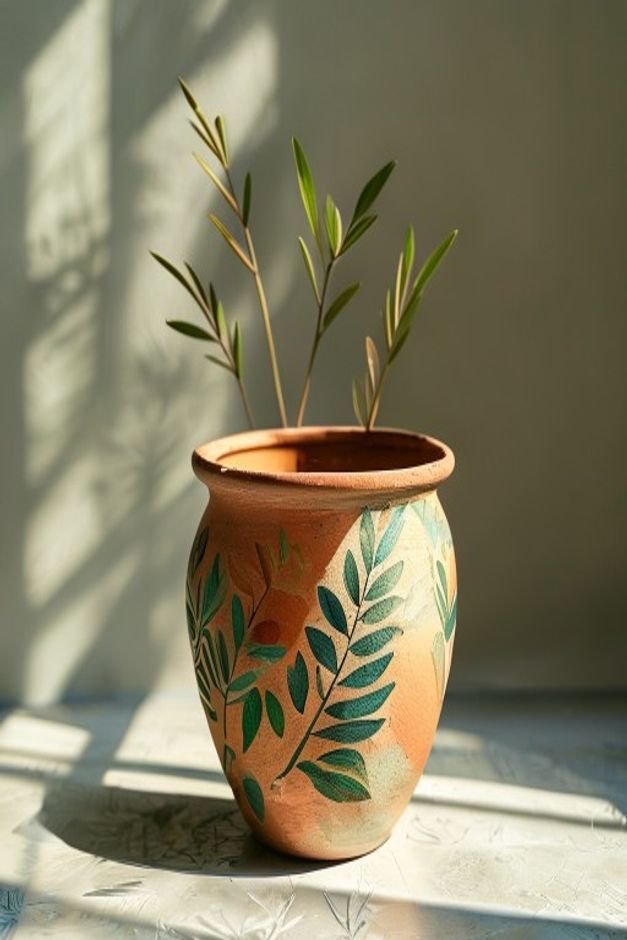
Hand-Painted Designs
For those with a bit more artistic inclination, hand-painted designs offer endless possibilities for personalization. Think beyond simple patterns; consider abstract shapes, botanical illustrations, or even whimsical scenes that reflect your personality or garden theme. This truly makes each pot a unique piece of art.
Use exterior acrylic paints or specialized ceramic paints for durability. Sketch your design lightly with a pencil first, then fill in with paint. Don’t worry about perfection; often, the slight imperfections of a hand-painted item add to its charm.
A clear outdoor sealant applied afterwards will protect your artwork from the elements, ensuring your creative touch lasts.
Bold Color Blocking
Color blocking is a modern, graphic way to update your terracotta pots. Instead of painting the entire pot one color, divide it into distinct sections and paint each a different, complementary, or contrasting shade.
This technique creates a contemporary look that feels fresh and sophisticated, perfect for minimalist or modern outdoor spaces.
Use painter’s tape to create crisp lines between your chosen sections. Think about horizontal bands, vertical stripes, or even geometric divisions. Choose colors that work well together or with your existing outdoor decor.
For instance, a pot with a natural terracotta base, a bold black band, and a cream top section offers a striking visual. This method allows you to play with color and form in a very deliberate way.
Finishing Your Terracotta Pot Collection
From a simple coat of matte paint to intricate hand-painted designs, these nine upgrades demonstrate just how much potential lies within your humble terracotta pots.
With a little effort and creativity, you can move beyond basic garden containers and create a cohesive, visually appealing collection that reflects your personal style.
Each finished pot contributes to a more thoughtful and inviting outdoor space, turning everyday planting into an act of intentional design. Your garden is an extension of your home, and these upgraded terracotta pots are the perfect way to make it feel truly complete.