Choosing the Right Foundation for Your Pots
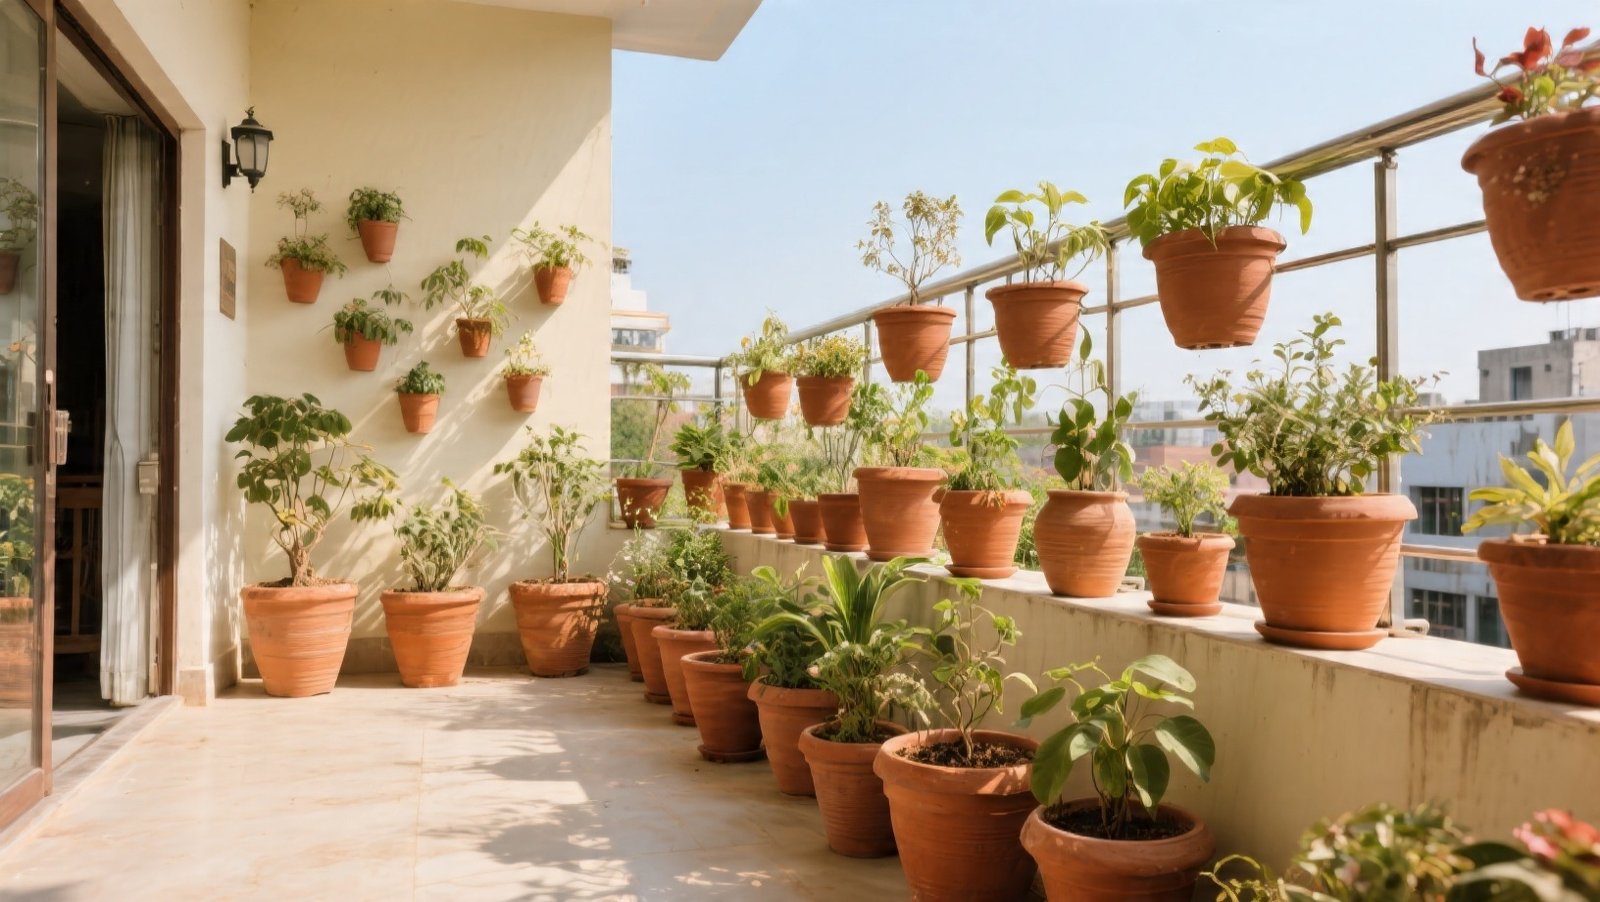
Most gardeners end up with a graveyard of mismatched terracotta and plastic containers hidden behind the lush foliage of their healthier plants. These containers often look weathered in a way that feels neglected rather than intentional.
Using painted flower pots is the fastest way to unify a scattered collection of plants into a curated garden feature.
Before you pick up a brush, you have to consider the material of the pot. Terracotta is porous, which means it breathes, but it also means moisture can push through from the inside and cause paint to bubble or peel.
Sealing the interior with a waterproof masonry sealer is a practical first step that many people skip. Plastic pots require a different approach, usually involving a light sanding to create a “tooth” for the paint to grip.
The goal is to create a finish that stands up to the intense Indian sun and frequent watering. Professional-looking results come from preparation and choosing a style that complements the architecture of your home.
Whether you have a sprawling veranda or a compact apartment balcony, these ideas focus on durability and visual balance.
1. The Velvet Texture of Matte Chalk Finishes
Chalk paint has become a favorite for outdoor styling because it offers a flat, velvety finish that mimics the look of high-end stoneware. Unlike standard latex paint, chalky finishes do not have a plastic-like sheen.
This makes the colors look more grounded and natural in an outdoor setting where bright sunlight can make glossy surfaces look cheap.
When working with chalky painted flower pots, stick to an earthy palette. Muted tones like sage, charcoal, dusty rose, and sand work best. These colors allow the green of the foliage to become the focal point while the pot provides a solid, sophisticated base.
Because this paint is often thick, it hides small cracks or imperfections in older terracotta beautifully.
To ensure the finish lasts, you must apply a matte exterior sealant. This protects the color from UV fading and prevents water from staining the chalky surface. Pair these pots with soft-textured plants like ferns or silver-toned succulents for a soft, cohesive look.
2. Sharp Minimalism with Diagonal Color Blocking
Color blocking is an effective way to make inexpensive plastic or plain ceramic pots look like modern designer pieces. The key to this look is the use of high-quality painter’s tape to create perfectly straight, crisp lines.
A diagonal split is particularly effective because it adds a sense of movement and breaks the roundness of the pot.
A classic combination is a bright white paired with a deep, saturated tone like navy or forest green. By painting only half the pot, you create a visual anchor that feels light and airy.
This technique works exceptionally well on larger pots that might otherwise look too heavy if painted in a single solid dark color.
Apply two thin coats rather than one thick one to avoid paint bleeding under the tape. Once the paint is dry to the touch, pull the tape away at a 45-degree angle for the cleanest edge.
These pots look best in modern, minimalist spaces with architectural plants like Snake Plants or ZZ plants.
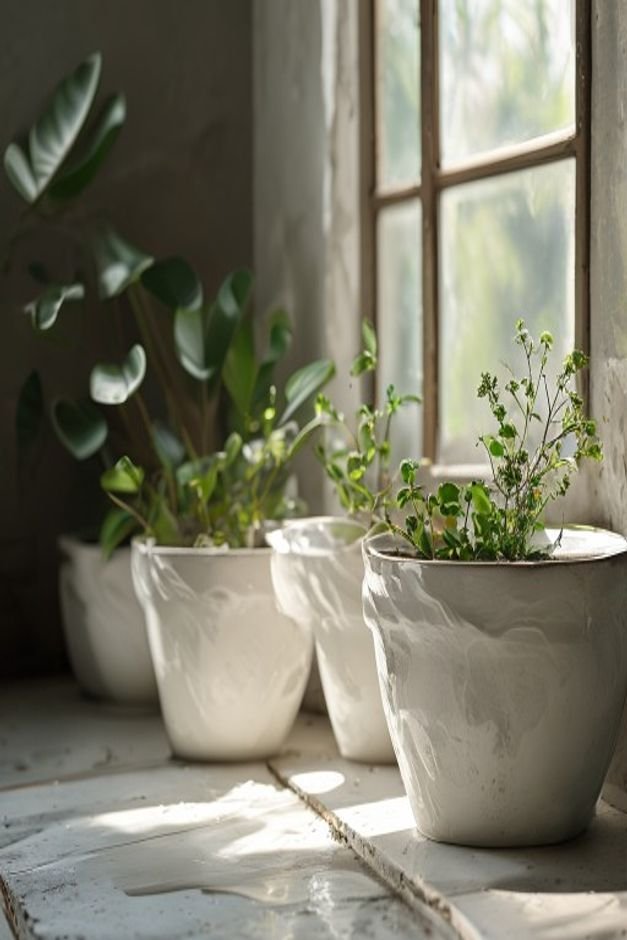
3. The Timeless Appeal of a Distressed Whitewash
If you prefer a garden that feels established and lived-in, a distressed whitewash is a practical choice. This technique involves thinning out white acrylic or lime-based paint with water and applying it loosely over a terracotta pot.
The goal is to let some of the original warm orange tones peek through the white layer.
Whitewashed painted flower pots feel cooler to the touch because the light color reflects heat, which is a significant benefit for plant roots during the peak of summer.
The irregular finish means that as the pot naturally weathers over time, the additional wear only adds to the character rather than looking like a failure of the paint.
You can achieve different levels of distress by using a dry rag to wipe away wet paint from the high points of the pot. This creates a lime-washed effect seen in Mediterranean gardens.
This style is perfect for flowering plants like Bougainvillea or Jasmine, where the white background makes the flower colors pop. 4.
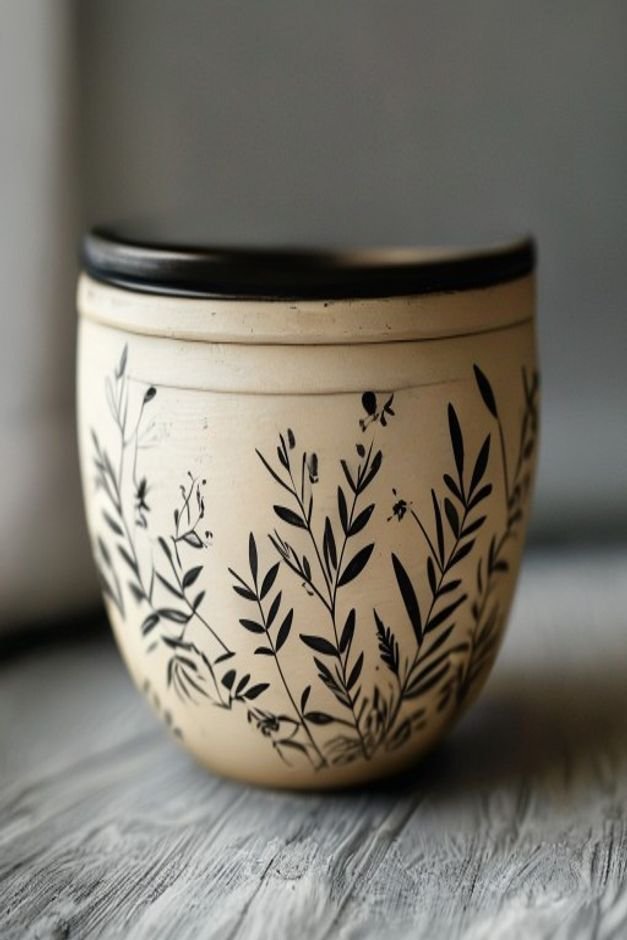
Subtle Details with Botanical Line Art For those who want a more artistic touch without a chaotic pattern, botanical line art offers a refined solution. Start with a solid base coat in a neutral color like cream or light gray.
Once fully dry, use a fine-tipped permanent paint pen or a thin liner brush to draw simple silhouettes of leaves, vines, or abstract shapes. The beauty of this approach is in its restraint.
You don’t need to cover the entire surface; a single trailing vine drawn on one side of the pot is often enough to make it feel custom.
Using black or a deep bronze for the lines creates a high-contrast look that feels like a piece of gallery art. Because these drawings are delicate, they require a clear topcoat to prevent them from scratching off during handling.
These pots are ideal for indoor-outdoor transition spaces, like a shaded patio or a window sill, where people are close enough to appreciate the fine details. 5.
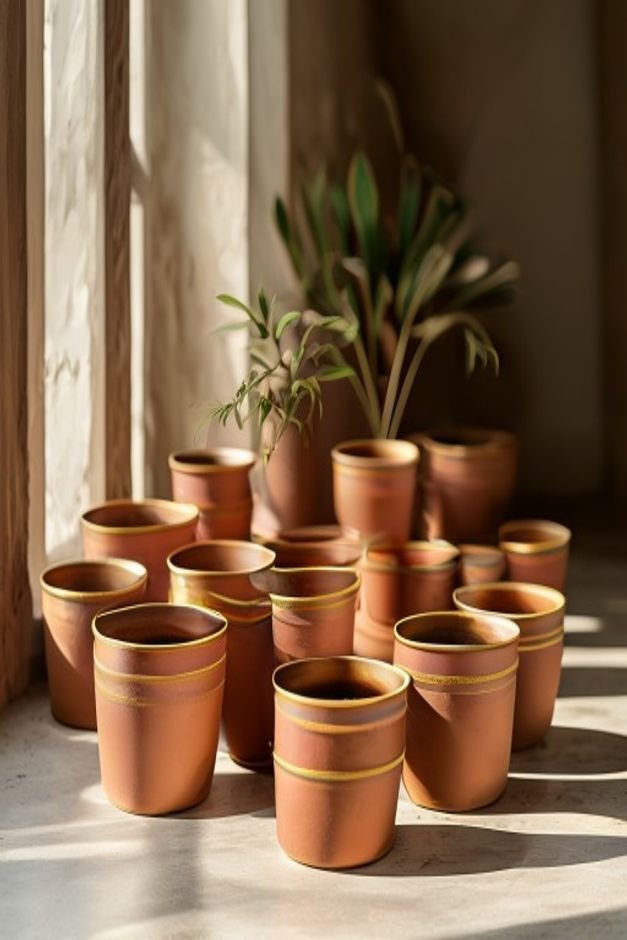
Understated Luxury with Metallic Rims Full metallic pots can often look overwhelming and can get dangerously hot in the sun, which can cook the roots of your plants.
A more practical and stylish way to incorporate shine is by painting only the rim or a thin band near the base. A deep bronze or a muted gold adds a touch of luxury without the maintenance of actual metal containers.
< p>Using metallic painted flower pots as accents within a larger group of matte pots creates a professional, layered look. The metallic paint should be an outdoor-grade enamel to ensure it doesn’t tarnish or flake when exposed to moisture.
A gold rim on a matte black pot is a classic combination that never feels dated.
These pots work well with plants that have darker foliage, such as the Burgundy Rubber Plant or Coleus. The slight shimmer of the rim draws the eye upward toward the plant itself, acting as a frame for the greenery.
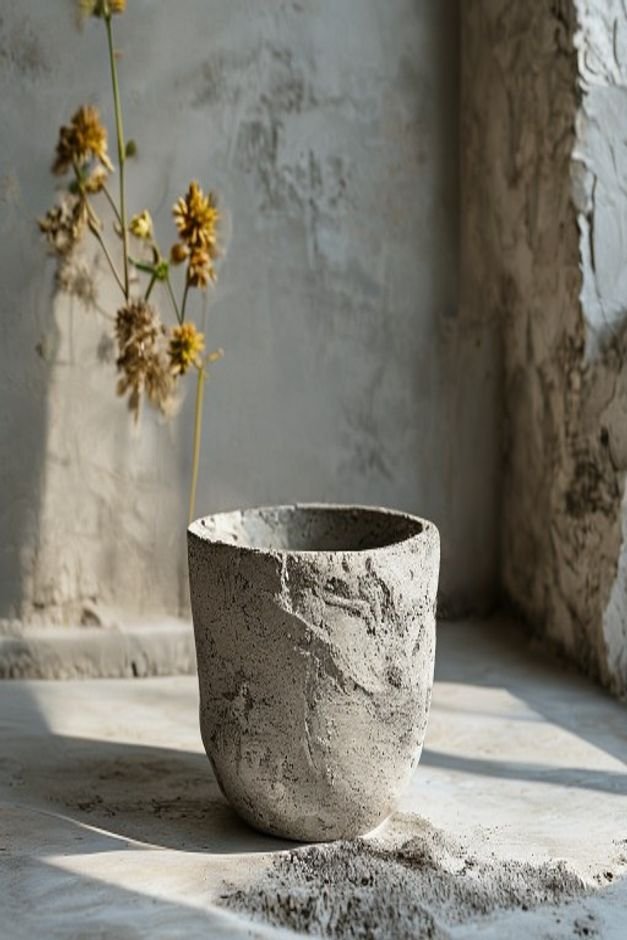
6 . Adding Grit with Sand-Mixed Painted Flower Pots
Texture is a tool that many home gardeners forget to use. By mixing a small amount of fine decorative sand or even baking soda into your paint, you can create a gritty, stone-like finish.
This is an excellent way to disguise pots that have surface scratches, chips, or uneven textures from previous uses.
The resulting finish looks like heavy cast stone or concrete but remains lightweight if you are using plastic or thin ceramic bases. Apply the
mixture with a stippling motion—dabbing the brush rather than stroking it—to build up a realistic, uneven topography on the surface of the pot.
This style is incredibly durable and provides a great grip when moving pots around. Earthy grays and terracotta-clays are the most believable colors for this technique .
Pair these rugged pots with delicate, airy plants like Asparagus Ferns to create a balanced contrast between the heavy-looking base and the light foliage.
7. The Effortless Look of Dipped Bases
The “dipped” effect is a staple of modern lifestyle photography because it feels casual and intentional at the same time.
You don’t actually have to dip the pot into a vat of paint; you can achieve the same look with a brush and a steady hand.
By painting only the bottom third or half of a pot, you celebrate the raw material of the top half.
This works best on new terracotta pots where the top section is clean and even in color. The contrast between the matte, porous clay and a solid, opaque band of white or mint green paint creates a fresh, clean aesthetic.
It is a great way to tie together pots of different shapes while keeping the overall look cohesive.
This design is particularly practical because the painted bottom section is easier to wipe clean of mud and water splashes than raw terracotta. It keeps your shelving or patio looking tidier.
These pots are perfect for a herb garden, where you want a clean and organized look for your kitchen window.
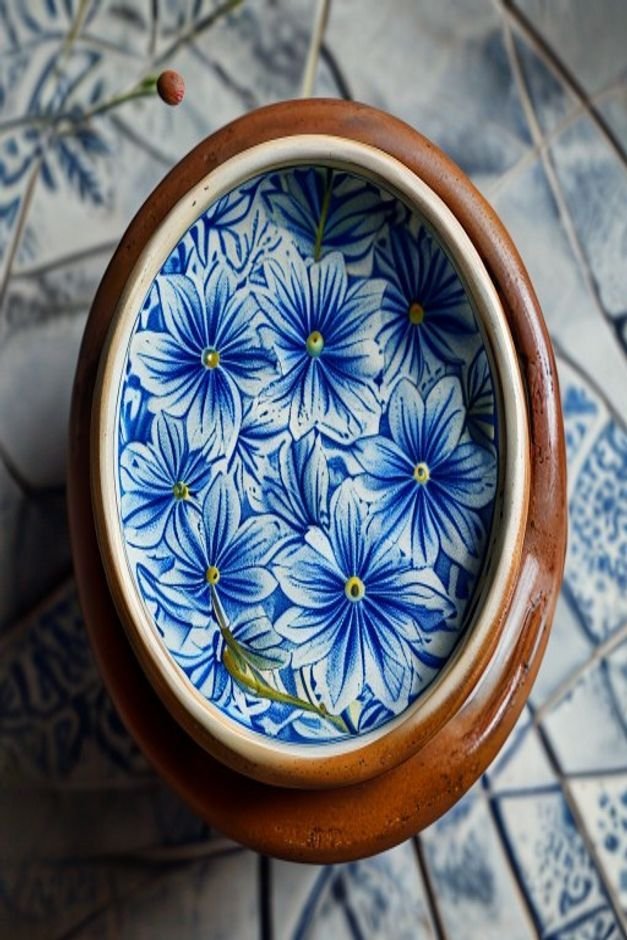
8. Pattern Repetition with Mediterranean Stencils
If you love the look of patterned tiles but don’t want the weight or cost of ceramic tile pots , stenciling is the answer. Using a small, flexible stencil, you can wrap a pattern around the circumference of a pot.
Traditional Mediterranean or Moroccan motifs in cobalt blue and white are evergreen choices that feel both historic and fresh.
The trick to stenciling is using a very “dry” brush. Excess paint on your brush will bleed under the stencil and ruin the sharp edges of the pattern. Use a dapping brush and apply multiple thin layers.
If the pot is tapered, you may need to adjust the stencil as you go to keep the pattern level.
A stenciled pot acts as a statement piece. Place it at the center of a group of plain pots to create a focal point.
These look stunning with silver-leafed plants like Dusty Miller or Blue Star Fern, which complement the cool blue tones of the pattern.
9. S aturated Depth with High-Gloss Enamels
While matte finishes are popular, there is a specific place for high-gloss painted flower pots. In shaded areas or deep verandas where light is limited, a glossy surface can reflect the available light and brighten the space.
A high-gloss finish in a deep, saturated color like forest green, burgundy, or even a classic black can look incredibly sophisticated.
The key to a professional gloss finish is the surface preparation. Every bump and scratch will be magnified by the shine, so the pot must be sanded perfectly smooth first.
Using a spray enamel often yields a smoother finish than a brush, which can leave visible strokes in glossy paint.
These pots feel more formal and structured. They are the perfect choice for flanking a doorway or lining a formal walkway.
Pair them with plants that have glossy leaves, like a Fiddle Leaf Fig or a Peace Lily, to double down on the reflective, healthy-looking sheen.
Building a Cohesive Collection of Painted Flower Pots
The most successful garden displays are not just about individual pots, but how they work together as a group. When you use these ideas, try to stick to a consistent color palette across different techniques.
For example, you might have one stenciled pot, two dipped pots, and three solid matte pots, all using the same shades of cream and sage green.
This repetition of color creates a visual thread that pulls the entire space together. It makes the garden feel like a planned extension of the home rather than an afterthought.
Remember that painted flower pots will require occasional touch-ups, especially around the rims where tools and water cans often make contact. Keeping a small jar of your base colors on hand makes these quick fixes easy.
Ultimately, painting your pots is about more than just aesthetics. It is a way to protect your containers, keep your plants’ roots cooler, and express a personal style that evolves with your garden.
By focusing on quality materials and purposeful designs, you can create a outdoor space that feels finished, thoughtful, and worth saving.