Plain terracotta pots are garden workhorses, but sometimes they lack that spark, that finished touch that ties your outdoor space together. We’ve all seen a beautifully painted flower pot that catches the eye, making its plant feel even more special.
But getting that polished look, something beyond a simple craft project, requires a few smart techniques. It’s about creating pieces that truly enhance your curb appeal and bring a cohesive feel to your patio or balcony.
This guide offers 12 simple, practical ways to make your flower pot painting efforts look more refined and integrated into your home’s aesthetic.

Laying the Foundation for Durable Beauty
Before any brush touches the pot, a solid foundation is key. Think of it like preparing a canvas; the better the prep, the better the final artwork will hold up against the elements and time.
These initial steps are crucial for ensuring your painted pots aren’t just pretty, but also lasting.
1. Start with Clean and Dry Surfaces
This might seem obvious, but it’s often overlooked. Any dirt, dust, or residue on your terracotta pots will prevent the paint from adhering properly, leading to peeling or chipping down the line.
Give your pots a good scrub with a stiff brush and soapy water, then rinse thoroughly. Allow them to dry completely, ideally in the sun for a day or two, to ensure no moisture is trapped within the porous material.
This step alone makes a huge difference in the longevity of your flower pot painting.
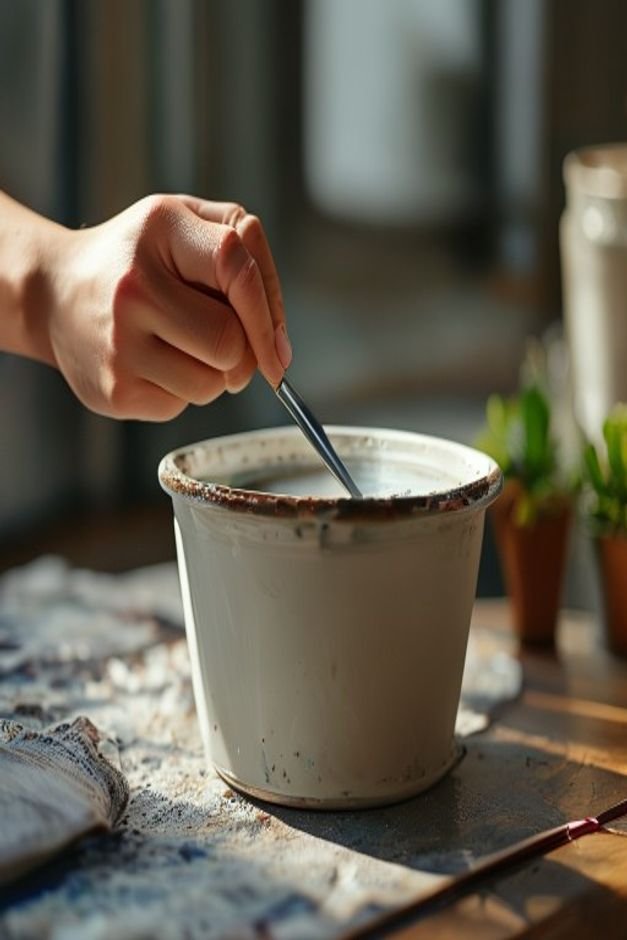
2. Primer is Your Best Friend
Terracotta is incredibly porous, meaning it will soak up paint like a sponge, leading to dull colors and requiring many coats. A good quality primer designed for masonry or outdoor use creates a barrier.
It seals the pot, providing a smooth, uniform surface for your paint to bond to.
This not only makes your colors more vibrant but also helps the paint last longer by preventing moisture from seeping through the pot and pushing the paint off from the inside. Apply one or two thin, even coats and let it dry fully.
3. Choose Exterior-Grade Paints
Indoor craft paints simply won’t cut it for outdoor pots. They aren’t designed to withstand harsh sunlight, rain, humidity, or temperature fluctuations. Always opt for exterior-grade acrylic or latex paints. These paints are formulated with UV inhibitors and fungicides, providing superior durability and color retention.
They resist fading, cracking, and peeling, ensuring your hard work on flower pot painting stands the test of time, season after season.
[IMAGE PROMPT: A studio-style flat lay of various paint swatches in earthy tones terracotta muted green charcoal sand alongside a small]
Infusing Character with Color and Texture
Once your pots are prepped, the real fun begins: bringing them to life with color and tactile appeal. The choices you make here can dramatically change the feel of your garden, moving beyond simple color blocks to create pieces with real depth.
4. Embrace Earth Tones and Naturals
While bright colors have their place, a palette of earth tones, muted greens, soft blues, and warm greys often lends a more sophisticated, grounded look to your pots. These colors blend seamlessly with the natural environment, allowing your plants to truly shine.
They create a calming backdrop that feels organic and inviting, whether you’re aiming for a rustic charm or a serene, contemporary vibe. Think about the colors found in natural stone, wood, and soil.
5. Add Texture with Paint Techniques
Beyond smooth finishes, paint itself can introduce texture. Consider using a stippling brush for a speckled effect, or dabbing paint with a sponge for a mottled, weathered stone look.
You can also mix a bit of sand into your paint for a gritty, tactile finish that mimics natural rock. These textural elements add visual interest and a handcrafted feel, making your flower pot painting efforts feel richer and more complex.
[IMAGE PROMPT: A high-angle shot of hands carefully peeling painter s tape off a terracotta pot to reveal crisp clean geometric stripes]
Simple Designs for Sophisticated Appeal
You don’t need to be a master artist to create striking designs. Sometimes the most impactful patterns are the simplest, relying on clean lines and thoughtful execution to make a statement.
6. Create Taped-Off Geometric Patterns
For a modern, clean look, painter’s tape is your best friend. Use it to mask off sections of your pot to create crisp stripes, chevrons, or abstract geometric shapes. Apply your first base color, let it dry completely, then apply tape to define your pattern.
Paint your second color, peel off the tape while the paint is still slightly wet (to avoid pulling off dried paint), and reveal your sharp design. This technique instantly makes your flower pot painting look professional and intentional.
7. Explore the Art of Stenciling
Stencils offer an easy way to add intricate designs without freehand drawing. From delicate floral motifs to bold damask patterns or subtle ethnic prints, a well-chosen stencil can transform a plain pot. Secure your stencil firmly with spray adhesive or tape to prevent bleeding.
Apply paint with a stippling brush or a sponge, using a dabbing motion rather than brushing, for cleaner lines. Experiment with metallic paints over a matte base for a subtle shimmer.
Giving Your Pots a Story with Depth and Character
Pots that look like they’ve lived a little, or have layers of color, often feel more authentic and visually engaging. These techniques add history and personality.
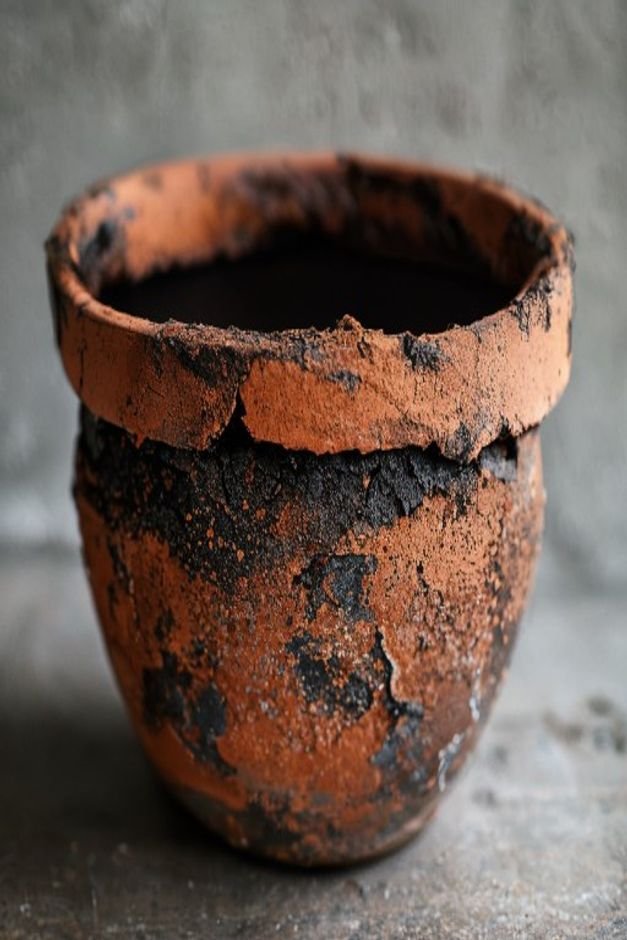
8. Distressing for an Aged Look
To achieve that coveted weathered aesthetic, try distressing your painted pots. After your base coat is dry, apply a contrasting color and then gently sand through areas, especially edges and raised details, to reveal the base color or even the terracotta beneath.
Another method is to apply a dark wax or a watered-down dark paint and wipe it back, letting the pigment settle into recesses and corners, creating an instant antique patina.
9. Layering Colors for Richness
Instead of just one solid color, build up layers. Start with a darker base, then dry-brush lighter shades over the top, allowing the base color to show through in places. This creates a multi-dimensional effect, similar to natural stone or aged wood.
For instance, a dark grey base with dry-brushed lighter grey and hints of white can mimic granite, adding significant depth to your flower pot painting project.
Protecting Your Artwork for the Long Haul
Your beautiful designs deserve to last. Sealing your painted pots is not just about aesthetics; it’s about practical protection against the elements, ensuring your hard work endures.
10. Apply the Right Topcoat and Sealer
Once your paint is completely dry, apply a clear, exterior-grade sealer or varnish. A matte finish can preserve a natural look, while a satin or gloss finish will make colors pop and offer extra protection against water and UV rays.
Ensure the product is non-toxic if you plan to grow edibles. Apply two to three thin coats, allowing each to dry fully. This final step is crucial for protecting your flower pot painting from fading, chipping, and moisture damage, making it truly weatherproof.
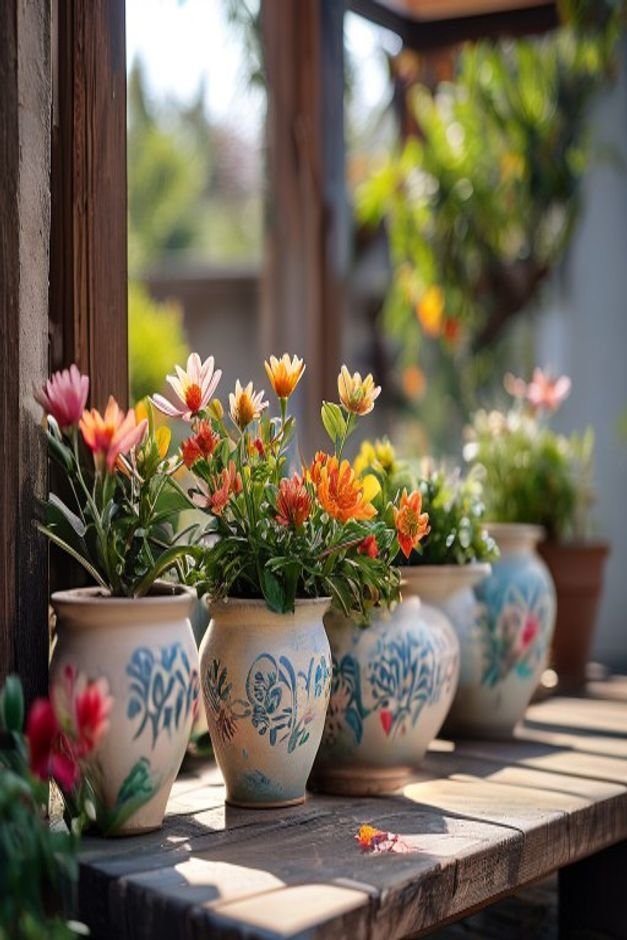
Thoughtful Plant Pairings for Painted Pots
The pot and the plant should complement each other, creating a harmonious display. The right plant can truly complete your painted pot.
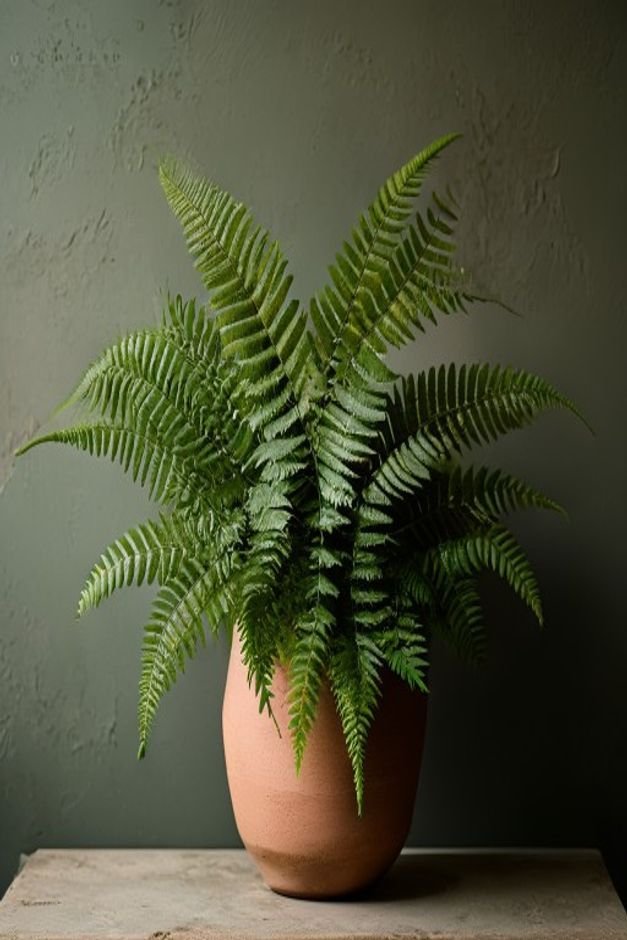
11. Choose Complementary Plant Hues
Consider the color of your plants when choosing paint colors. A vibrant fuchsia bougainvillea might pop beautifully against a deep teal or muted grey pot. Conversely, a pot painted in a warm terracotta shade can enhance the green foliage of a fern.
Think about contrast and harmony; sometimes a subtle blend works best, while other times a bold contrast makes a statement. The plant is the living art, and the pot is its frame.
12. Consider Plant Form and Pot Design
Beyond color, the shape and texture of your plant should align with the style of your painted pot. A sleek, modern pot with geometric patterns might be best paired with a structural succulent or an upright snake plant.
A distressed, rustic pot, on the other hand, could beautifully house a trailing plant like money plant or a lush, bushy marigold. The overall silhouette created by the plant and pot together contributes significantly to curb appeal.
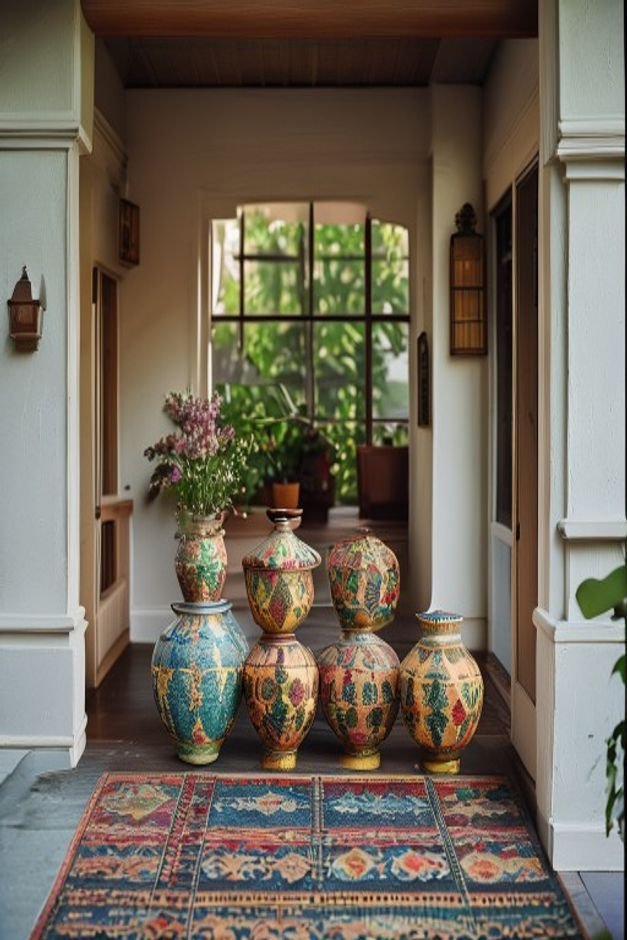
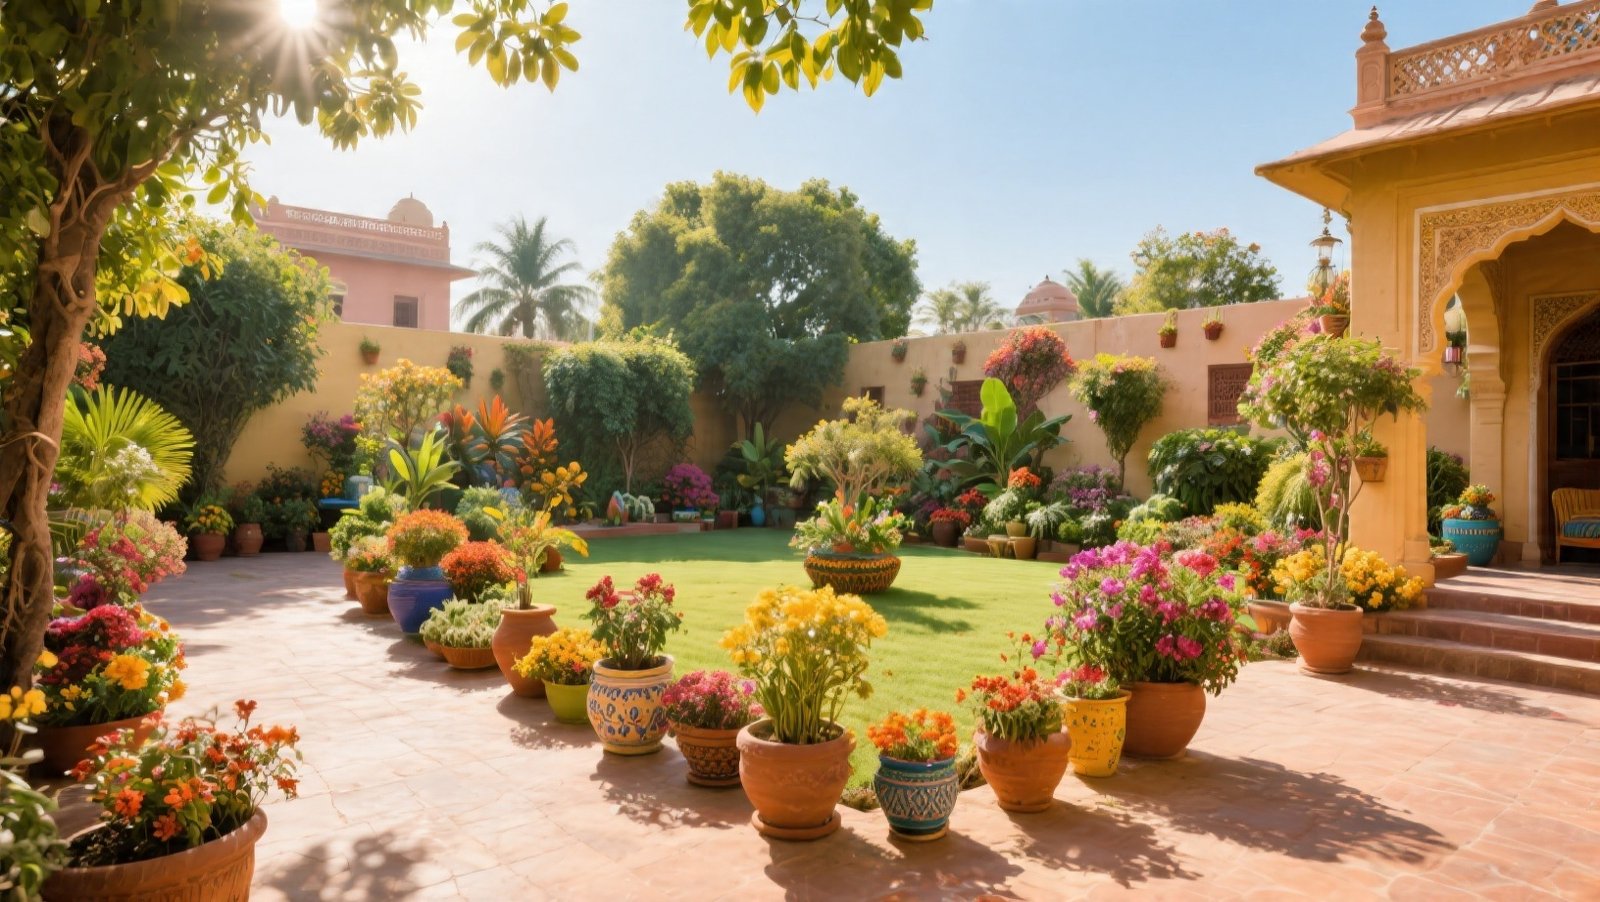
Arranging Your Finished Pieces for Maximum Impact
A single painted pot can be lovely, but a thoughtfully arranged collection creates a focal point. Grouping different sizes and styles can add layers of visual interest to your patio or entrance.
Arrange your pots in clusters of varying heights and sizes. Place taller pots at the back, medium ones in the middle, and smaller ones or trailing plants at the front. This creates a dynamic, layered look rather than a flat, uniform display.
Experiment with different groupings on your porch, balcony, or along a garden path to find what feels most balanced and inviting. A well-placed collection of beautifully painted flower pots can truly define an outdoor space.
Giving Your Painted Pots a Lasting Presence
Crafting beautiful, durable flower pot painting doesn’t have to be intimidating. By paying attention to these simple details—from preparation and paint choice to design and pairing—you can create outdoor decor that feels intentional and personal.
These aren’t just pots; they’re expressions of your style, adding warmth, character, and a touch of the handmade to your home. Embrace the process, trust your eye, and soon your garden will be filled with pieces that truly tell a story.