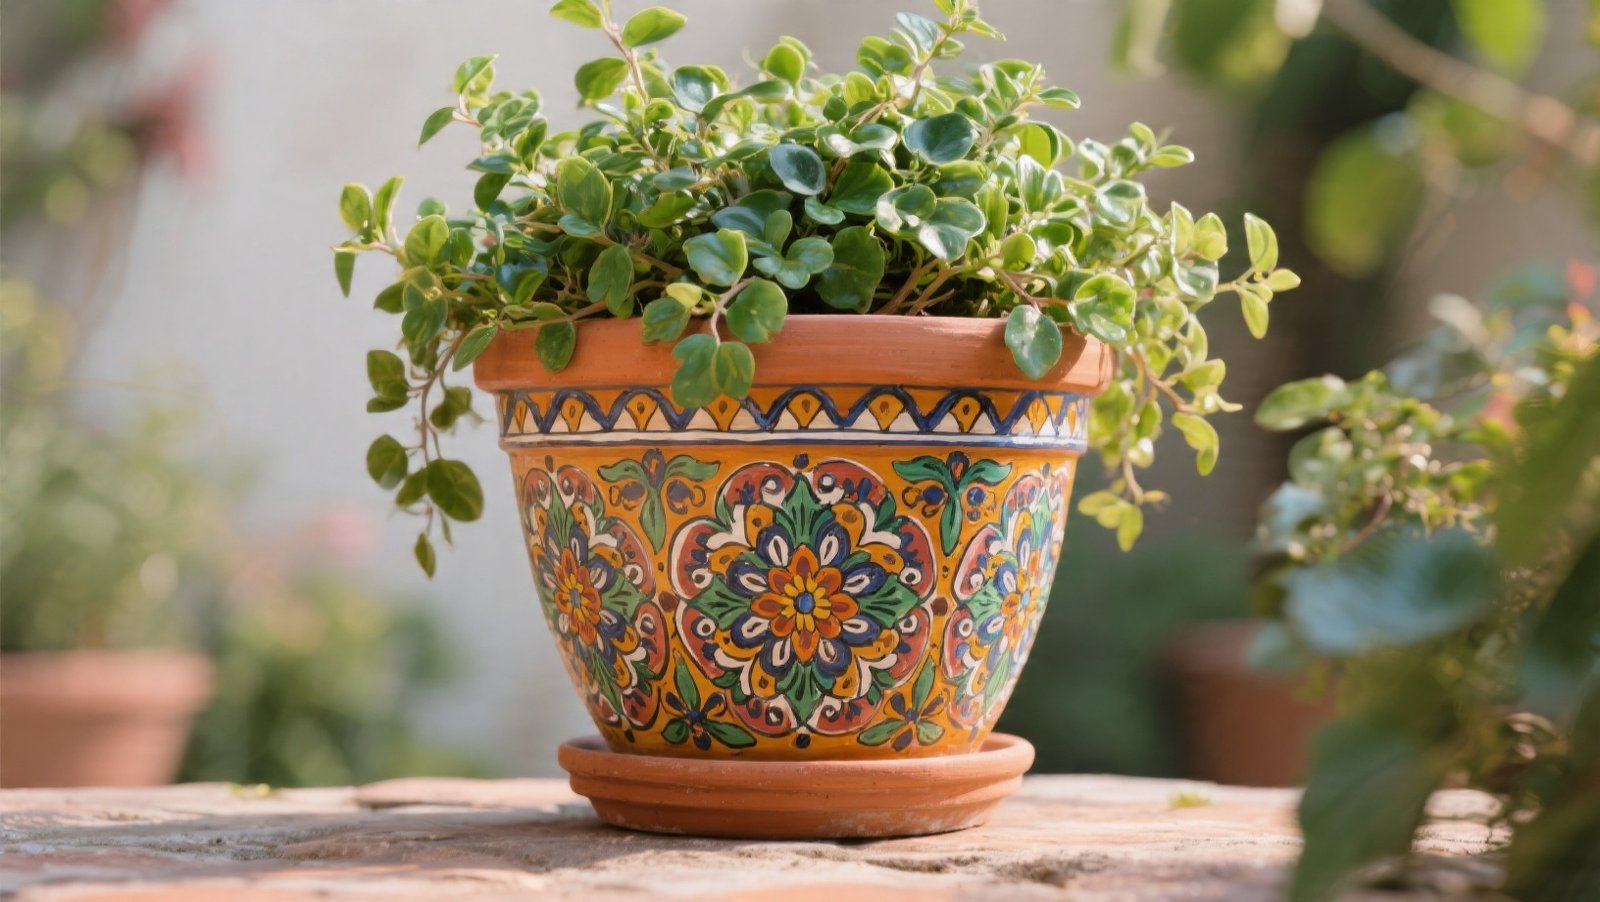
Elevating Your Outdoor Style with Painted Pots
Many of us love the idea of personalizing our garden spaces. A splash of color on a terracotta pot can instantly uplift a patio or balcony, adding curb appeal and a touch of your unique style.
But often, the excitement of flower pot painting can lead to common missteps that leave our vibrant creations looking less than perfect, or worse, peeling after just a few seasons.
If you’ve ever wondered why your beautifully painted pots don’t last or look as professional as you envisioned, you’re not alone. The good news is, with a few practical adjustments, you can achieve stunning, durable results that truly enhance your outdoor living.
Let’s walk through the ten most common mistakes in flower pot painting and how to easily avoid them.
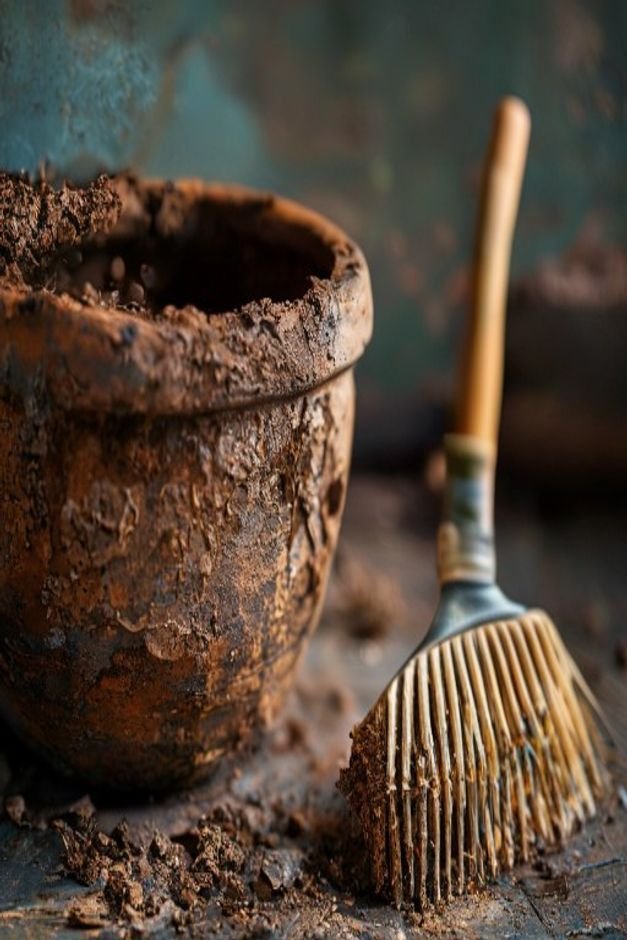
Skipping the Crucial Clean-Up
It’s tempting to grab a new pot and dive straight into painting. However, even brand-new terracotta or plastic pots carry dust, dirt, or manufacturing residues. Older pots will likely have soil remnants, mineral deposits, or even algae.
Painting over these imperfections is a recipe for poor adhesion. The paint won’t bond properly, leading to flakes and an uneven finish down the line.
Before any brush touches the surface, give your pot a thorough scrub. Use warm, soapy water and a stiff brush, especially for used pots. Rinse it completely and let it air dry in the sun for at least 24 hours.
Ensure every inch is completely dry before moving on. This simple step creates a clean canvas for your artistry.
Underestimating the Power of Primer
Many skip primer, thinking it’s an unnecessary extra step. This is a significant oversight, particularly with porous materials like terracotta. Terracotta is highly absorbent, meaning it will soak up the first few layers of your decorative paint, dulling colors and requiring more coats.
Without primer, moisture from the soil can also wick through the pot walls, pushing paint outwards and causing bubbles or peeling.
A good quality exterior primer acts as a barrier. It seals the pot’s surface, creating an even, non-porous base for your paint. This allows your chosen colors to pop with true vibrancy and significantly improves paint adhesion and longevity.
Apply one or two thin, even coats, allowing each to dry completely before proceeding.
Choosing the Incorrect Paint Type
Not all paints are created equal, especially when exposed to the elements. Interior craft paints, while beautiful, are simply not designed to withstand outdoor conditions. They fade quickly in sunlight, crack with temperature fluctuations, and offer little resistance to moisture.
The result is a quickly deteriorating finish that disappoints.
For durable outdoor flower pot painting, always opt for exterior-grade acrylic or latex paints. These formulations are built to resist UV rays, humidity, and varying temperatures. They offer better adhesion and flexibility, ensuring your designs stand up to sun, rain, and repeated watering.
Look for paints specifically labeled for outdoor use on masonry, wood, or metal.
Painting in Harsh Weather Conditions
Just as plants need the right environment to thrive, so does your paint. Trying to paint under the scorching midday sun causes paint to dry too quickly, leading to brush marks, uneven coverage, and poor adhesion.
High humidity can make paint slow to dry, increasing the risk of smudges and dust sticking to the wet surface. Conversely, painting in very cold temperatures can prevent paint from curing properly.
Always choose a mild, dry day for your flower pot painting projects. Work in a shaded, well-ventilated area where temperatures are moderate. This allows the paint to flow smoothly, level out evenly, and cure at its intended pace.
Patience with the weather ensures a much better finish.
Applying Paint Too Thickly or Unevenly
When eager to see results, it’s common to load the brush with too much paint, hoping for quick coverage. Thick, heavy coats do not dry evenly.
They can lead to unsightly drips, a lumpy texture, and an increased risk of cracking and peeling as the paint cures. It’s also harder for the paint to bond properly to the surface when applied in a thick layer.
The secret to a professional-looking finish is multiple thin coats. Apply paint in light, even layers, allowing each coat to dry to the touch before adding the next. This builds up color depth gradually and ensures a smooth, durable finish.
Two or three thin coats will always outperform one thick, clumsy application.
Neglecting the Drainage Hole and Inner Lip
It’s easy to focus solely on the visible exterior of the pot. However, ignoring the drainage hole and the first inch or two of the pot’s interior can undermine your efforts.
Water will inevitably flow through the drainage hole, and the soil line will sit just below the rim. Unpainted or unsealed areas in these spots become vulnerable points where moisture can seep into the pot’s structure, causing damage and peeling from the inside out.
Extend your primer and paint layers slightly into the pot’s interior, covering at least the top two inches and around the drainage hole. This creates a continuous protective barrier. It also gives a more finished, thought-out look when viewed from above or when changing plants.
Forgetting to Seal the Finished Pot
After all your careful painting, skipping the final sealing step is like leaving your masterpiece unprotected. An unsealed painted pot, even if painted with exterior-grade paint, is still susceptible to scratches, scuffs, UV damage, and moisture penetration over time.
The vibrant colors you worked so hard to achieve will dull faster, and the paint itself will be less resilient.
Once your final paint layers are completely dry and cured (which can take 24-72 hours depending on paint type and humidity), apply a clear, exterior-grade sealant. Look for a UV-resistant, waterproof sealant in a matte, satin, or gloss finish, depending on your preference.
Two thin coats are usually sufficient, protecting your artwork and extending its life significantly.
Underestimating Good Brush Quality
Many hobbyists grab the cheapest brushes available, thinking they’re just for a casual project. However, low-quality brushes shed bristles, leave unsightly streaks, and don’t hold or release paint evenly. This makes achieving a smooth, professional finish incredibly difficult and frustrating.
You end up fighting your tools rather than focusing on your design.
Invest in a few good quality brushes appropriate for the type of paint you’re using. Synthetic brushes work well with acrylics and latex. Look for brushes with firm, yet flexible bristles that hold their shape.
Clean your brushes thoroughly after each use to prolong their life. Good tools make a noticeable difference in the final look and feel of your painted pots.
Tackling Overly Complex Designs Too Soon
It’s inspiring to see intricate patterns and detailed artwork on social media, but attempting highly complex designs as a beginner can quickly lead to frustration and a messy outcome. Over-ambitious patterns require steady hands, specialized tools, and a good understanding of paint layering.
Starting too big can discourage you from future projects.
Begin with simpler designs. Think stripes, geometric shapes, or broad color blocks. Stencils are excellent for adding clean patterns without the need for freehand mastery. As you gain confidence and skill, gradually introduce more detailed elements.
Focus on clean lines and consistent coverage first; complexity can come later.
Rushing the Drying and Curing Process
Patience is perhaps the most undervalued tool in any painting project. Skipping adequate drying time between coats, or moving/handling a pot before the paint has fully cured, is a sure way to ruin your hard work.
Wet paint is easily smudged, and paint that hasn’t fully bonded can peel or crack when disturbed. Curing is the process where paint hardens completely, which takes longer than just being dry to the touch.
Always follow the manufacturer’s drying time recommendations for each coat of paint and primer. For full curing, especially before placing soil and plants inside, allow at least 24 to 72 hours, or even longer in humid conditions. Resist the urge to rush.
A properly dried and cured pot will be far more durable and beautiful for years to come.

Cultivating Lasting Beauty in Your Garden
Creating beautiful, customized pots through flower pot painting is a deeply satisfying endeavor. It adds a personal touch to your green spaces, reflecting your style and enhancing your home’s curb appeal.
By sidestepping these ten common pitfalls, you’re not just painting a pot; you’re investing in its longevity and the vibrancy of your garden. Remember, thoughtful preparation, the right materials, and a bit of patience are the real secrets to achieving those polished, eye-catching results.
Your plants deserve a beautiful home, and with these tips, you can give them one that truly lasts.