There’s a unique satisfaction that comes from transforming a plain terracotta pot into a vibrant piece of garden art. Yet, sometimes, our painted creations don’t quite hit the mark. Instead of looking polished and intentional, they can feel a bit unfinished or quickly done.
If your efforts at flower pot painting have left you wanting more, you’re in the right place. Achieving that clean, professional look isn’t about artistic genius; it’s about a few simple techniques and thoughtful choices.
From proper preparation to smart color pairing and sealing, these 12 practical tips will guide you in making your painted flower pots not just colorful, but truly beautiful additions to your home and garden. Let’s make every brushstroke count and elevate your outdoor aesthetic.
Preparing Your Pots for a Perfect Canvas
Clean Thoroughly for Better Adhesion
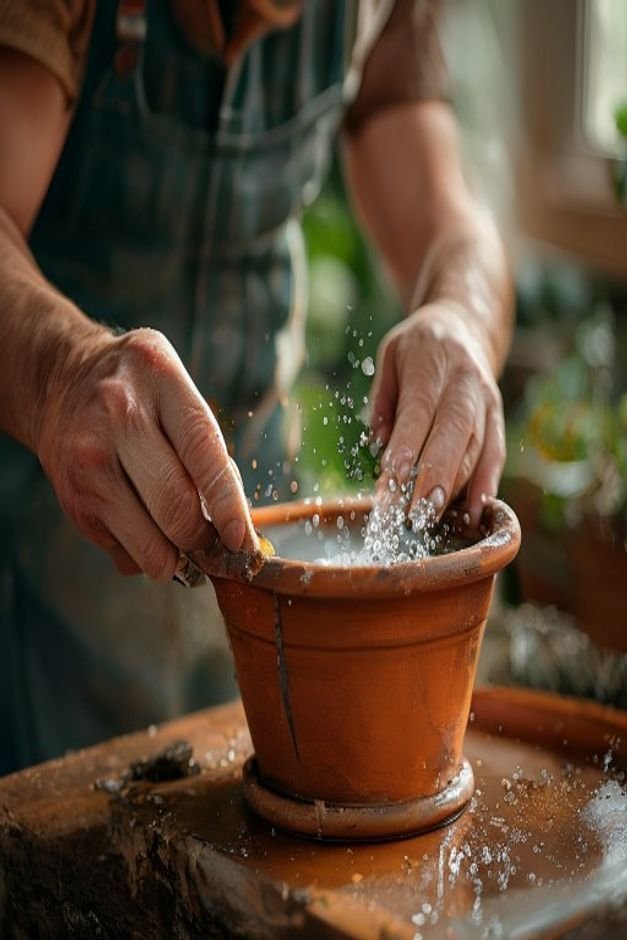
Before you even think about picking up a brush, your pot needs a spa day. Dirt, grime, and old paint residue are the enemies of a smooth finish. Give your pots a good scrub with warm, soapy water and a stiff brush.
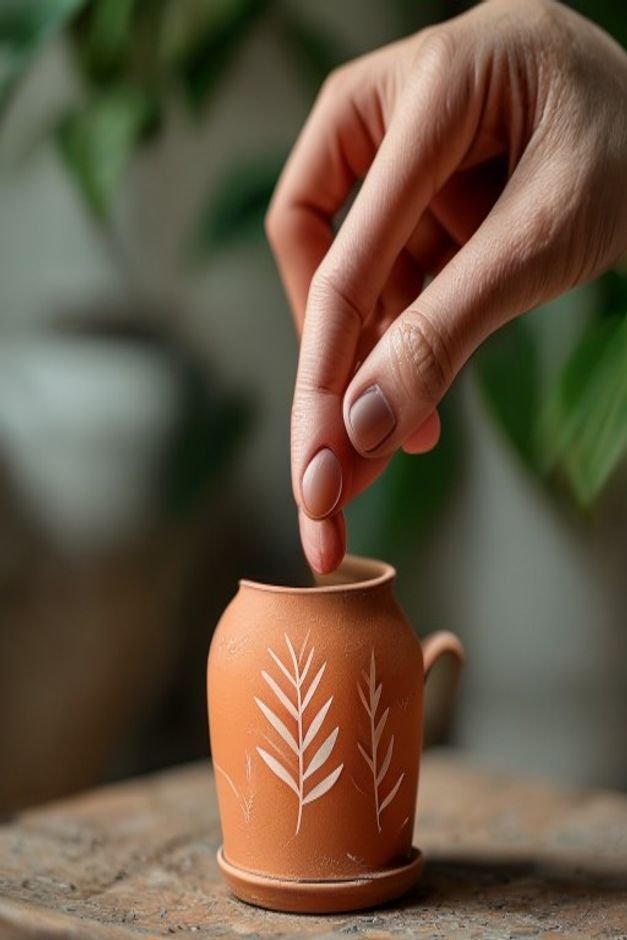
For terracotta, pay special attention to any white powdery spots, which can be mineral deposits. Rinse them completely and let them dry thoroughly in the sun. A clean surface ensures your paint adheres properly and lasts longer.
Prime for a Flawless Foundation
Especially with porous materials like terracotta, priming is non-negotiable. An exterior-grade primer creates a barrier, preventing the pot from absorbing too much paint and ensuring a more even color application.
It also provides a better surface for your paint to grip, meaning fewer coats and a more durable finish. Apply one or two thin, even coats, letting each dry completely according to the manufacturer’s instructions before moving on.
Choosing the Right Paints and Tools
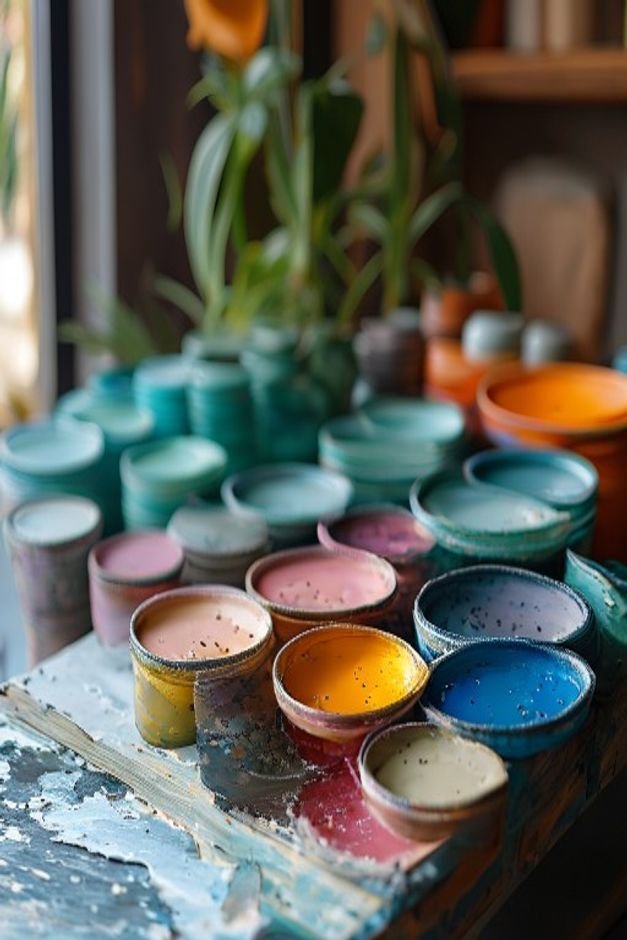
Exterior-Grade Paints are Your Best Friend
The biggest mistake many make is using interior craft paints. For pots destined for the outdoors, always opt for exterior-grade acrylic or latex paints. These are formulated to withstand sun, rain, and temperature fluctuations without fading, cracking, or peeling.
They offer better UV resistance and flexibility, keeping your colors vibrant and your designs intact season after season.
Invest in Quality Brushes
You don’t need an artist’s studio full of brushes, but a few good quality ones make all the difference.
A couple of flat brushes in varying widths for base coats, a smaller round brush for details, and perhaps a foam brush for smooth applications are usually sufficient. Cheap brushes shed bristles, leave streaks, and make it harder to achieve clean lines.
Clean your brushes immediately after use to prolong their life.
Mastering Basic Techniques for Smooth Finishes
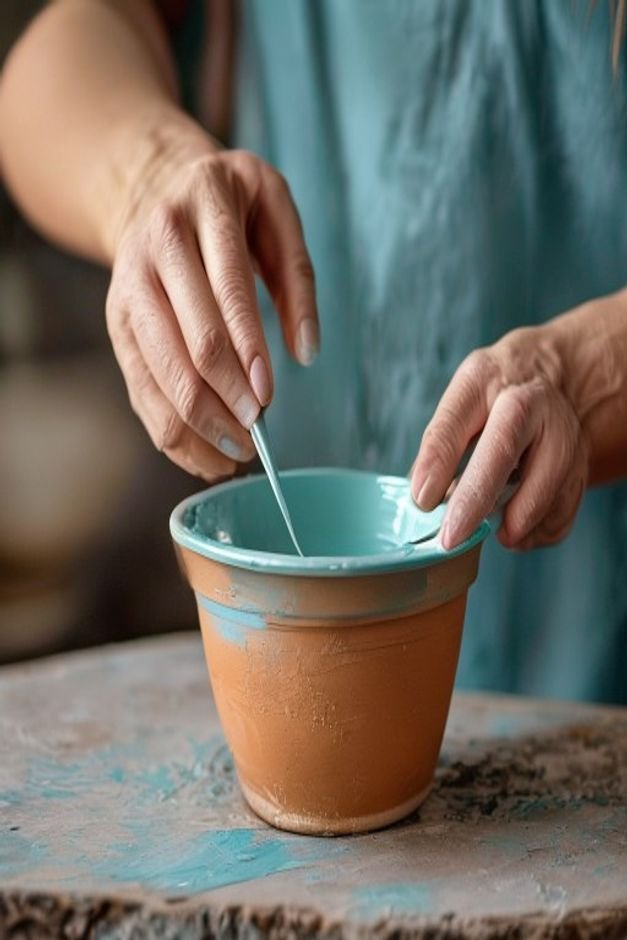
Apply Even Base Coats
Patience is key here. Instead of trying to cover the pot in one thick coat, apply several thin, even layers. This prevents drips, brush marks, and uneven texture. Allow each coat to dry completely before applying the next.
This layering technique builds depth of color and provides a much smoother, more professional finish, especially with lighter colors that might require more coverage.
Layering and Strategic Dry Time
When working with multiple colors or intricate designs, understanding dry time is crucial. Painting wet-on-wet can lead to muddy colors or smudging. Always let one color dry fully before applying another next to it or on top of it.
This creates crisp lines and prevents colors from bleeding. A fan can speed up drying, but ensure it’s not too strong to avoid dust settling on wet paint.
Adding Texture and Dimension with Creative Details
Stenciling and Patterns for Visual Interest
Beyond solid colors, stenciling can add sophisticated patterns without needing advanced freehand skills. Use low-tack stencil adhesive to secure your stencil, and apply paint with a dabbing motion using a foam brush or stencil brush to prevent bleeding.
Geometric shapes, botanical motifs, or even simple stripes can elevate your flower pot painting from basic to bespoke. Practice on scrap material first to get a feel for the technique.
Sponging or Dry Brushing for Natural Textures
If you prefer a more organic or weathered look, sponging or dry brushing techniques are excellent. For sponging, lightly dab a natural sea sponge or a synthetic sponge with a contrasting color onto your base coat.
For dry brushing, dip a stiff brush into a small amount of paint, then blot most of it off before lightly dragging the brush across the pot. Both methods add wonderful depth and character, mimicking natural stone or aged finishes.
Thoughtful Finishing Touches for Lasting Beauty
Sealing for Longevity and Shine
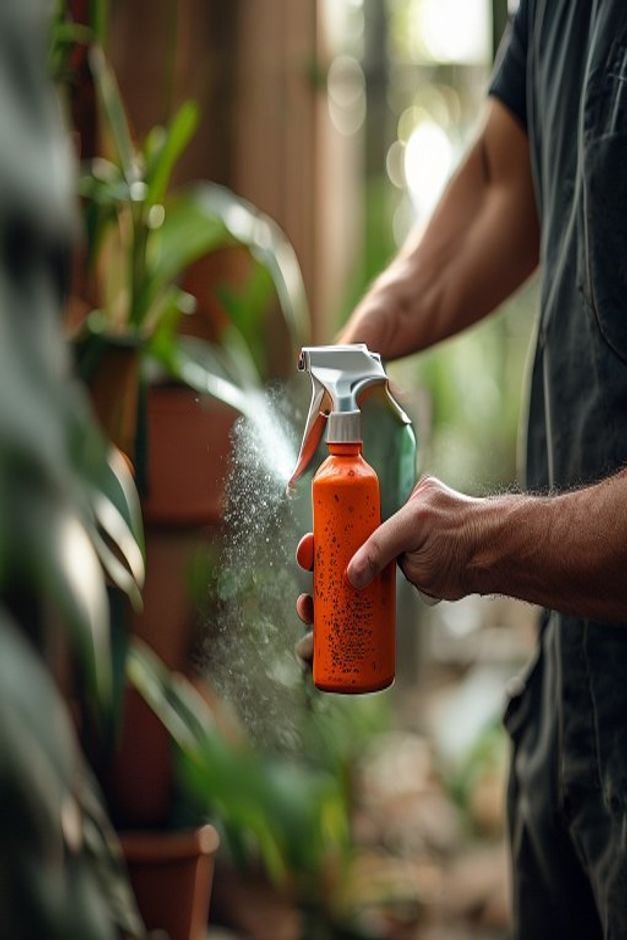
Once your paint is completely dry – and we mean completely, often 24-48 hours – apply a high-quality exterior-grade sealant. A clear sealant protects your artwork from UV rays, moisture, and general wear and tear.
You can choose from matte, satin, or gloss finishes to achieve the desired look. Apply several thin coats, allowing adequate drying time between each, to ensure comprehensive protection. This step is vital for making your flower pot painting endure the elements.
Remember Drainage Hole Awareness
While you’re focusing on the aesthetics, don’t forget the practical side. Ensure your paint doesn’t clog the drainage holes. If you’ve painted the inside rim, check that paint hasn’t dripped and hardened, impeding water flow.
Good drainage is essential for plant health, so a quick check and clear-out with a skewer or drill bit (if needed) before planting can save your greens from root rot.
Harmonizing with Your Plants and Space
Color Coordination with Your Greens
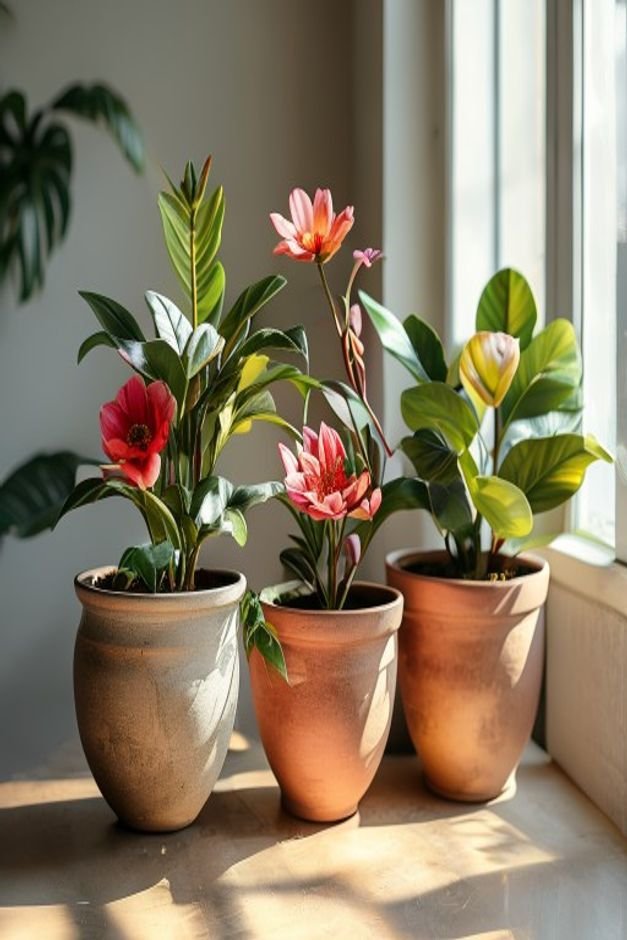
Consider the plants you’ll be housing. A vibrant pot might clash with delicate blooms, while a muted tone could make a dramatic succulent pop. Think about the overall color scheme of your garden or patio.
Do you want your pots to blend in or stand out? Complementary colors can create harmony, while contrasting colors add dynamic focal points. The pot and plant should enhance each other, creating a cohesive visual statement.
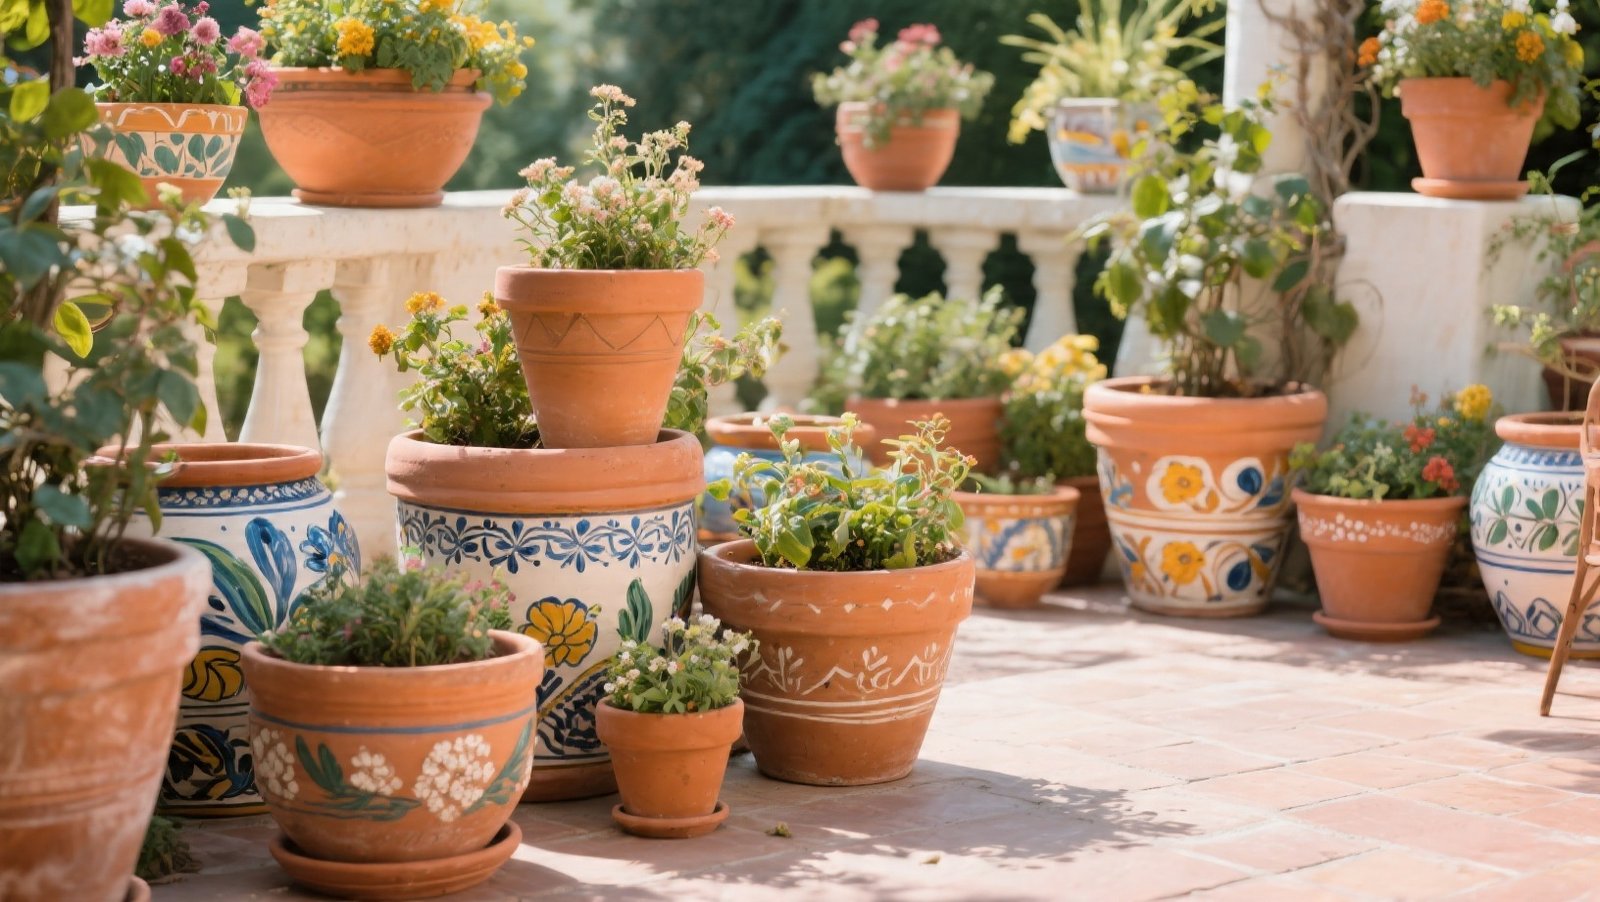
Grouping and Arrangement Matters
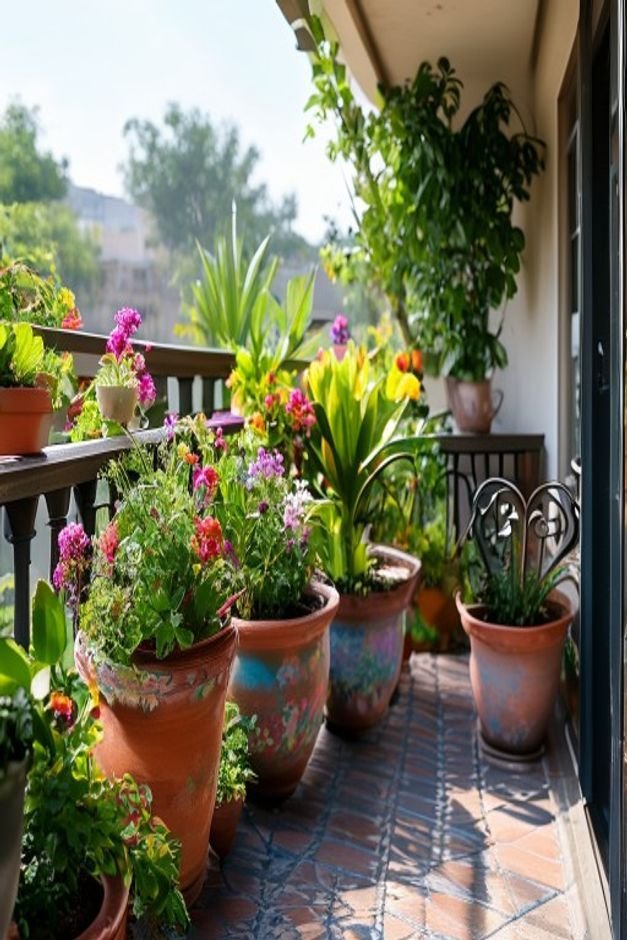
A single beautifully painted pot is lovely, but a thoughtfully arranged cluster can be stunning. Group pots of varying sizes, heights, and painting styles together. This creates visual interest and a sense of abundance.
Ensure the colors and textures of the pots, plants, and surrounding elements work together. A well-placed grouping can define a space, add curb appeal, and make your garden feel more intentional and inviting.
Bringing Your Pots to Life
Painting flower pots is more than just a craft; it’s an opportunity to infuse your personality into your outdoor spaces. By approaching each step with a little patience and attention to detail, you can transform ordinary containers into extraordinary elements of your garden decor.
From meticulous cleaning and priming to selecting the right paints and adding those crucial finishing touches, every effort contributes to a more polished and enduring result.
Remember, your flower pot painting creations are not just homes for plants; they are expressions of your style, adding beauty and charm to your home for seasons to come.