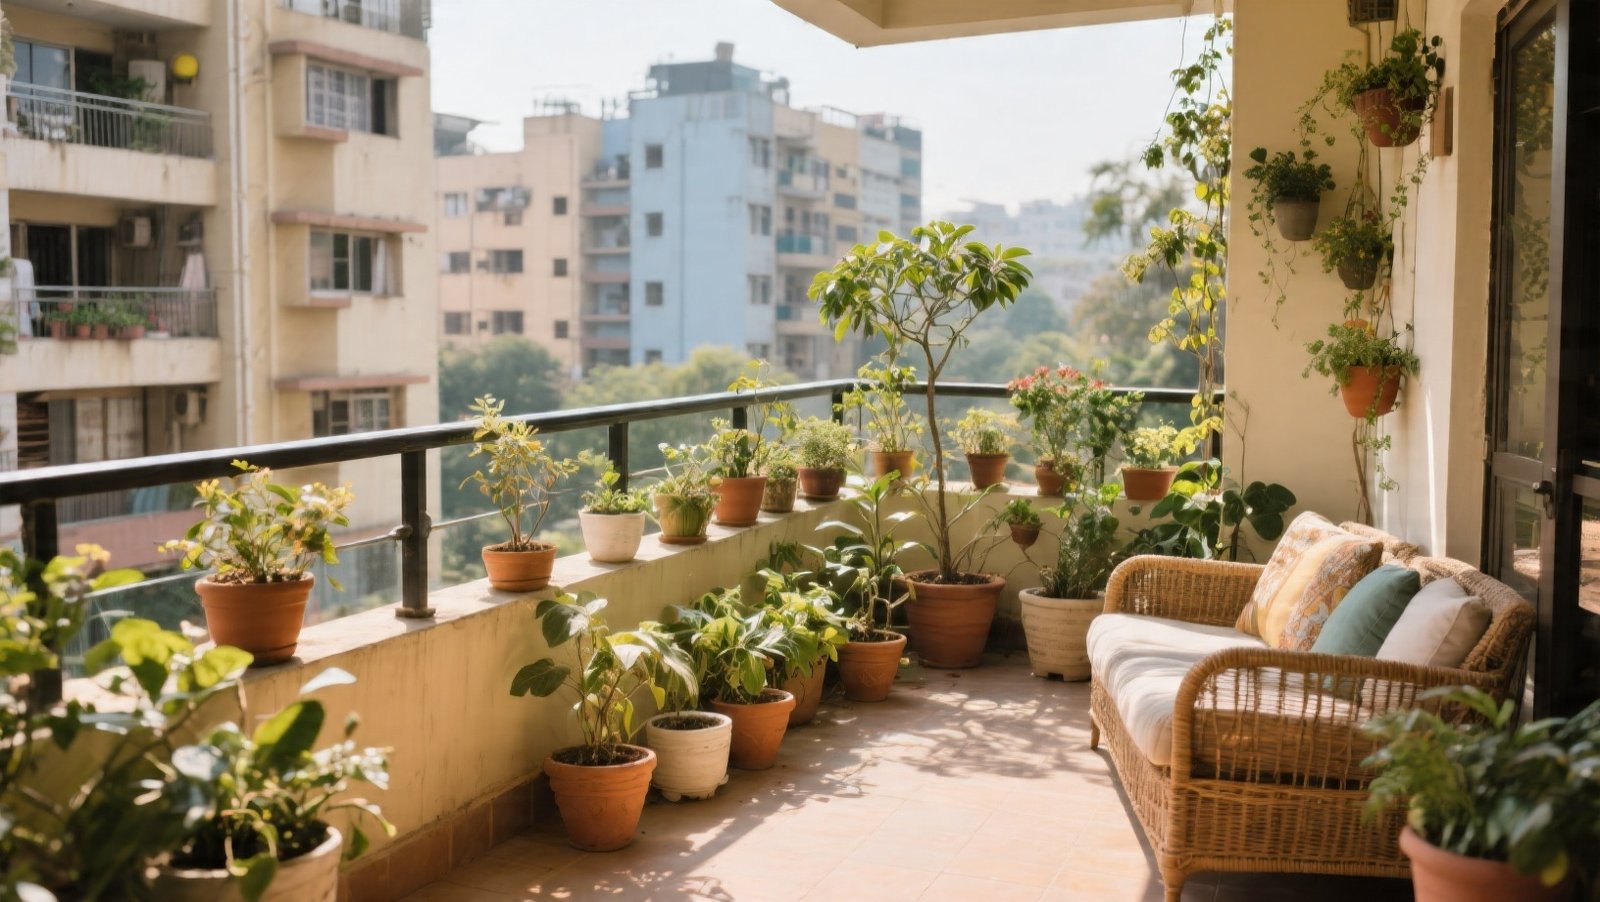
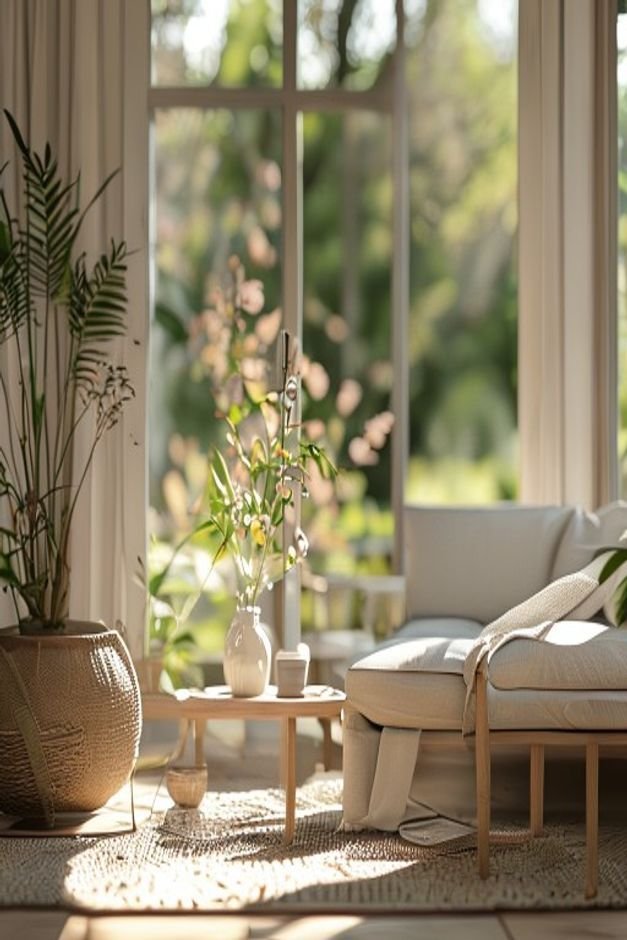
Living in a rented home often means navigating a delicate balance between personalizing your space and respecting lease agreements. You want your balcony, patio, or entryway to feel like yours, a true extension of your style, but permanent changes are usually out of the question.
This is where the magic of flower pot painting steps in, offering a vibrant, temporary, and entirely reversible way to infuse personality into your outdoor areas.
It’s an accessible project that allows you to play with color, texture, and design, instantly upgrading your curb appeal without a single hammer or nail.
Forget generic planters and embrace the opportunity to create a cohesive, beautiful garden aesthetic. From subtle washes to bold patterns, these 13 renter-friendly flower pot painting ideas will guide you in crafting stunning plant displays.
We’ll explore practical techniques that are easy to execute and just as easy to update or remove when it’s time to move on, ensuring your security deposit remains intact.
Prepping Your Pots for a Perfect Finish
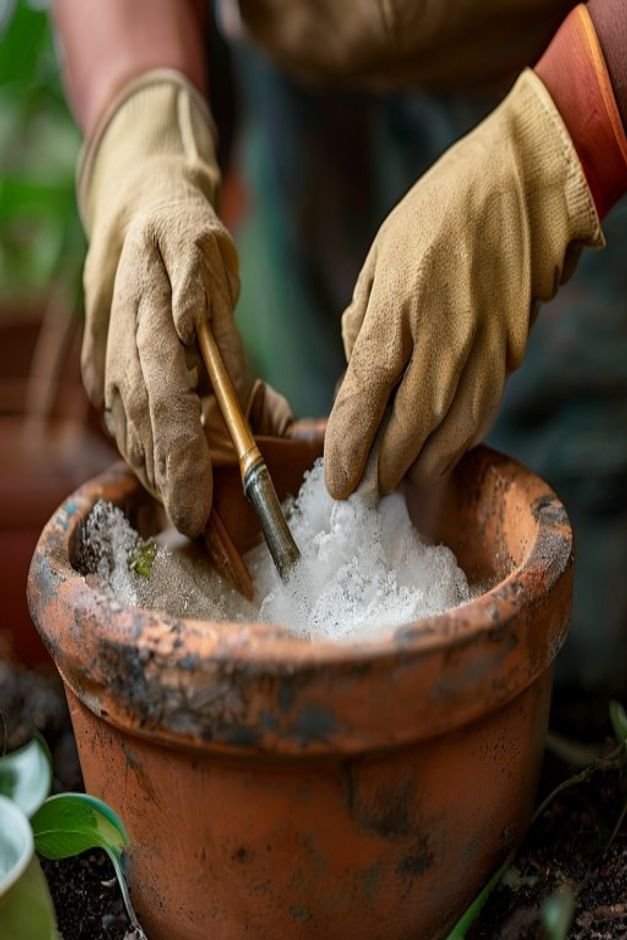
Before any brush touches clay, proper preparation is non-negotiable for lasting results. Start by thoroughly cleaning your pots. New terracotta often has dust and residue, while older pots might harbor dirt, mineral deposits, or even old paint flakes.
Scrub them with a stiff brush and soapy water, then rinse completely. Let them dry fully in the sun for at least 24 hours. For porous materials like terracotta, consider applying a primer or a terracotta sealer.
This step creates a smooth, even surface, preventing your paint from soaking in unevenly and ensuring a vibrant, durable finish that stands up to the elements.
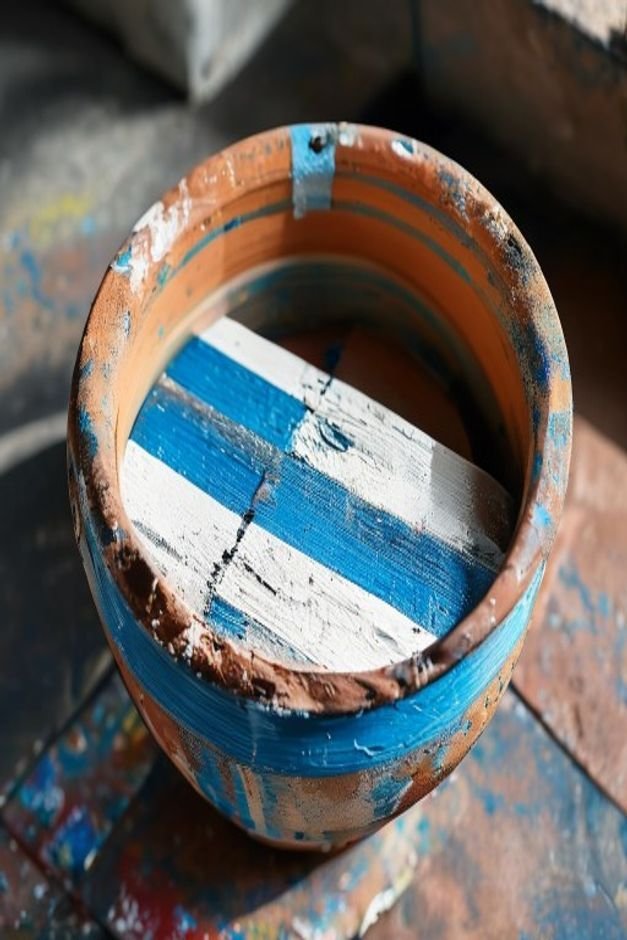
Classic Stripes and Geometric Shapes
Geometric designs bring a modern, crisp look to any planter. This technique is surprisingly simple with the right tools. After your pots are primed and dry, use painter’s tape to mark off your desired stripes, chevrons, or block patterns.
Press the tape down firmly to prevent paint bleeding underneath. Apply your chosen colors, letting each coat dry thoroughly before carefully peeling back the tape.
The result is a clean, graphic statement that instantly elevates your plant display, perfect for a contemporary balcony or a minimalist entryway.
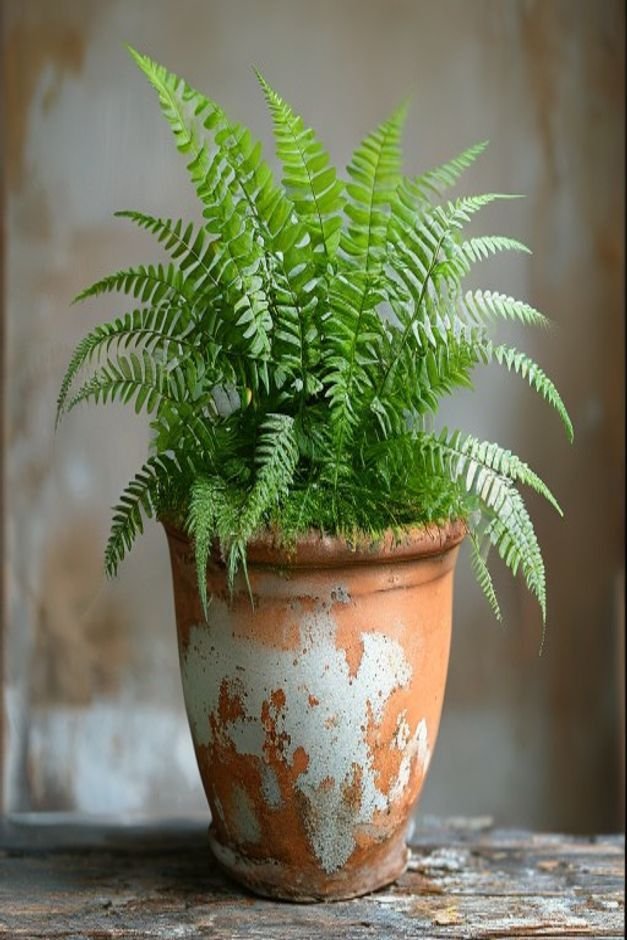
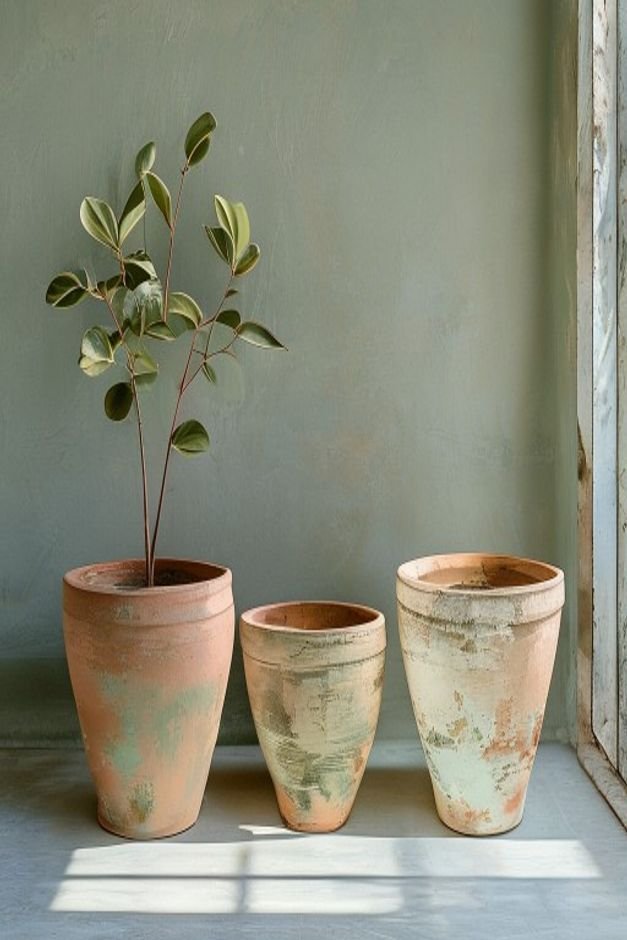
Embracing Terracotta’s Rustic Appeal
Sometimes, the beauty lies in enhancing the natural character of your pots. For a charming, rustic look, embrace the warmth of terracotta. A simple whitewash can transform an ordinary pot into a piece with antique charm.
Mix white paint with water to create a thin, translucent wash, then apply it unevenly with a brush or rag. For added texture, lightly sand areas after drying to reveal hints of the original clay.
This distressed effect offers a timeless, earthy feel, making your plants pop with an understated elegance.
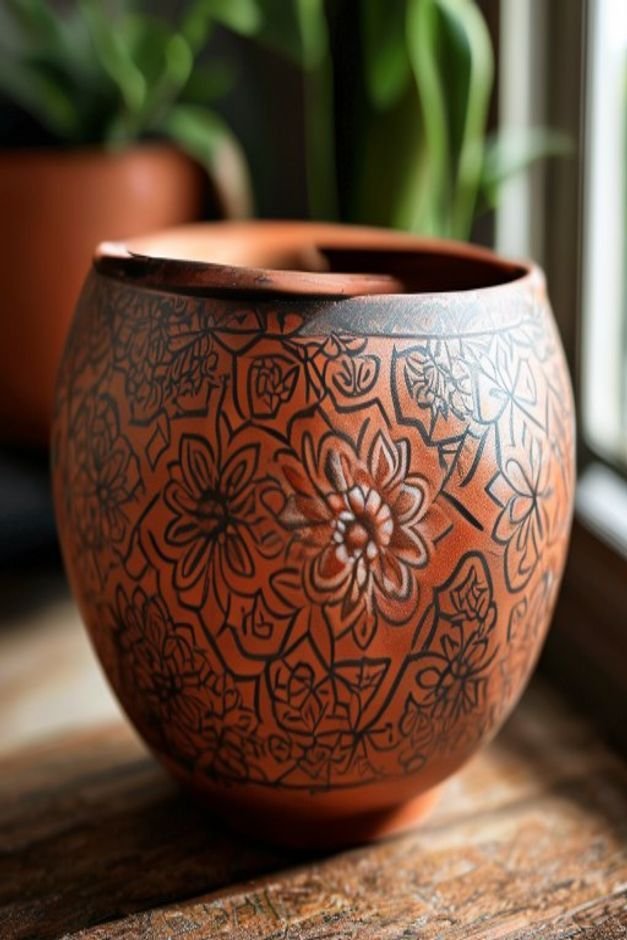
Stenciled Patterns and Cultural Motifs
Stenciling allows for intricate designs without needing a steady hand. From delicate florals to bold geometric patterns, stencils offer endless possibilities. You can find pre-made stencils or even cut your own simple designs from cardstock.
For Indian homes, consider stenciling traditional motifs like simplified rangoli patterns, paisleys, or even a stylized lotus. Apply paint with a sponge or a stenciling brush, dabbing rather than brushing, to prevent paint from seeping under the edges.
This method creates a polished, consistent look across multiple pots, adding a thoughtful, curated touch.
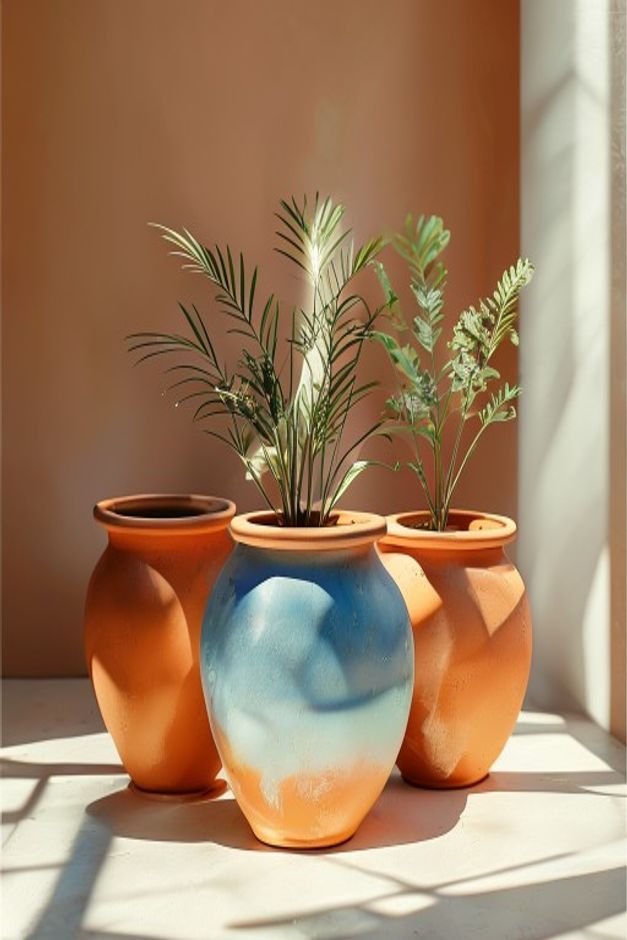
Soft Ombre and Gradient Hues
Create a serene, artistic effect with ombre or gradient painting. This technique involves blending two or more colors seamlessly from light to dark or one hue to another. Start with your lightest color at the top or bottom of the pot.
While the paint is still wet, apply the next color and gently blend the meeting point with a clean, damp brush or sponge. Work quickly and in small sections for the best transition.
The soft, flowing colors evoke a calm aesthetic, making your outdoor space feel more tranquil and visually interesting.
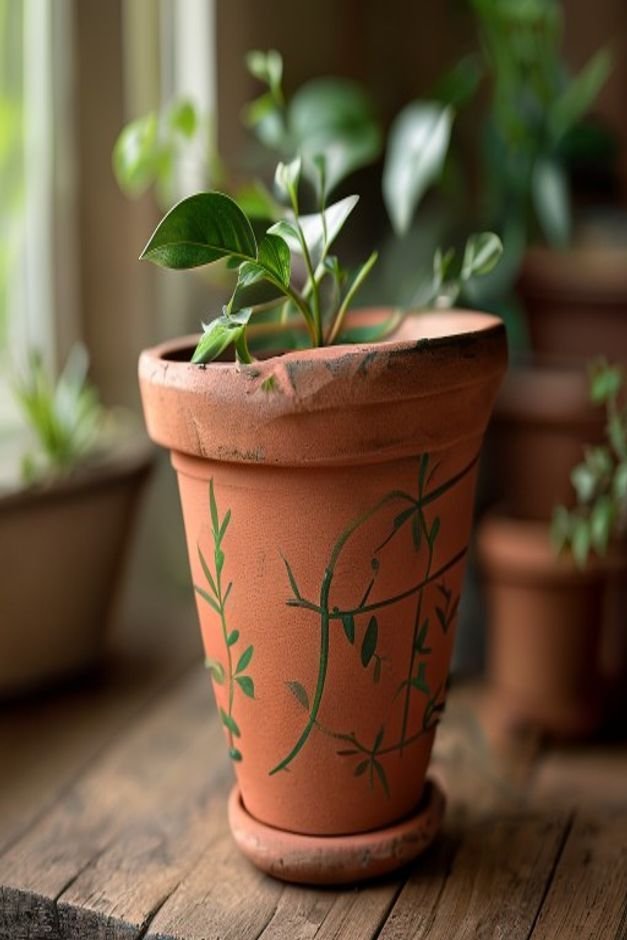
Hand-Painted Botanical Whimsy
For a truly personal touch, explore the world of hand-painted botanical designs. You don’t need to be a professional artist to create charming motifs. Simple leaves, winding vines, or abstract floral shapes can be surprisingly easy to freehand.
Use a small brush and a contrasting color against a solid base. Think about the plants you’ll be putting in the pots; perhaps paint a stylized version of a money plant leaf or a jasmine vine.
This style of flower pot painting adds a unique, organic feel, making each planter a small work of art that feels deeply connected to nature.
Textured Speckle and Splatter Effects
For a playful yet sophisticated finish, consider speckling or splattering paint onto your pots. This technique adds an organic, almost terrazzo-like texture. After applying a solid base coat and letting it dry, dip an old toothbrush into a contrasting paint color.
Hold the toothbrush a few inches from the pot and run your thumb across the bristles to create fine speckles. Alternatively, use a larger brush to flick paint for a more dramatic splatter.
This method works beautifully with neutral bases and metallic speckles for an elegant touch, or vibrant colors for a whimsical feel.
Matte Finish with Chalk-Style Paints
Chalk-style paints are a renter’s best friend, known for their velvety matte finish and excellent adhesion to various surfaces without extensive priming. They offer a sophisticated, muted look that can be easily distressed for an antique aesthetic.
Apply two thin coats for full coverage, or a single coat for a more rustic, slightly transparent effect. Once dry, you can lightly sand edges or raised areas to reveal the underlayer or the original pot color.
This creates a soft, inviting texture that complements both traditional and modern garden styles.

Elegant Metallic Bands and Edges
A touch of metallic can elevate a plain pot into something truly special. Use gold, copper, or silver paint to create elegant bands around the rim, base, or even vertical stripes. Masking tape is crucial here for crisp lines.
Alternatively, simply paint the entire rim of the pot in a metallic shade for a subtle but striking accent. This simple addition catches the light beautifully, adding a touch of glamour and sophistication to your plant arrangements, making even the simplest greens feel luxurious.
Bold Dipped Designs
For a contemporary and effortlessly chic look, try the ‘dipped’ effect. This technique creates a sharp, clean line where one color abruptly meets another, or where paint covers only a portion of the pot.
You can achieve this by masking off the top or bottom section of your pot and painting the exposed area.
For a truly crisp line, some even partially submerge the pot in a bucket of paint, though this requires careful handling and drying. A two-tone dipped pot offers a striking visual contrast, perfect for showcasing architectural plants or adding a pop of bold color.
Faux Stone and Concrete Textures
Achieve the look of expensive stone or concrete planters without the weight or cost. Special textured paints are available that mimic the gritty feel of these materials. These paints often contain fine aggregates that create a tactile surface.
Apply them with a brush, sponge, or even a trowel for a more rugged finish. Choosing muted grays, charcoals, or sandy tones will enhance the illusion. This technique is fantastic for creating a sophisticated, industrial-chic aesthetic that feels substantial and modern in any outdoor setting.

Playful Polka Dots and Confetti Sprinkles
Inject some cheer into your garden with playful polka dots or confetti-like sprinkles. This is one of the easiest and most forgiving painting techniques.
Use the eraser end of a pencil, a round sponge dabber, or even the back of a paintbrush to create perfectly round dots in various sizes.
You can stick to a single color for a classic look or use multiple bright hues for a festive, confetti effect. This approach is especially charming for smaller pots and adds a whimsical, joyful touch to balconies and window sills.
Layered Washes for Depth
Create an artistic, painterly effect by applying multiple translucent washes of color. This technique builds depth and subtle variation, much like watercolor. After a base coat, dilute your chosen paint colors significantly with water or a glazing medium.
Apply thin, uneven layers, allowing each to dry slightly before adding the next. Experiment with complementary colors or different shades of the same color. The transparency allows underlying layers to peek through, giving your pots a nuanced, handcrafted appearance that feels rich and sophisticated.
Making Your Outdoor Space Truly Yours
Renter-friendly upgrades don’t have to be bland or uninspired. As we’ve explored, the simple act of flower pot painting opens up a world of creative possibilities for your outdoor spaces.
These techniques offer a practical way to infuse your personality and style into your garden, transforming ordinary pots into statement pieces.
Whether you lean towards modern geometrics, rustic charm, or whimsical botanicals, remember that the beauty of these projects lies in their flexibility and
ease. Your pots are a canvas waiting for your touch, ready to reflect your taste and make your rented space truly feel like home, one brushstroke at a time.