There’s a unique satisfaction that comes with painting your own flower pots. It’s a chance to infuse personality into your garden, to match your decor, or simply to enjoy a creative afternoon.
However, the line between a charming DIY project and something truly polished often comes down to a few thoughtful details.
Many of us have experienced that moment when a newly painted pot, despite our best efforts, still looks a little unfinished, a bit too ‘homemade.’ The good news is, making your flower pot painting projects look professionally styled isn’t about complex techniques or expensive materials.
It’s about smart choices and a bit of intentionality.
As someone who spends a lot of time styling patios and tending to garden spaces, I’ve learned that the secret lies in treating each pot as a canvas that deserves a complete vision.
From the initial prep to the final plant pairing, every step offers an opportunity to elevate the outcome. Here are 14 easy upgrades that will make your painted flower pots look more refined, cohesive, and utterly gorgeous in any setting.
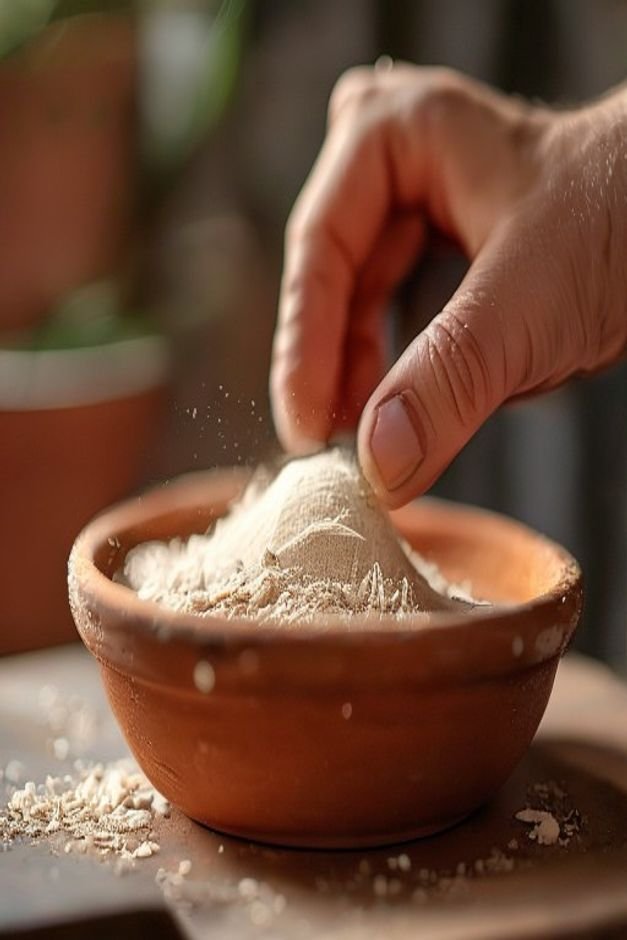
Start with Proper Prep Work
The foundation of any great paint job is good preparation. Skipping this step is like building a house on sand. Begin by thoroughly cleaning your pots. Terracotta, especially, can hold onto dust, dirt, and mineral deposits.
Use a stiff brush and soapy water to scrub them clean, then rinse well and let them dry completely. For a truly smooth finish, a light sanding with fine-grit sandpaper (around 120-220 grit) can make a world of difference, especially on rougher surfaces.
This provides a better ‘tooth’ for the paint to adhere to.
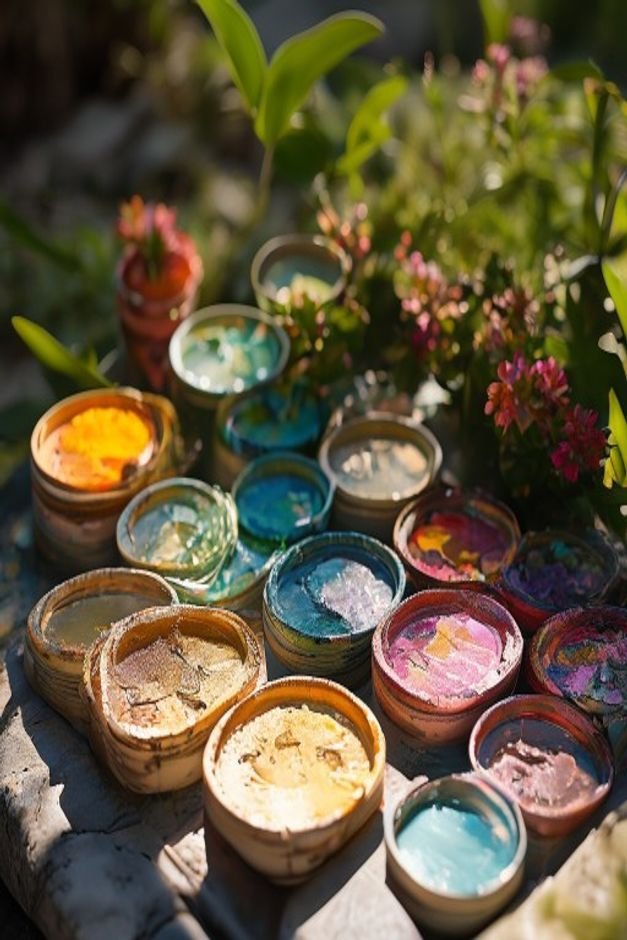
Choose the Right Paint
Not all paints are created equal, especially for outdoor use. Interior paints will likely chip, fade, and peel quickly when exposed to the elements. Opt for exterior-grade acrylic paints, which are designed to withstand UV rays, moisture, and temperature fluctuations.
Look for paints specifically labeled for masonry, ceramics, or multi-surface use.
These formulations offer better adhesion and durability, ensuring your beautiful work lasts through seasons of sun and rain. Matte, satin, and gloss finishes all have their place; consider the overall look you’re aiming for.
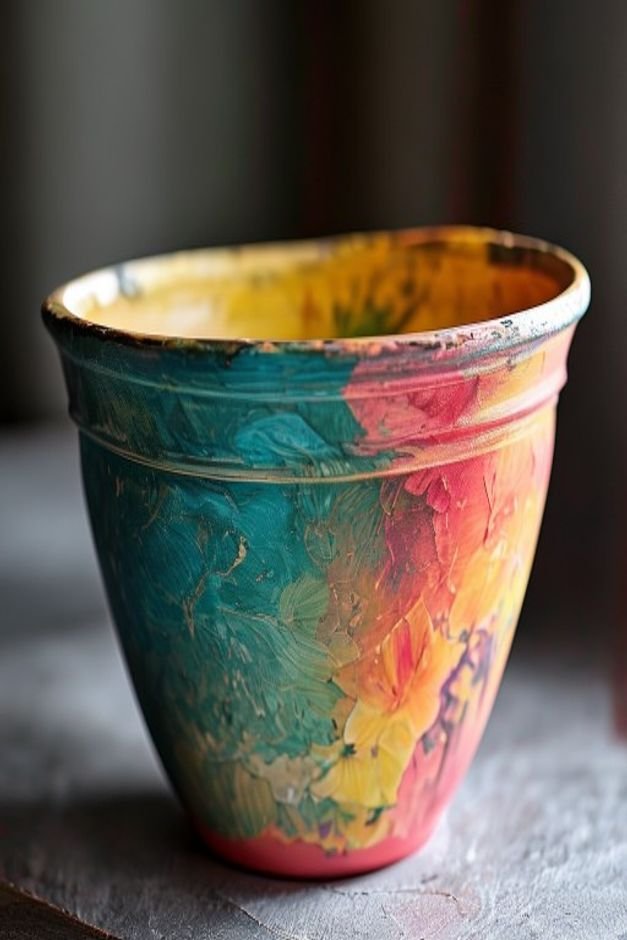
Layer Your Colors for Depth
A single, flat coat of paint can sometimes look stark. Instead, think in layers. Start with a solid base coat, allowing it to dry completely. Then, introduce a second, complementary color for an accent, or even a subtle wash over the base.
A slightly darker shade in crevices or along the rim can create a lovely sense of depth and dimension.
You might also experiment with a dry-brush technique, where you apply a very small amount of paint to a dry brush and lightly skim it over the surface, leaving a textured, weathered effect.
Add Texture with Stencils and Stamps
Simple patterns can add immense character without being overly complicated. Stencils are your best friend here. Geometric shapes, botanical motifs, or even a simple repeating dot pattern can elevate a plain pot.
Use painter’s tape to secure your stencil, apply paint sparingly to avoid bleeding, and peel it off while the paint is still slightly wet for crisp lines.
Rubber stamps, readily available in craft stores, can also create charming, repetitive designs. Just be sure to use a paint suitable for stamping that won’t smudge.
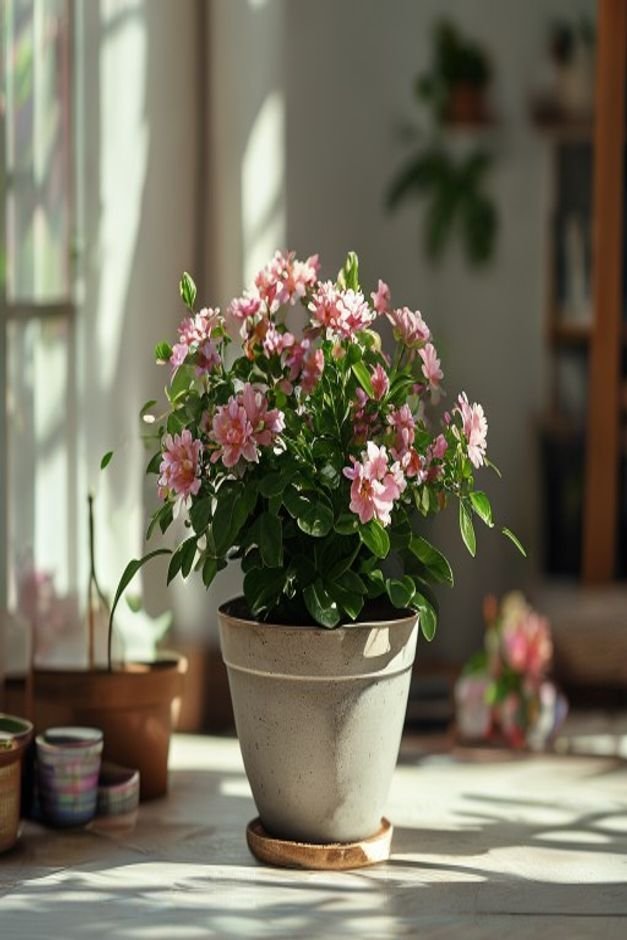
Define Edges and Rims
One of the quickest ways to make a painted pot look professional is to pay attention to its edges. A clean, contrasting band of color around the rim instantly frames the pot and gives it a finished look.
Use painter’s tape to create perfectly straight lines. You might also consider painting the inner rim a contrasting color, or even a metallic shade, for a subtle surprise when viewed from above.
Even a single, thin stripe of a different color just below the rim can make a significant impact.
Seal the Deal with a Top Coat
Just like a good manicure needs a top coat, your painted pots need a sealant. This protective layer is crucial for durability, especially for outdoor pots. Clear acrylic sealants come in various finishes: matte, satin, and gloss.
Choose one that complements your paint finish and provides UV protection.
Apply several thin, even coats, allowing each to dry thoroughly. This step will protect your artwork from chipping, fading, and water damage, making your efforts last much longer.
Ensure Strategic Drainage
While primarily practical, proper drainage also contributes to the overall aesthetic of a healthy plant and, by extension, a well-styled pot. If your pot doesn’t have a drainage hole, consider drilling one.
For larger pots, placing a layer of gravel or broken pot shards at the bottom before adding soil helps prevent waterlogging.
A plant struggling due to poor drainage will detract from even the most beautifully painted pot. Healthy plants are the ultimate accessory.
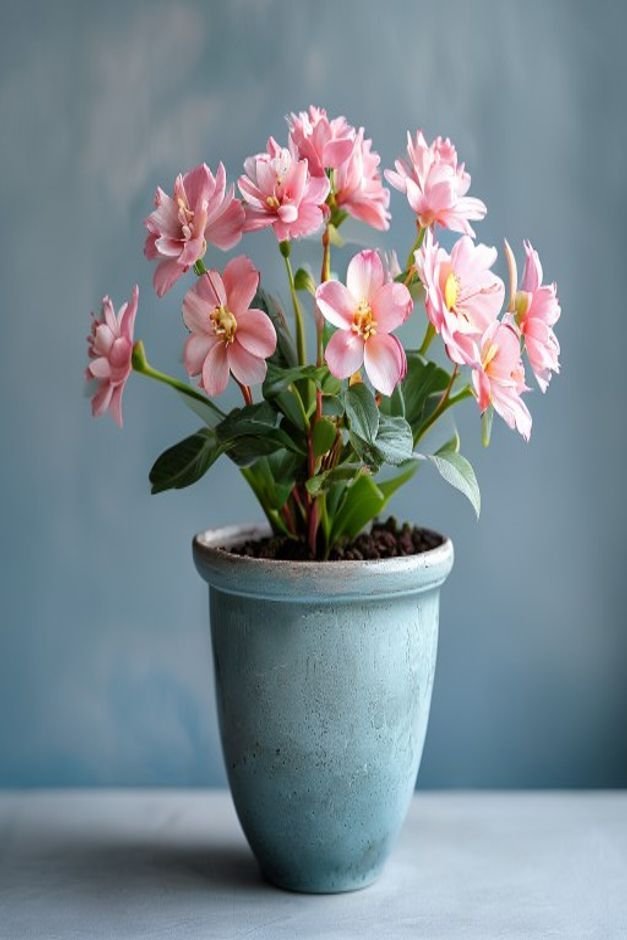
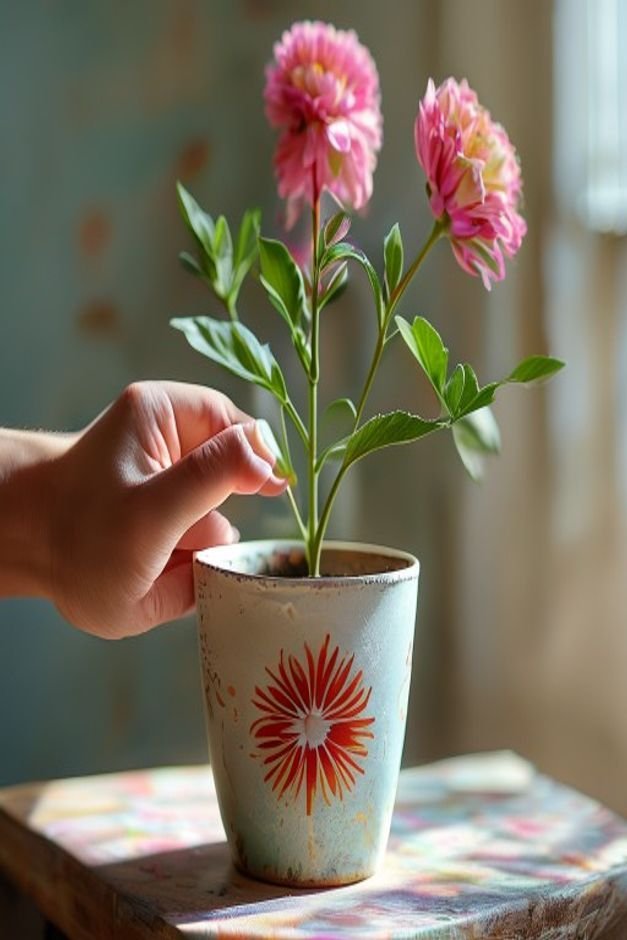
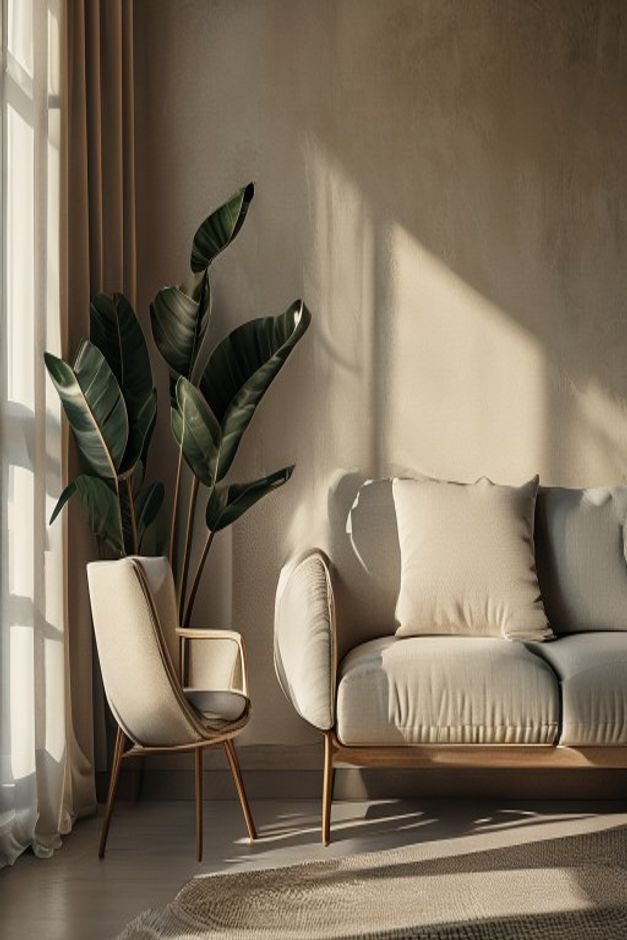
Pair with the Right Plants
The plant itself is half the story. Consider the colors and textures of your chosen plant when you’re planning your flower pot painting.
A vibrant, busy pattern on a pot might be best paired with a simpler, solid-colored plant, while a subtly painted pot can highlight a dramatic, colorful bloom.
Think about scale too; a small plant in an oversized pot can look lost, just as a large plant can overwhelm a tiny pot.
The goal is harmony, where the pot and plant enhance each other, creating a cohesive visual statement.
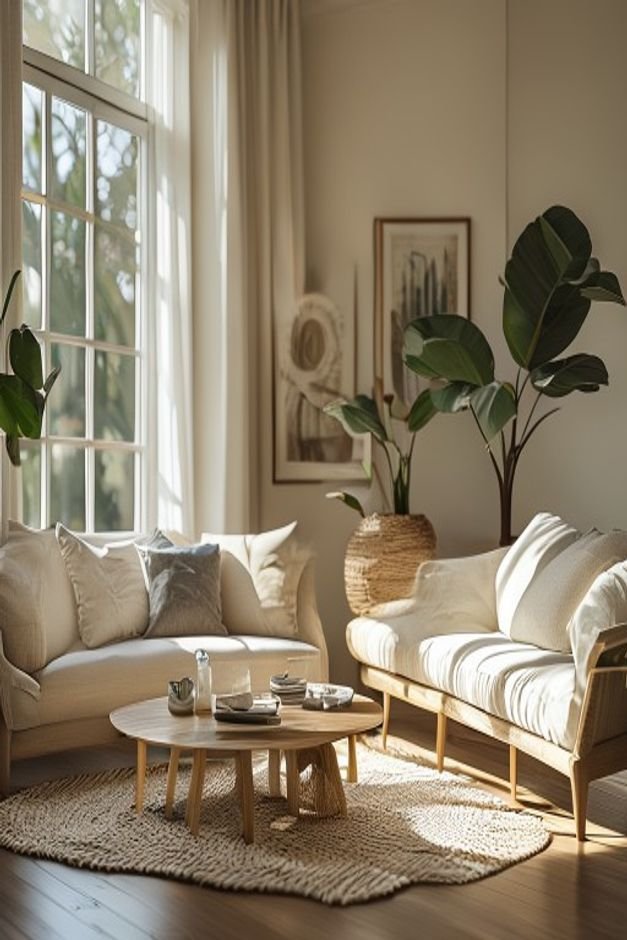
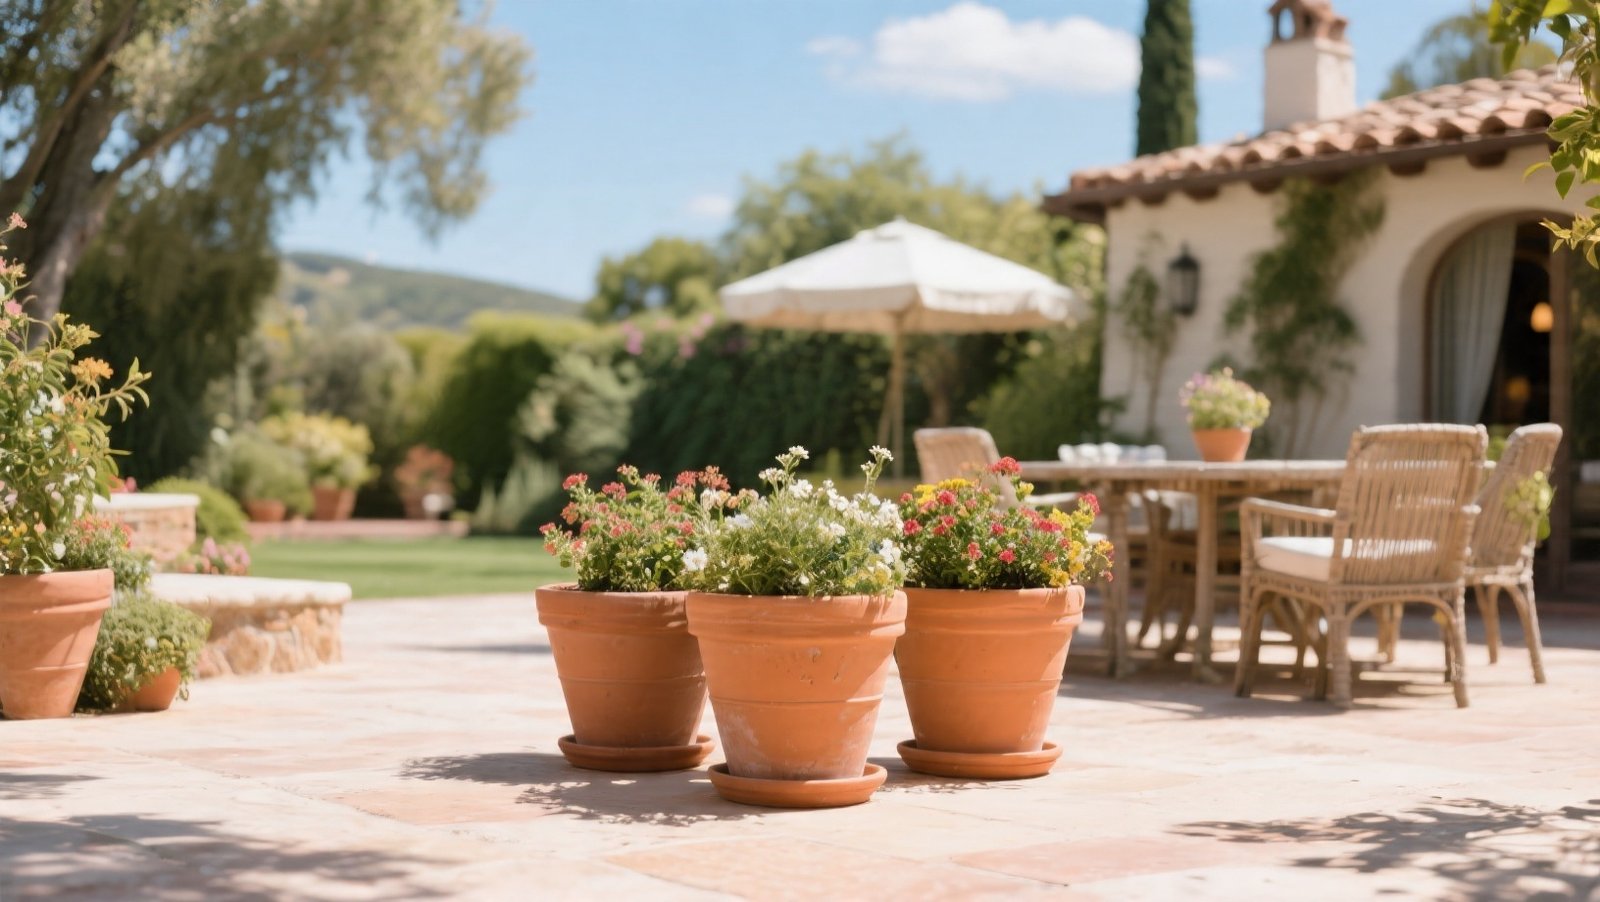
Group for Greater Impact
A single painted pot is lovely, but a thoughtfully grouped collection is truly impactful. Arrange pots of varying heights, widths, and paint finishes. Use a mix of colors that complement each other, or stick to a monochromatic palette for a sophisticated look.
Place taller plants in the back and trailing plants in the front to create depth.
Grouping pots together creates a focal point and gives your garden or patio a curated, intentional feel, making each individual pot look more considered.
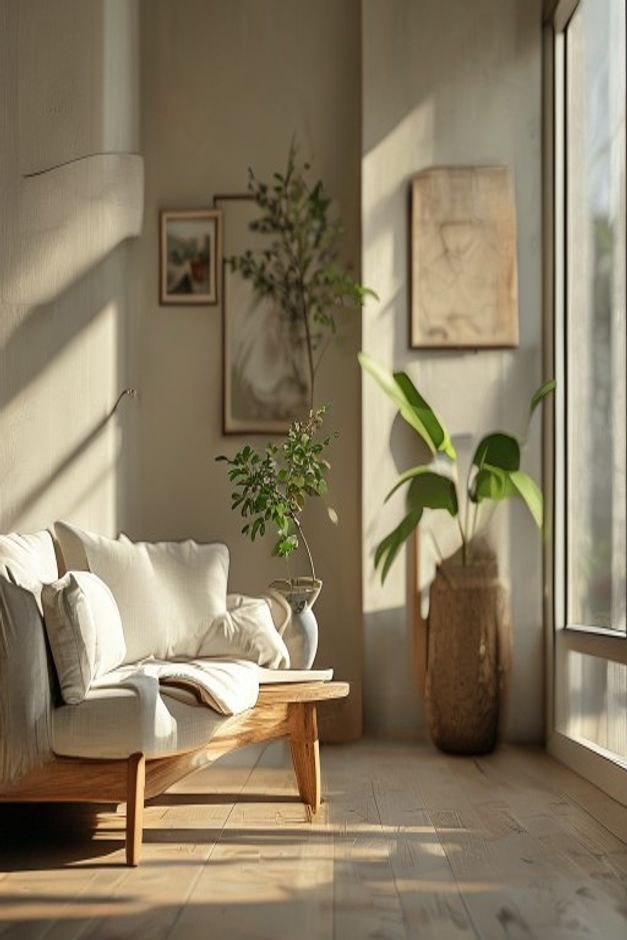
Incorporate Natural Embellishments
Bring the outside in (or rather, keep it on the outside) by adding natural elements to your painted pots.
A simple twine wrap around the neck of a pot, a few smooth river stones glued strategically, or even dried seed pods can add organic texture and charm. These small details ground the pot in its natural environment and add a touch of rustic elegance.
Ensure any glued elements are secured with an outdoor-grade adhesive to withstand weather.
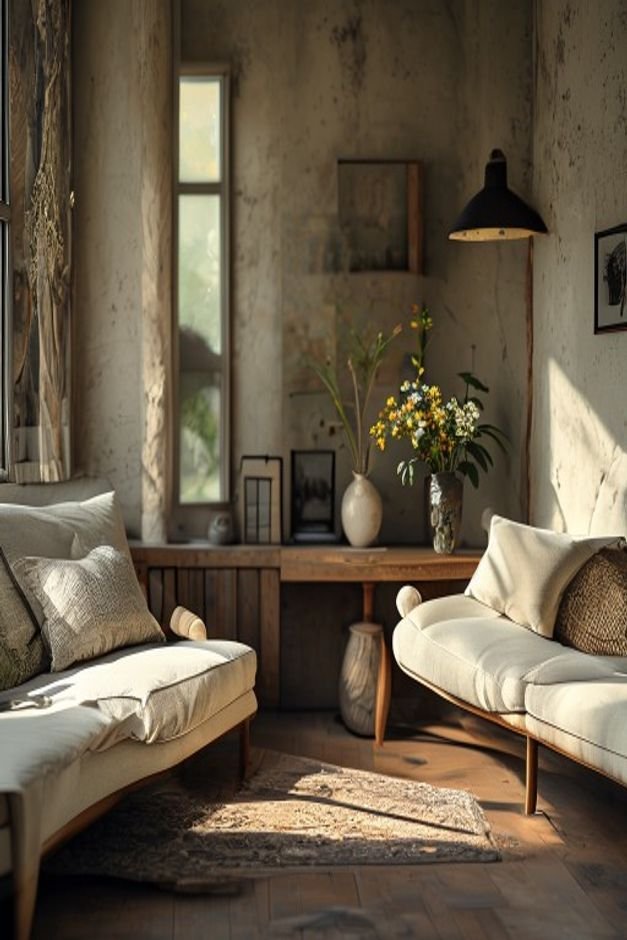
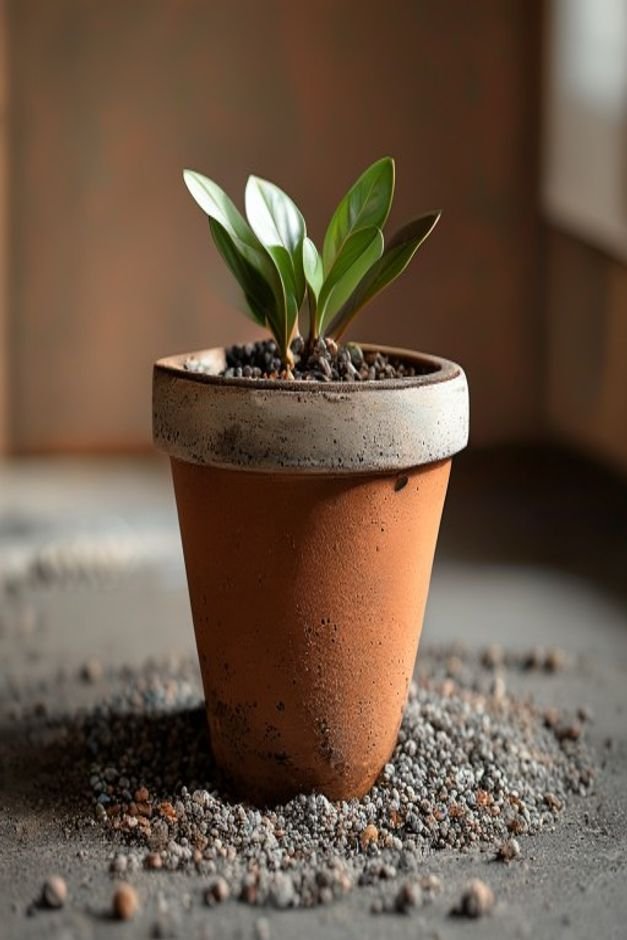
A Touch of Antiquing or Distressing
Sometimes, a brand-new look isn’t what you’re after. For a weathered, timeless appeal, try antiquing or distressing your pots. After your base coat is dry, lightly sand edges and raised areas to reveal hints of the original terracotta or a darker undercoat.
You can also apply a thin, diluted wash of a darker color over the entire pot, then wipe it back before it fully dries, settling the pigment into crevices for an aged effect.
This technique adds character and makes the pot look like it has a story to tell.
Metallic Accents for Shine
A little sparkle can go a long way. Metallic paints in gold, copper, or silver can be used sparingly to add a touch of glamour.
Consider a thin metallic stripe around the rim, a stenciled metallic pattern, or even just a few flecks dry-brushed over a textured surface. The way these accents catch the light can be truly beautiful, adding a sophisticated gleam to your garden decor.
Even a subtle metallic shimmer can elevate the entire look without being overwhelming.
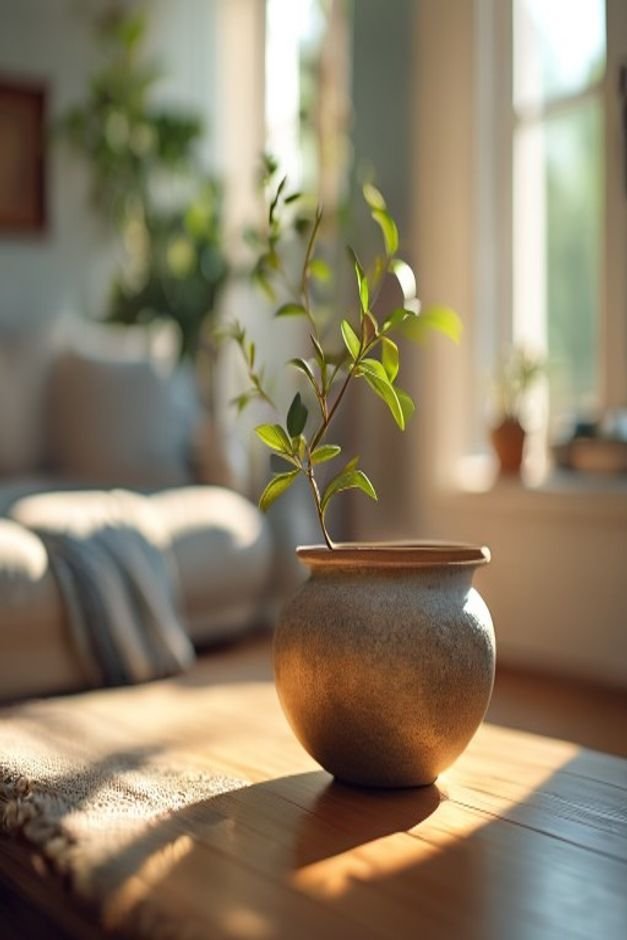
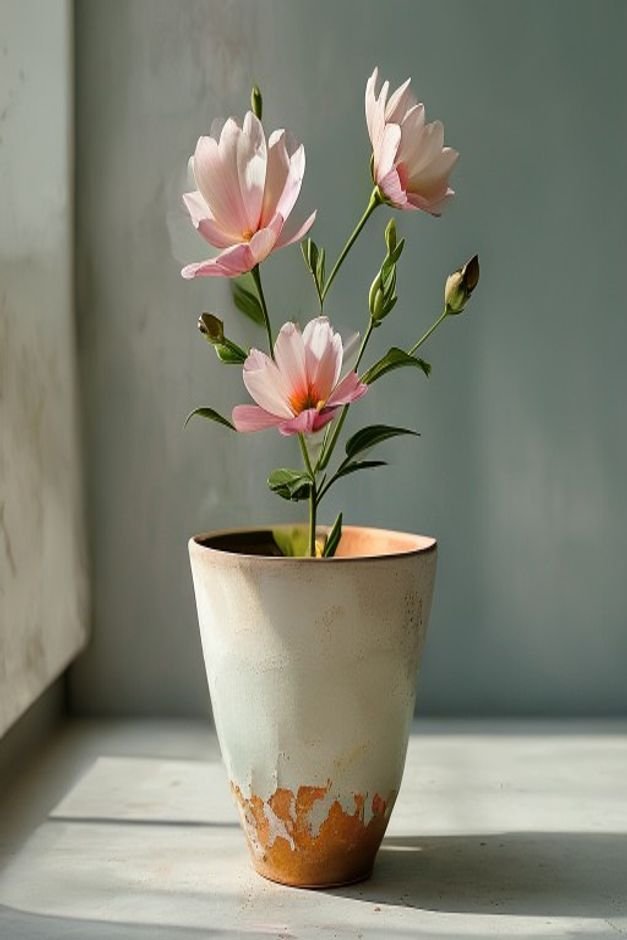
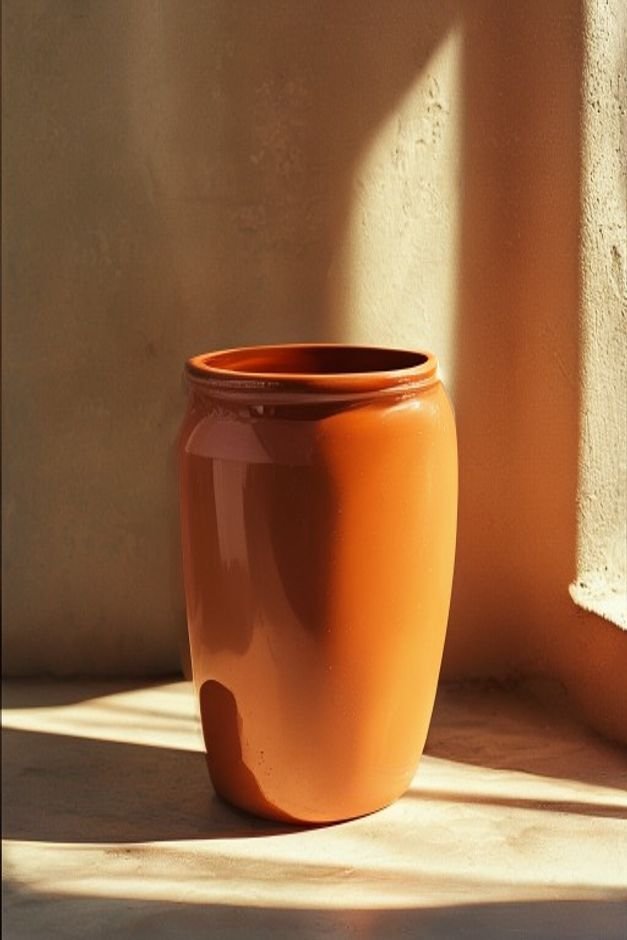
Consider the Pot’s Original Form
Before you begin painting, take a moment to appreciate the pot’s natural texture and shape. Sometimes, a thin, translucent wash of color that allows the terracotta’s warmth to show through can be more effective than an opaque coat.
For pots with interesting embossed patterns or ridges, use paint to highlight these features rather than burying them under thick layers.
Embrace the pot’s inherent character; paint can enhance it, not just cover it up.
Finishing Your Flower Pot Painting Projects
From the initial scrub to the final placement, every step in the flower pot painting process offers an opportunity for refinement.
It’s the sum of these small, thoughtful decisions that transforms a simple DIY into a piece of art that truly enhances your garden or patio.
By focusing on preparation, choosing the right materials, adding subtle details, and considering the overall presentation, you can achieve results that look not just good, but genuinely finished and professionally styled.
So grab your brushes, embrace these upgrades, and watch your outdoor spaces come alive with beautifully crafted pots.