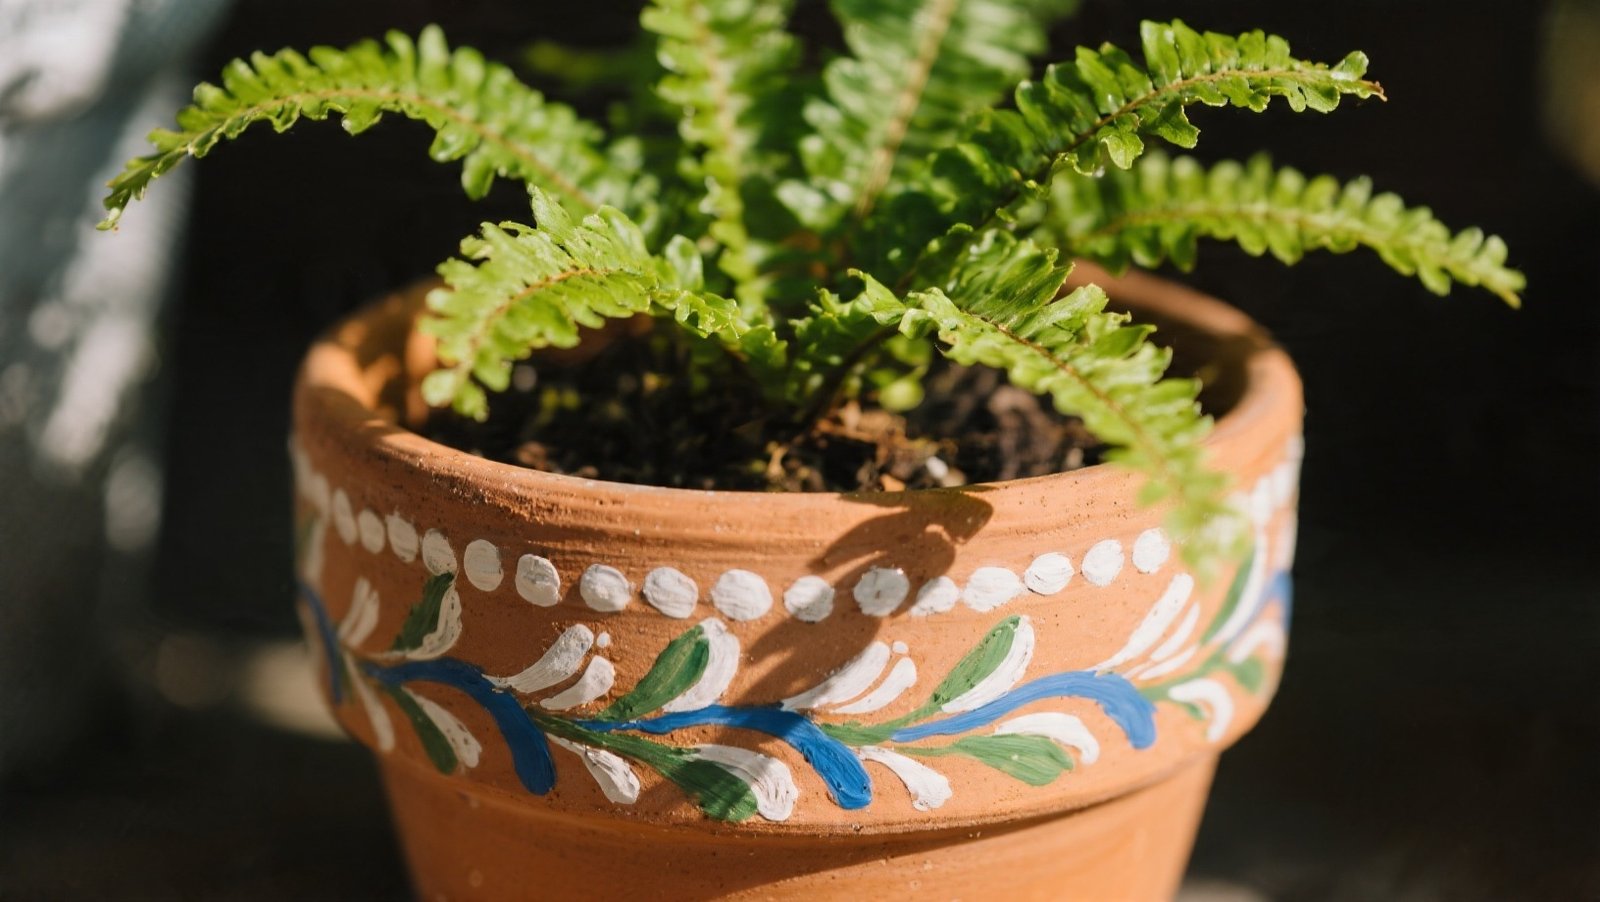
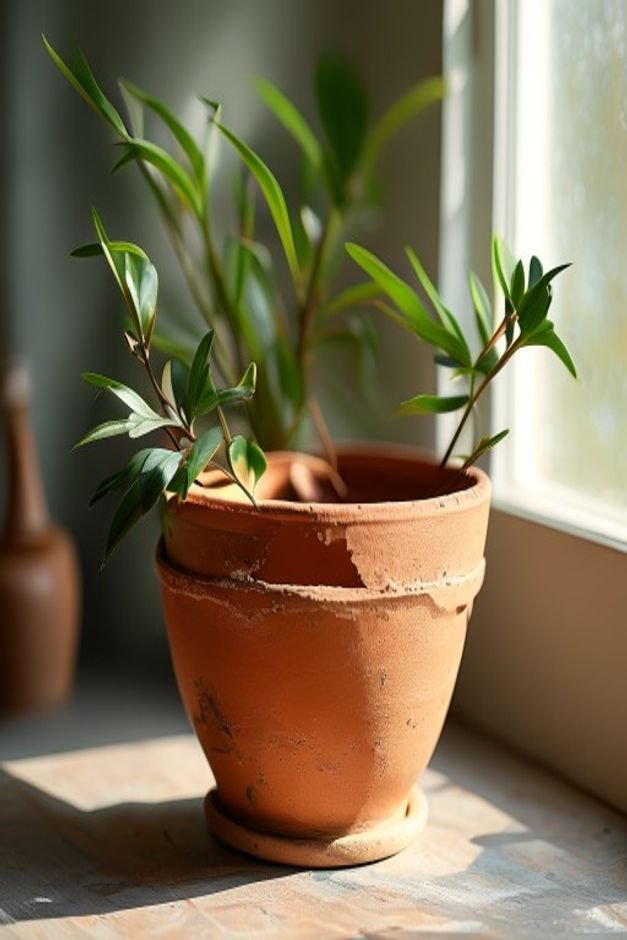
There’s a special kind of satisfaction that comes from bringing a plain terracotta pot to life with a splash of color. It’s an easy, cost-effective way to add personality and polish to your garden or patio.
However, what starts as a fun DIY project can quickly become a disappointment if the paint chips, peels, or fades within weeks.
Many common errors in flower pot painting are completely avoidable with a little forethought and the right technique. You want your efforts to last, creating vibrant focal points that enhance your outdoor living spaces for seasons to come.
Let’s walk through the ten biggest mistakes to sidestep, ensuring your painted pots remain a source of pride.
Skipping Surface Preparation
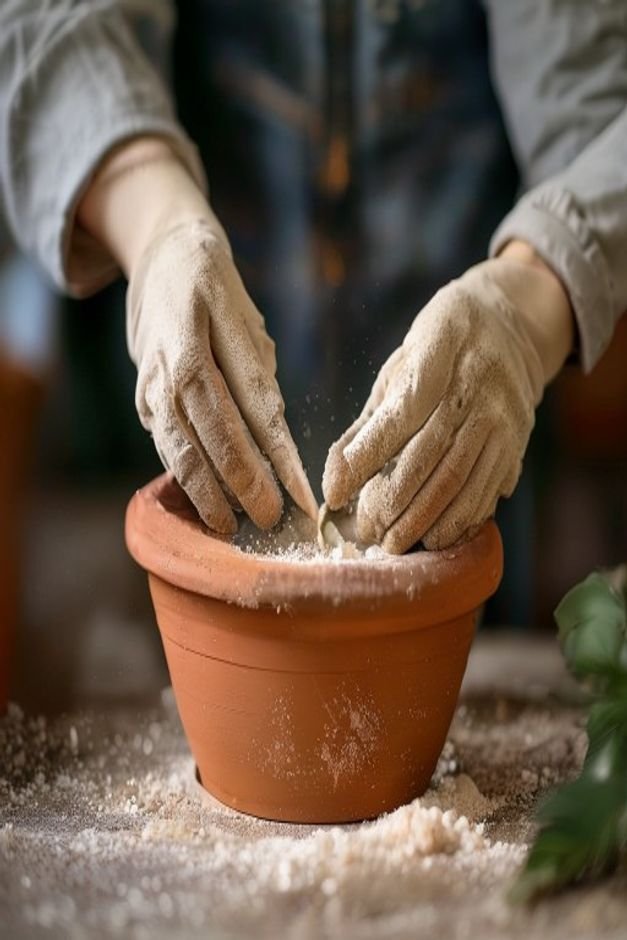
Imagine painting a beautiful mural on a dusty, greasy wall; it wouldn’t adhere properly. The same principle applies to your flower pots. Skipping proper surface preparation is a primary reason paint fails prematurely.
Before you even think about brushes, clean your pots thoroughly. Use a stiff brush and soapy water to remove dirt, grime, and any existing flaking paint. For terracotta, a quick scrub followed by a full dry in the sun is essential.
If the pot has been previously painted, a light sanding can help create a better surface for new paint to grip.
Choosing the Wrong Paint Type
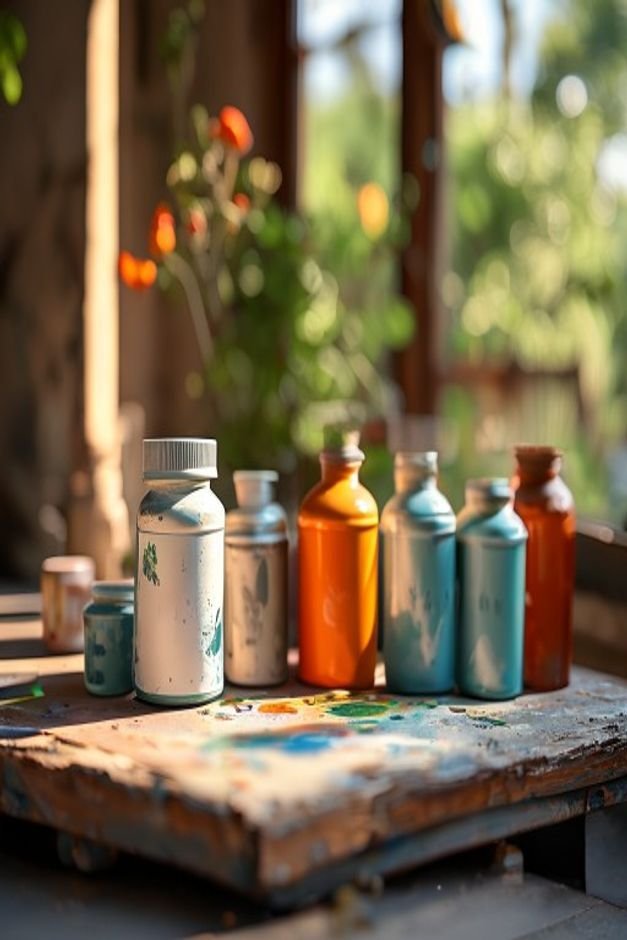
Not all paints are created equal, especially when exposed to the elements. Using interior-grade paint outdoors is a recipe for disaster. It will quickly succumb to sun, rain, and temperature fluctuations, leading to chipping and fading.
Opt for paints specifically designed for outdoor use. Acrylic latex paints are generally a good choice for their flexibility and weather resistance. For terracotta, a masonry primer can create an excellent base.
Always check the label to ensure the paint is suitable for the material of your pot and the outdoor environment.
Ignoring Drainage
Flower pots exist to house plants, and plants need proper drainage to thrive. Painting over or inadvertently sealing drainage holes is a common oversight that can lead to waterlogged roots and plant death.
It also traps moisture between the paint layers and the pot, causing the paint to blister.
Always ensure drainage holes remain clear and functional. If you’re painting the inside of the pot (which is often not recommended for porous materials like terracotta), be extra careful around these critical openings.
Consider placing a small piece of mesh or a coffee filter over the hole from the inside before adding soil to prevent blockages.
Applying Thick Coats
It’s tempting to rush the process by applying one or two thick coats of paint for quick coverage. However, this often backfires.
Thick layers take longer to dry, are prone to drips, and are more likely to crack or peel, especially on porous surfaces that expand and contract.
Patience is key here. Apply several thin, even coats, allowing each layer to dry completely according to the manufacturer’s instructions before adding the next. This builds up the color gradually, creates a smoother finish, and ensures better adhesion and durability.

Rushing the Drying Process
Just as applying thick coats can cause issues, not allowing adequate drying and curing time between coats and before outdoor placemen
t is a significant mistake. Paint might feel dry to the touch in an hour, but it can take days or even weeks to fully cure and harden.
Rushing the process can lead to smudging, peeling, and a less durable finish. Always follow the paint manufacturer’s recommendations for drying and curing times.
Place freshly painted pots in a well-ventilated, dry area, away from direct sunlight or extreme temperatures, to allow them to harden properly.
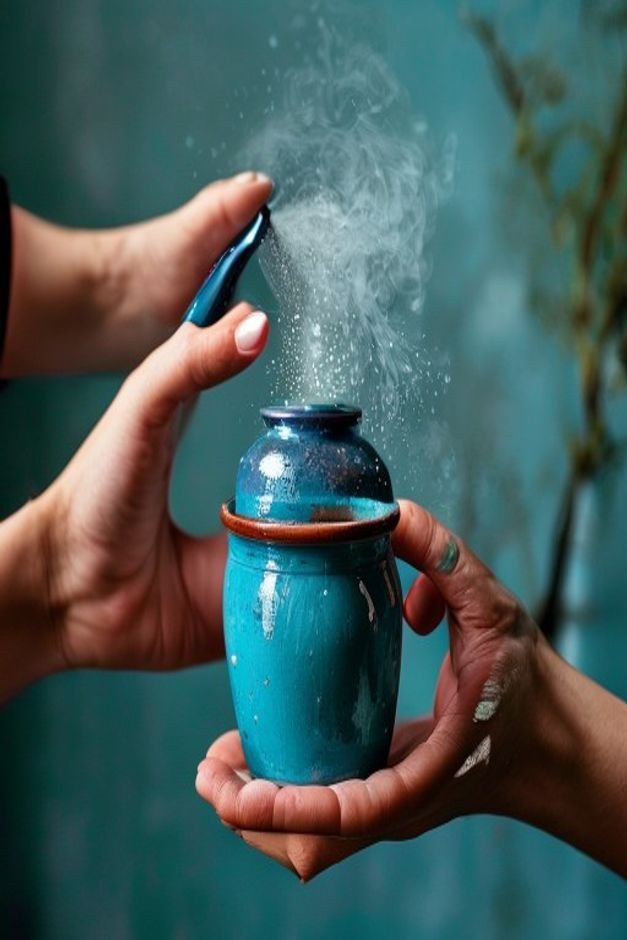
Forgetting a Sealer
Even with outdoor-grade paint, an additional layer of protection can significantly extend the life and vibrancy of your painted pots. Forgetting to apply a topcoat sealer leaves your beautiful work vulnerable to the elements.
Once your paint has fully cured, apply a clear, outdoor-grade sealant. Look for sealers that offer UV protection to prevent color fading and water resistance to guard against moisture damage.
Both spray-on and brush-on sealers are available, offering a durable protective barrier against sun, rain, and general wear.
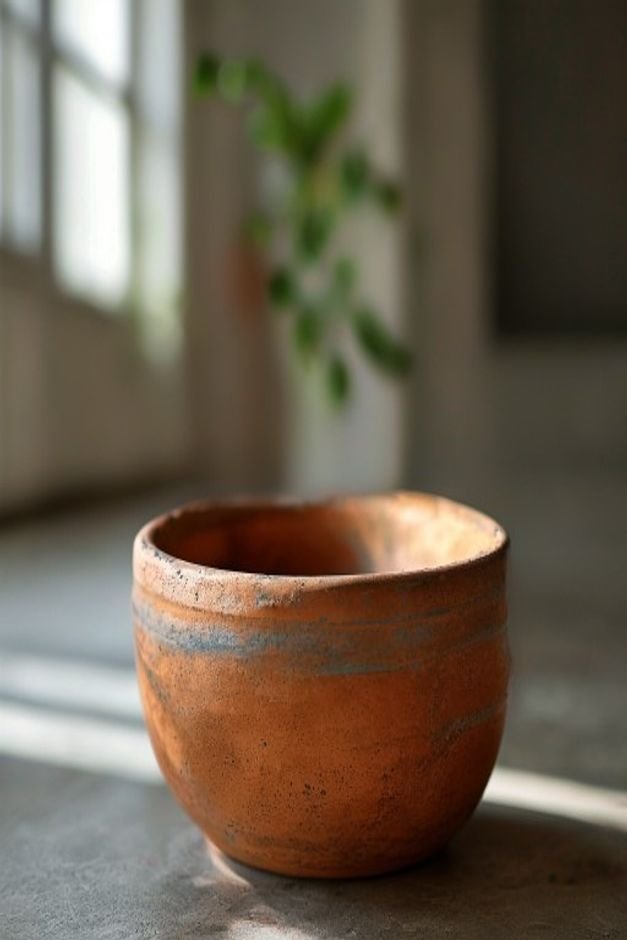
Overlooking the Interior
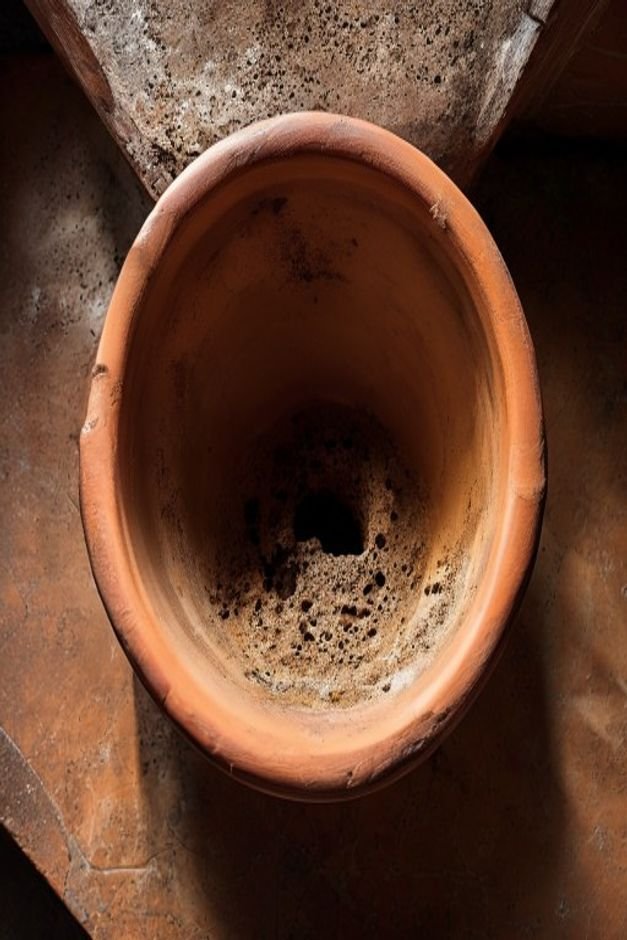
Many DIY painters focus solely on the exterior of the pot, leaving the interior unaddressed. For terracotta and other porous materials, this can lead to problems.
The pot’s natural wicking action can draw moisture from the soil into the unpainted inner surface, which then pushes through the exterior paint, causing bubbling and peeling.
While painting the entire interior can sometimes hinder the pot’s breathability, it’s wise to paint at least the top few inches of the inside rim. For truly poro
us pots, consider sealing the inside with a clear, non-toxic, plant-safe sealer up to the soil line to prevent moisture from compromising your exterior paint job.
Neglecting the Base
The base of a flower pot often gets overlooked during the painting process. If the bottom rim, where the pot meets the ground, is left unpainted or unsealed, it can act like a sponge, drawing moisture from wet surfaces directly into the pot’s material.
This absorbed moisture can then travel upwards, undermining your paint job from below.
Ensure you paint or seal the entire exterior surface, including the bottom rim, without blocking the drainage hole. This creates a complete protective shell against moisture absorption from the ground up, keeping your paint job intact and vibrant longer.
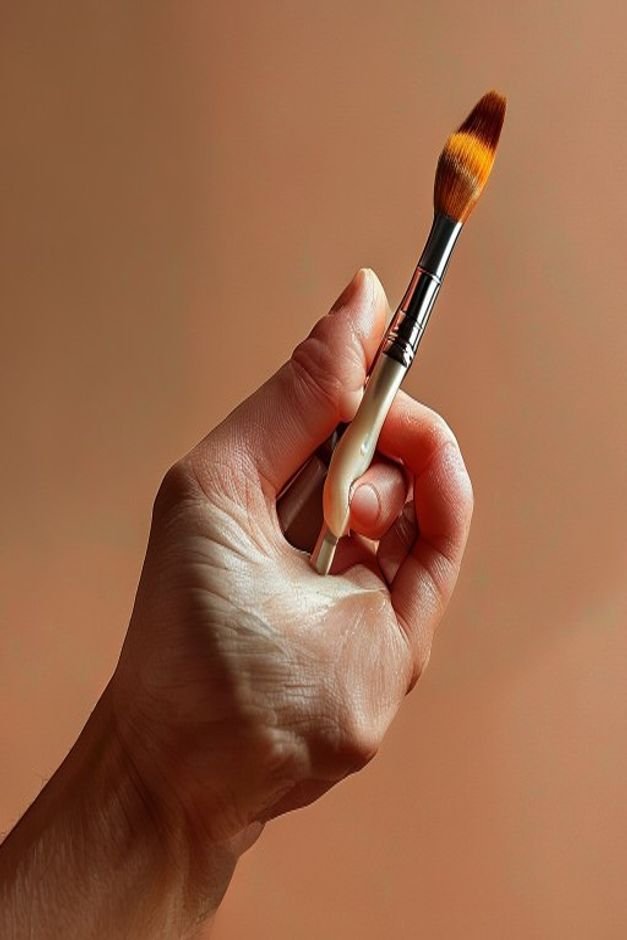
Using Flimsy Brushes
The quality of your tools directly impacts the quality of your finish. Using cheap, flimsy brushes can lead to frustrating results: uneven strokes, stray bristles embedded in the paint, and a generally unprofessional appearance.
These brushes also make it harder to achieve clean lines and smooth surfaces.
Invest in good quality brushes appropriate for the type of paint you’re using. Synthetic bristles work well with acrylic and latex paints, providing smooth application and minimal shedding.
Proper brush care – cleaning them thoroughly after each use – will ensure they last for many projects to come.
Lack of Design Vision
Sometimes, the mistake isn’t in the technique but in the aesthetic. Painting a pot a vibrant color without considering its surroundings or the plant it will hold can result in a disjointed look.
Your garden and patio are extensions of your home, and thoughtful styling makes a big difference in curb appeal.
Before you pick up a brush, consider your existing garden palette, the style of your home, and the colors of the plants you intend to use. Do you want a bold pop of color, or something subtle that blends seamlessly?
A cohesive design vision ensures your painted pots enhance, rather than clash with, your outdoor space, adding texture and visual interest where it matters most.
Bringing Life to Your Landscape with Thoughtful Flower Pot Painting
Thoughtful flower pot painting is more than just applying color; it’s about creating durable, beautiful vessels that complement your plants and outdoor decor.
By avoiding these common mistakes, you’re not just saving yourself future frustration—you’re ensuring your garden accents stand strong against the elements and continue to bring joy.
Take the time to prepare, choose wisely, and finish strong, and your painted pots will be a testament to your green thumb and keen eye for detail for years to come.