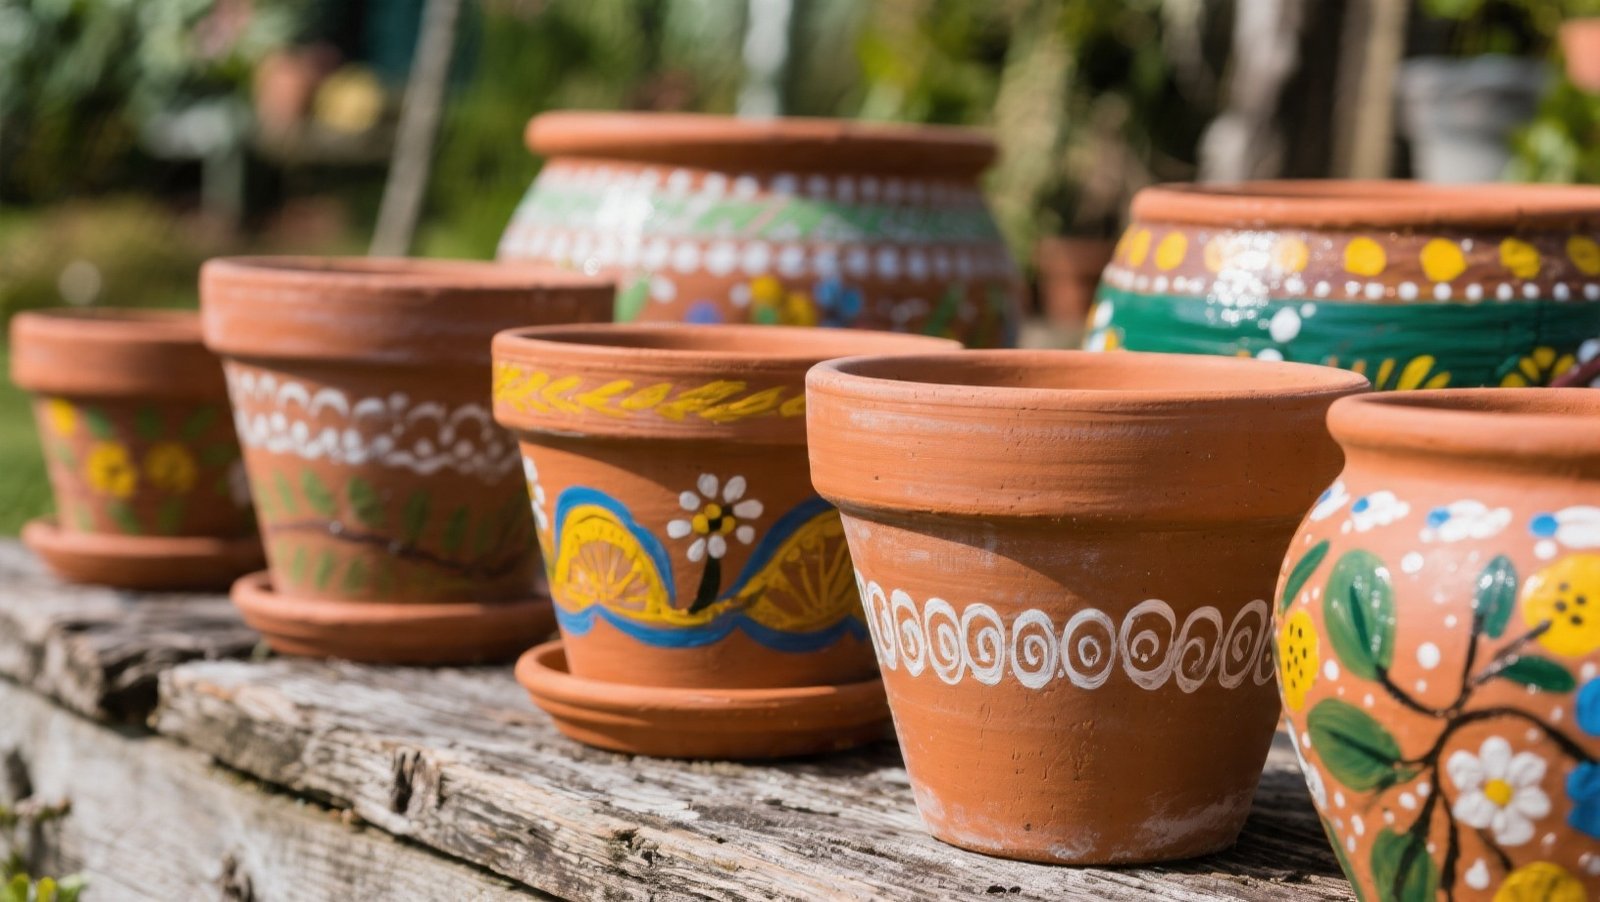
Tired of seeing the same old terracotta pots around your home and garden? A splash of paint is more than just a quick fix; it’s an invitation to inject personality and style into your outdoor spaces.
Flower pot painting is one of the most satisfying and budget-friendly ways to transform a humble container into a statement piece. It’s an art form that directly impacts your home’s curb appeal, adding texture, color, and a touch of bespoke charm to every corner.
You don’t need to be an artist or spend a fortune on supplies. With a few basic materials and these creative ideas, you can give your pots a fresh lease on life, making your plants truly pop.
Let’s dive into some practical, visual, and easy upgrades that will make your garden feel curated and vibrant.
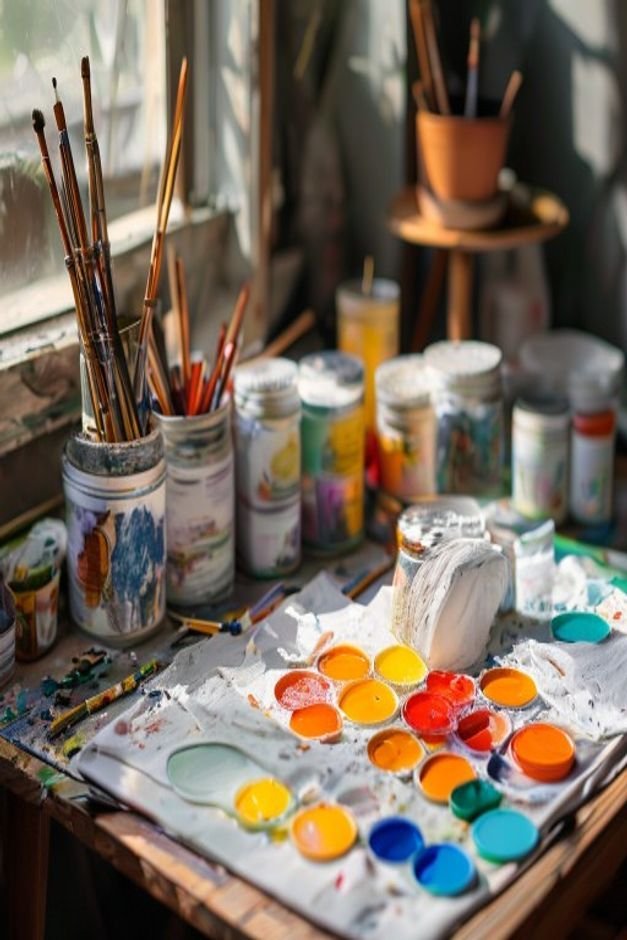
Gathering Your Simple Supplies
Before you dip your brush, gather your essentials. Good quality acrylic craft paints are ideal for outdoor use; look for those labeled ‘outdoor’ or ‘multi-surface’ for better durability. You’ll need a selection of brushes – a wider one for base coats, smaller ones for details.
Painter’s tape, sponges, rags, and a clear sealant are also crucial.
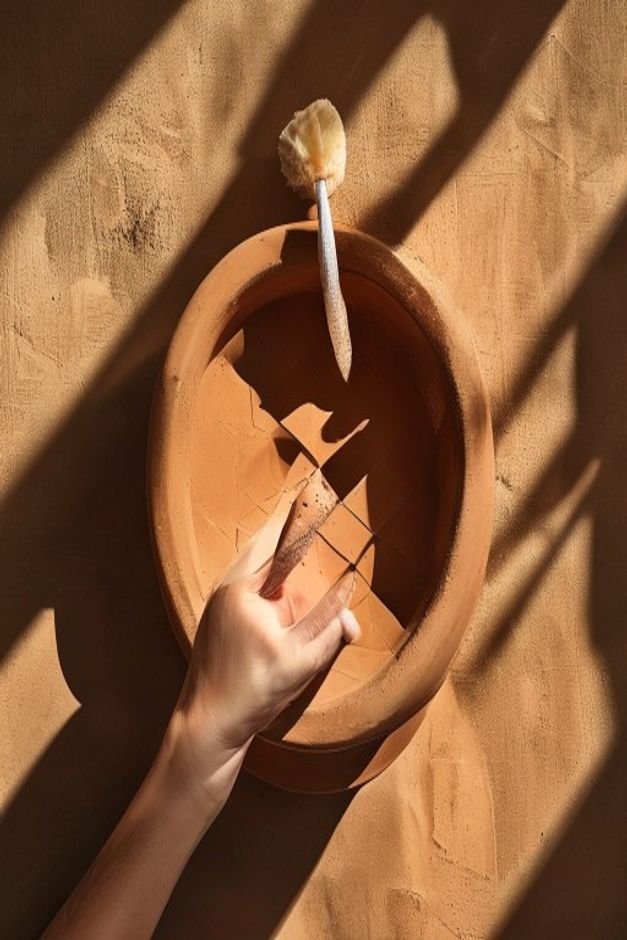
Always clean your pots thoroughly before painting. Scrub off any dirt or mineral deposits, then let them dry completely. For terracotta, a quick wipe with a damp cloth is often enough.
Consider a primer if you want very vibrant colors or if your pots are particularly porous.
Solid Color Statements
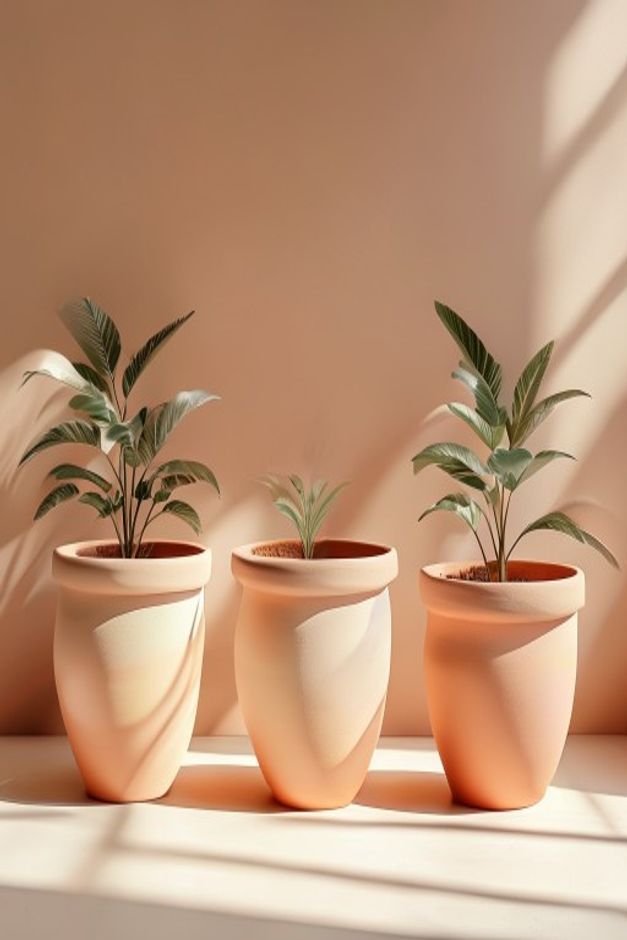
Sometimes, the simplest approach makes the biggest impact. A single, bold color can instantly refresh a tired pot. Think rich terracotta red, deep forest green, or a serene robin’s egg blue.
Apply two to three thin, even coats, allowing each layer to dry completely. This creates a smooth, opaque finish that lets the plant’s natural beauty take center stage. Grouping several pots in coordinating solid colors creates a sophisticated, cohesive look.
Simple Stripes and Bands
Stripes are a timeless pattern that adds structure and visual interest. Use painter’s tape to create clean, sharp lines. Decide on the width and spacing of your stripes before you start.
Apply your base coat first, let it dry, then carefully apply the tape. Paint your stripe color, and remove the tape while the paint is still slightly wet for the cleanest edge. Horizontal stripes can make pots appear wider, while vertical stripes add height.
[IMAGE PROMPT: A cheerful scene featuring a terracotta pot adorned with crisp white polka dots against a dark blue background A small b]
Playful Polka Dots
Polka dots bring a whimsical, cheerful vibe to any pot. They are incredibly easy to create, even for beginners. You don’t need a special tool; the end of a pencil eraser or the back of a paintbrush handle works perfectly for uniform dots.
For varied sizes, use different objects. Practice your dotting technique on a piece of scrap paper first. Polka dots look great in contrasting colors, like white on a dark blue pot, or in tone-on-tone shades for a subtle effect.
Stenciled Sophistication
Stenciling is your secret weapon for intricate designs without needing advanced artistic skills. You can find stencils with various patterns, from delicate florals to bold geometrics, at most craft stores.
Secure the stencil firmly with painter’s tape to prevent bleeding. Apply paint with a sponge or a stencil brush, dabbing gently rather than brushing. This technique is perfect for creating repeatable patterns or adding a sophisticated motif to your flower pot painting projects.
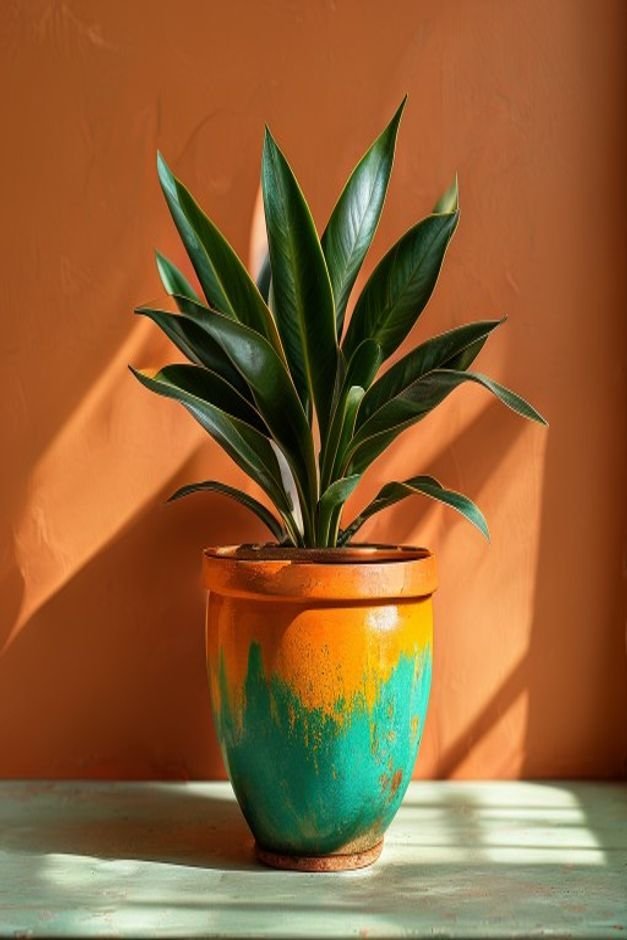
Ombre Hues
The ombre effect, a smooth transition from one color to another, adds a modern and artistic touch. This technique works beautifully with two or three colors within the same color family, or contrasting shades for a dramatic look.
Start with your lightest color at the top of the pot. While it’s still wet, blend in the next color downwards, using a clean, damp brush to smooth the transition. Practice on an inconspicuous area first to get the hang of the blending.
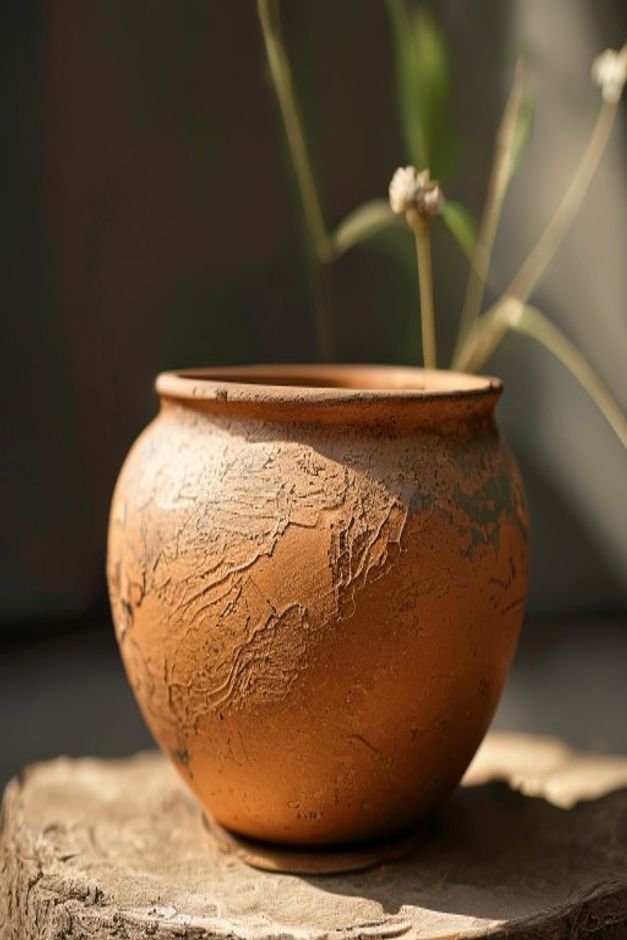
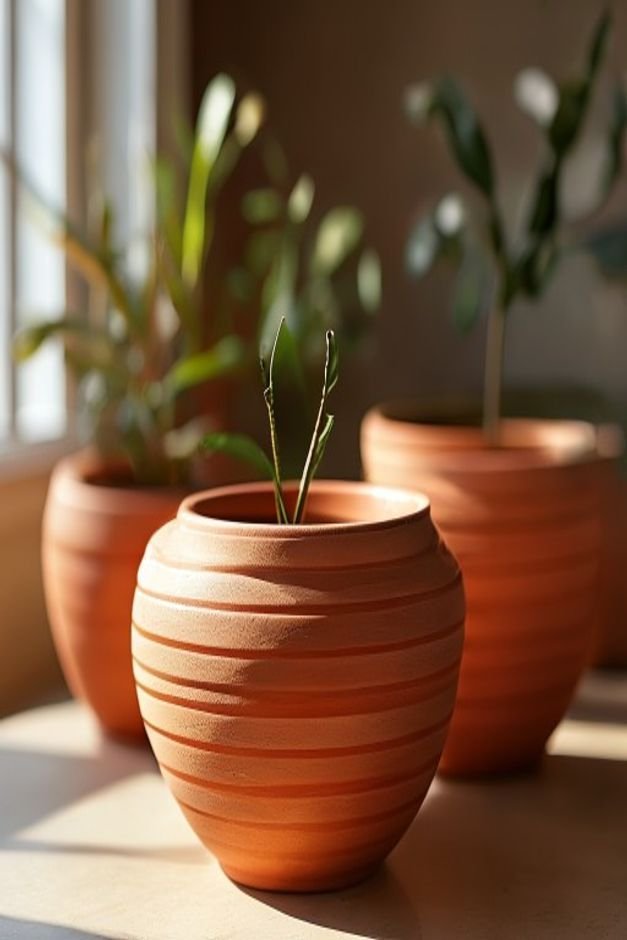
Textured Paint Finishes
Give your pots a tactile dimension with textured paint. You can achieve this by mixing fine sand into your paint for a gritty, stone-like finish, or by using a sponge to dab on paint for a stucco or weathered look.
Experiment with different application methods – dabbing, dragging, or layering – to find a texture that suits your style. These finishes are excellent for creating a rustic or Mediterranean garden aesthetic, making your pots feel more substantial.
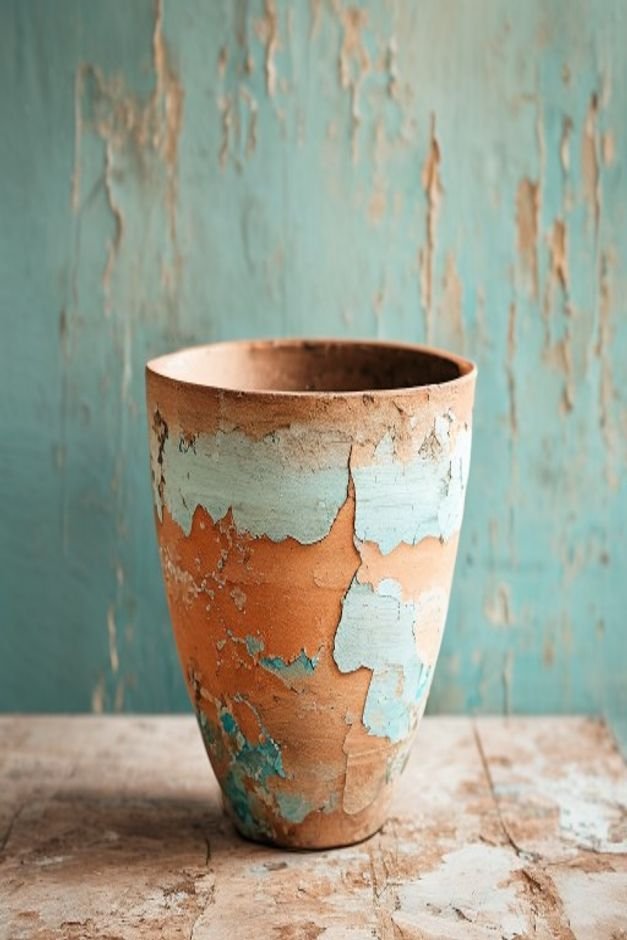
Distressed and Aged Charm
For a vintage or cottage garden feel, try distressing your painted pots. Paint your pot a base color, then apply a contrasting top coat.
Once dry, lightly sand areas where natural wear would occur, like rims and edges, to reveal the base color or the original terracotta.
Another method involves applying petroleum jelly in spots before the top coat, then scraping away the top coat after it dries. This creates beautifully aged pots that look like they’ve been cherished for years.
Hand-Painted Abstract Swirls
Unleash your inner artist with abstract designs. There’s no right or wrong here. Use a thin brush to create free-flowing swirls, organic shapes, or simple squiggles. Think about colors that complement your plants or your garden’s overall palette.
This is a wonderfully meditative way to personalize your pots. Don’t overthink it; let your hand guide the brush. The imperfect, unique nature of hand-painted work adds significant character.
Two-Tone Dipped Look
A ‘dipped’ look gives pots a contemporary edge. This involves painting one section of the pot, typically the bottom half, in a solid color while leaving the top half unpainted or painted a different shade. Use painter’s tape to create a crisp dividing line.
For a clean line, apply tape firmly around the pot at your desired height. Paint below the tape, allow to dry, then remove. This minimalist approach creates a striking visual contrast that highlights both the paint and the natural material of the pot.
Bringing Your Flower Pot Painting to Life
After all your creative flower pot painting efforts, the final step is to seal your work. A clear, outdoor-grade sealant, available in spray or brush-on forms, will protect your paint from the elements, preventing chipping and fading.
Apply two to three thin coats for maximum durability.
Once sealed, it’s time to pair your newly decorated pots with the perfect plants. Consider how the colors and patterns of your pots complement the foliage and blooms.
A simple, bold pot might highlight a delicate fern, while a busy pattern could beautifully frame a monochromatic succulent. Arrange your refreshed pots in clusters, along pathways, or as focal points on your patio to truly bring your garden vision to life.
Each painted pot is a small piece of art, contributing to the overall beauty and personality of your outdoor sanctuary.