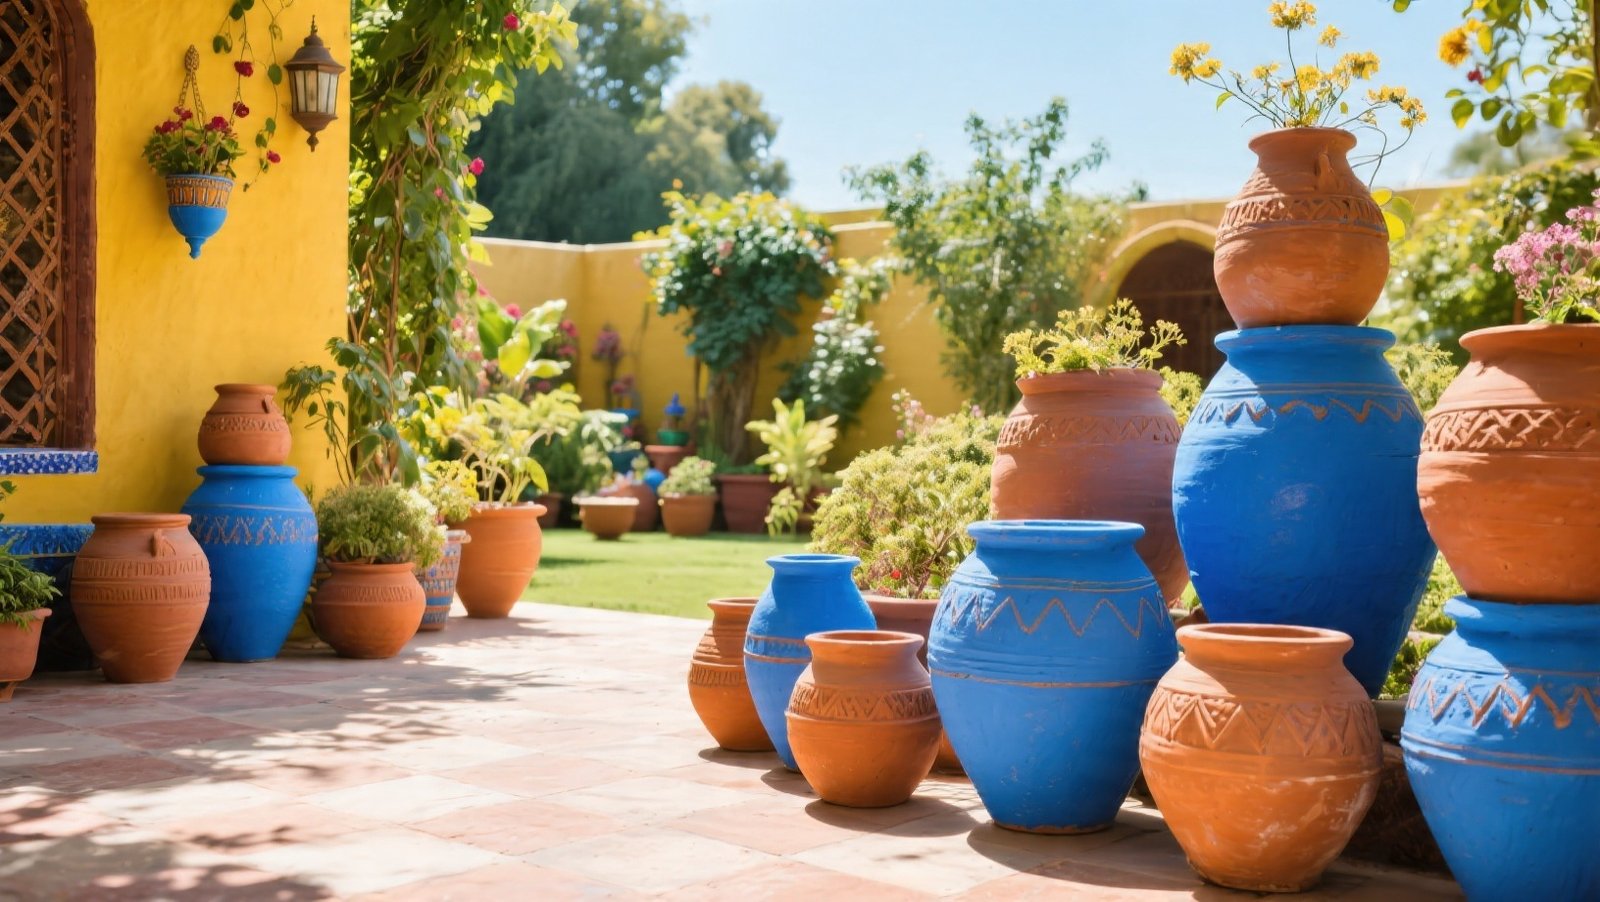
There’s nothing quite like walking into a garden brimming with life, where every detail, down to the plant pots, tells a story. A pop of color or a unique design on a humble flower pot can transform a simple corner into a captivating display.
When done right, flower pot painting is a simple, effective way to inject personality and charm into your outdoor spaces.
However, it’s easy to get carried away with the vision and overlook the practical steps that ensure your painted pots last beyond a single season. Many enthusiastic gardeners make common mistakes that lead to chipped paint, fading colors, or even harm to their beloved plants.
But with a little foresight and the right technique, you can avoid these pitfalls.
Let’s dive into the ten most common flower pot painting mistakes and how to sidestep them, so your garden remains vibrant and stylish year after year.
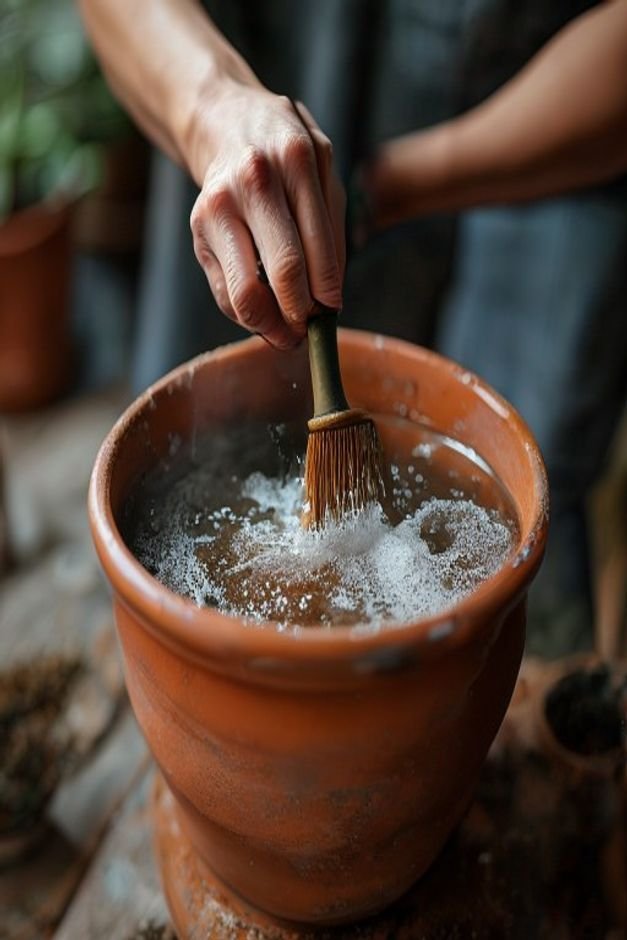
Not Cleaning and Prepping Properly
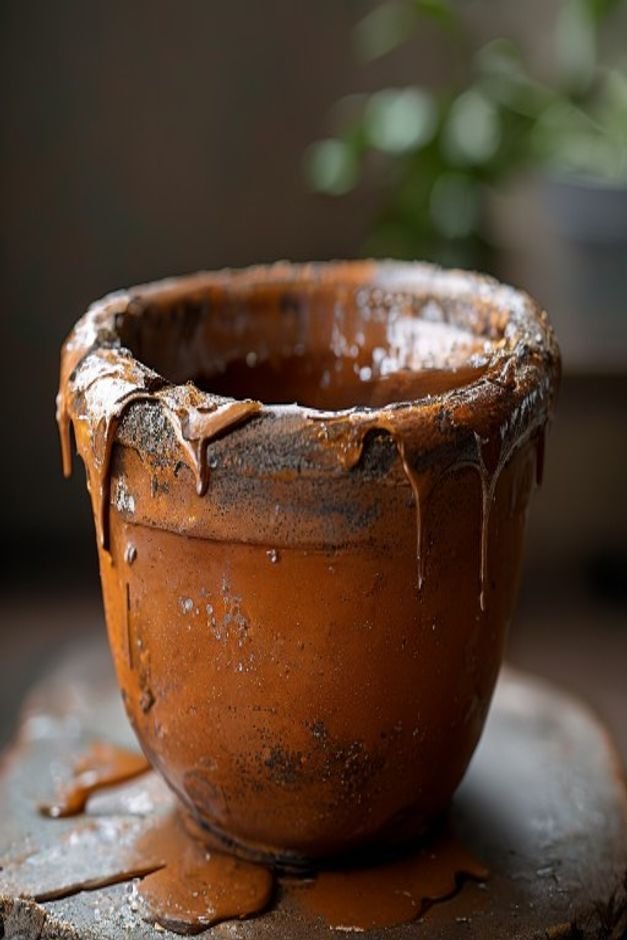
One of the biggest blunders in flower pot painting is rushing past the preparation stage. You might be eager to get to the fun part, but skipping a thorough clean can doom your project from the start.
Dirt, dust, old soil residue, or even leftover factory coatings will prevent paint from adhering properly.
Always start by scrubbing your pots with warm, soapy water. Use a stiff brush to get into all the nooks and crannies. For terracotta or ceramic pots, allow them to dry completely—this can take a day or two, especially in humid conditions.
Any trapped moisture can cause paint to bubble or peel later. For older pots, a light sanding can help rough up the surface, giving the paint something better to grip.
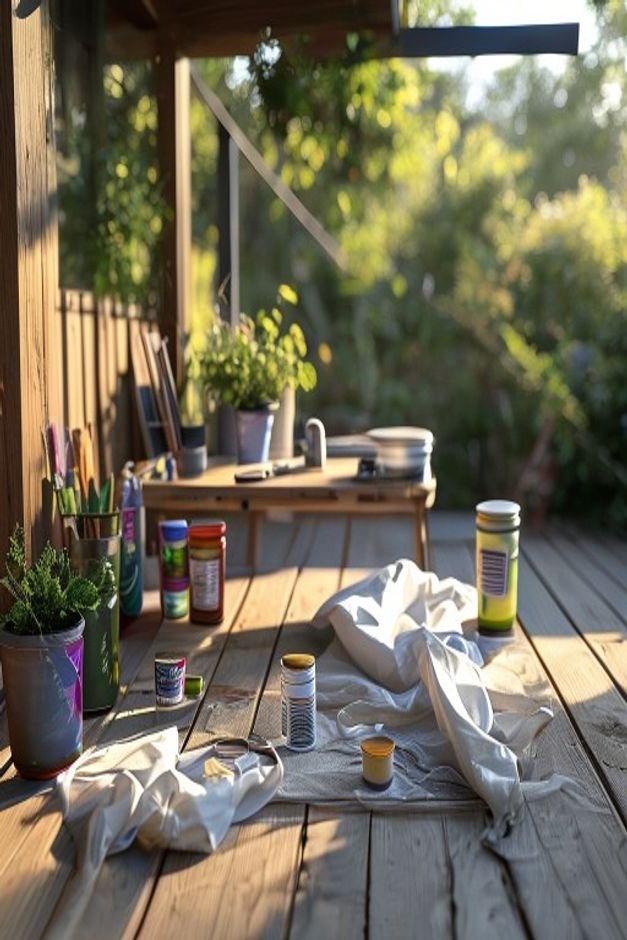
Choosing the Wrong Paint for Outdoors
Not all paints are created equal, especially when facing the elements. Using indoor craft paint or non-weatherproof options is a surefire way to see your beautiful designs fade, chip, and peel under sun and rain.
The choice of paint is paramount for successful flower pot painting that truly lasts.
Opt for exterior-grade acrylic paints. These are designed to withstand UV rays, moisture, and temperature fluctuations. Look for labels that specify ‘outdoor use’ or ‘weather-resistant.’ For terracotta, which is porous, using paints specifically formulated for masonry or clay can provide even better adhesion and durability.
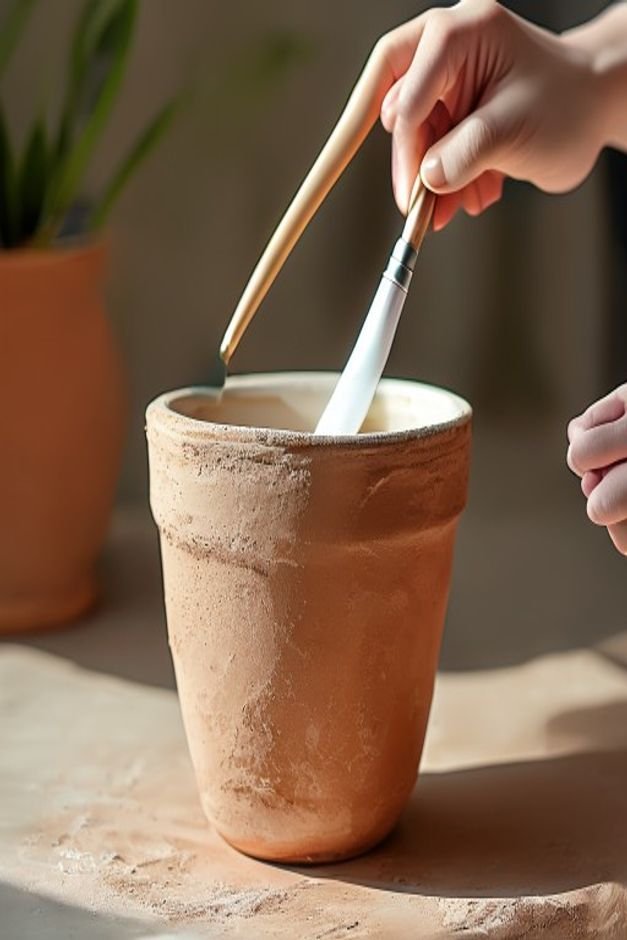
Skipping the Essential Primer Coat
Think of primer as the foundation for your pot’s new look. It creates a barrier between the porous pot material and your colorful topcoats.
Without primer, especially on terracotta, the pot will absorb the paint unevenly, leading to a patchy finish and requiring many more coats.
A good quality primer also helps the paint adhere better, preventing chipping and peeling over time. Choose an exterior-grade primer, ideally one designed for masonry or terracotta. Apply one or two thin, even coats, allowing each to dry fully before moving on.
This small step makes a huge difference in the longevity and vibrancy of your painted pots.
Applying Paint Too Thickly
It’s tempting to load up your brush and try to get full coverage in one go. However, thick, heavy coats of paint rarely dry evenly and are prone to dripping, cracking, and peeling. This creates an amateurish finish and compromises the paint’s durability.
The secret to a professional-looking finish is thin, even coats. Apply several light layers, allowing each to dry to the touch before adding the next. This builds up color gradually, ensures a smooth surface, and allows the paint to cure properly.
Patience here pays off in a much more polished and resilient result.
Clogging Drainage Holes with Paint
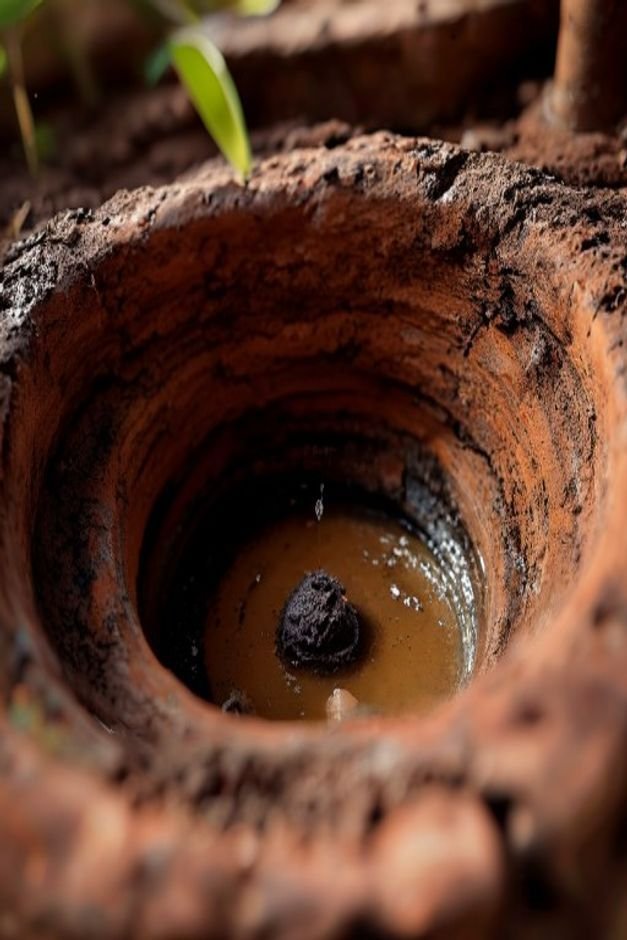
The drainage hole at the bottom of a flower pot is crucial for plant health. It allows excess water to escape, preventing root rot. Many novice painters inadvertently clog these holes with paint, either by painting directly over them or by letting thick drips accumulate.
Before you start painting, place a small piece of painter’s tape over the inside of the drainage hole. You can also temporarily insert a small stick or a rolled piece of paper through the hole to keep it clear.
After painting, remove the tape or stick while the paint is still slightly wet to ensure the hole remains open. Always check that the drainage is clear before planting.
Forgetting a Protective Sealer
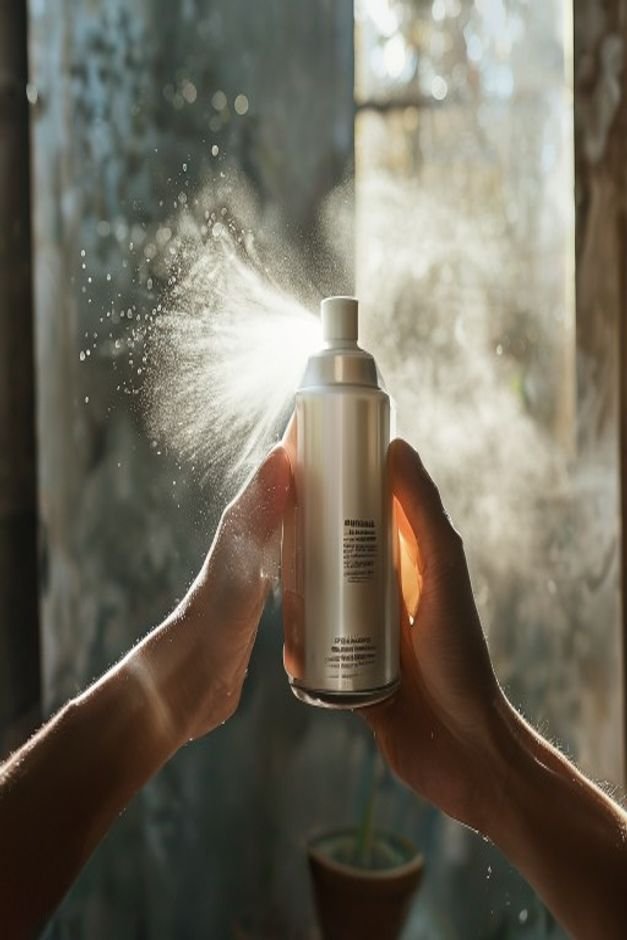
You’ve prepped, primed, and painted your pot beautifully. Now, don’t let all that hard work go to waste by skipping the final protective layer. An exterior-grade sealer is essential for locking in your design and providing an extra shield against the elements.
A clear, UV-resistant sealer (either spray-on or brush-on) will protect your painted surface from fading due to sunlight, resist moisture, and make the pot easier to clean. Apply two to three thin coats after your paint has fully cured, following the manufacturer’s instructions.
This step is critical for ensuring your artistic efforts endure the harsh outdoor environment.
Rushing the Drying and Curing
Painting is a process that demands patience. Each coat of paint needs adequate time to dry before the next is applied. More importantly, the entire painted pot needs time to ‘cure,’ meaning the paint fully hardens and achieves its maximum durability.
Rushing this process can lead to soft, easily damaged surfaces, smudges, or even chemical reactions between layers.
While a paint might feel dry to the touch in an hour or two, its full cure time can range from 24 hours to several days, or even weeks for some types of paint.
Always check the paint’s instructions for recommended drying and curing times, and resist the urge to move or plant in the pot too soon.

Ignoring Pot Material Differences
A terracotta pot behaves very differently from a plastic or glazed ceramic one. Terracotta is porous, absorbing moisture and paint readily, which means it benefits greatly from priming. Plastic pots are smooth and non-porous, often requiring a specialized plastic primer to ensure adhesion.
Glazed ceramic pots are already sealed and smooth, so they may only need a light sanding to create a ‘tooth’ for the paint to grip. Understanding your pot’s material dictates your preparation and paint choices.
Tailoring your approach to the specific pot material will prevent common issues like poor adhesion or uneven finishes.
Neglecting the Inside Rim and Lip
It’s easy to focus solely on the exterior of the pot, but neglecting the inside rim and lip can leave your finished piece looking incomplete. When you look
down into the pot, an unpainted edge often breaks the illusion of a fully designed piece, especially if the original pot color clashes with your new design.
Extend your paint and sealer a few centimeters down the inside of the pot. This creates a seamless transition and a more polished, professional appearance. It’s a small detail that significantly contributes to the overall aesthetic and makes your flower pot painting look truly finished.
Overlooking Plant and Pot Pairing
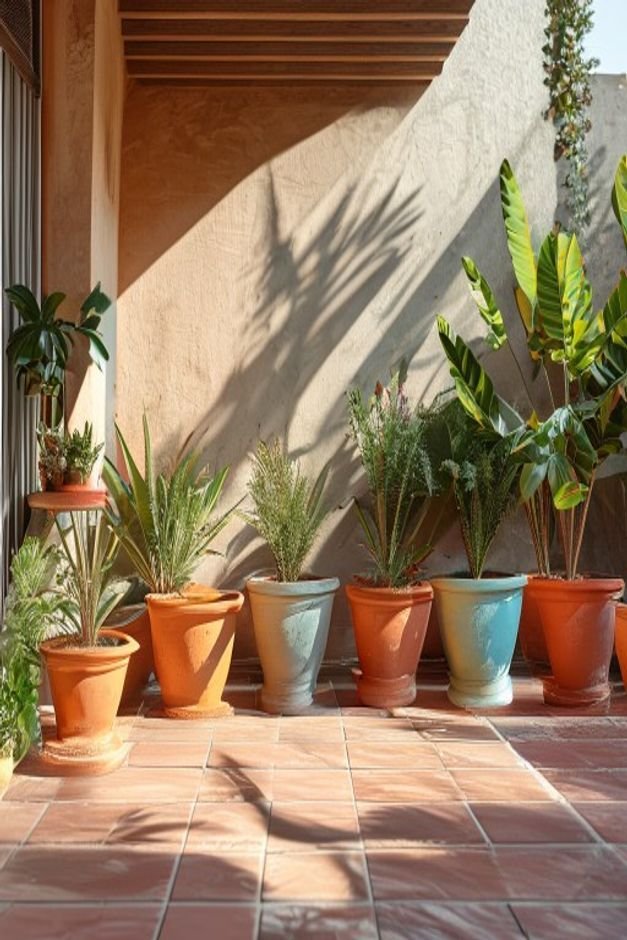
While this isn’t strictly about the painting process itself, it’s a mistake that can undermine all your artistic efforts. A beautifully painted pot will shine brightest when it complements the plant it holds. Clashing colors or patterns can create visual clutter instead of harmony.
Consider the plant’s foliage and flower colors when choosing your pot’s palette. A vibrant bougainvillea might pop against a deep blue pot, while a delicate fern could look elegant in an earthy green or soft white.
Think about the scale too; a busy pattern might overwhelm a small, delicate plant. Harmonious plant and pot pairings elevate your garden’s overall aesthetic.
Perfecting Your Flower Pot Painting
Flower pot painting is a delightful way to personalize your garden, transforming ordinary containers into works of art. By avoiding these ten common mistakes, you’re not just creating pretty pots; you’re crafting durable, beautiful pieces that enhance your outdoor living spaces for seasons to come.
Take your time, choose your materials wisely, and let your creativity flourish, knowing your painted pots will stand strong and vibrant against the backdrop of your thriving garden.