
We’ve all been there: you spend an afternoon pouring creativity into painting and decorating a collection of flower pots, only to step back and feel like something is missing.
They look handmade, yes, but perhaps not quite “finished” in the way you envisioned for your patio or balcony. That slightly unpolished edge can detract from the overall curb appeal of your outdoor space.
The good news is, achieving a truly polished, professional look for your flower pot crafts doesn’t require a design degree or expensive tools. It’s all about thoughtful details and simple techniques that make a big difference.
This guide will walk you through 14 easy upgrades that will transform your handmade planters from charmingly rustic to truly refined, integrating seamlessly into your garden or outdoor living area.
Prepare Your Canvas Properly
The foundation of any beautiful project begins before the first brushstroke. Proper preparation ensures your decorative efforts last and look their best.
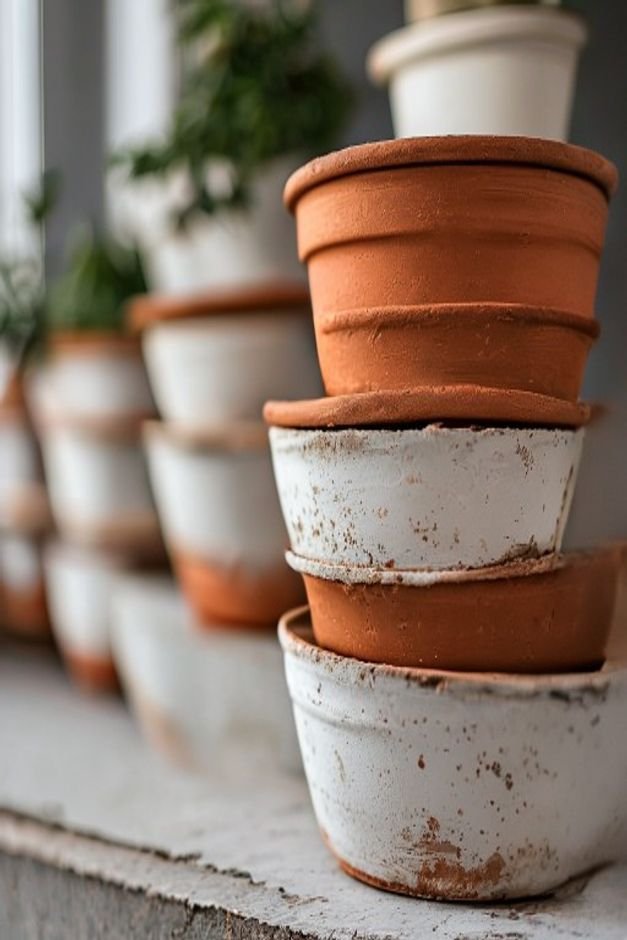
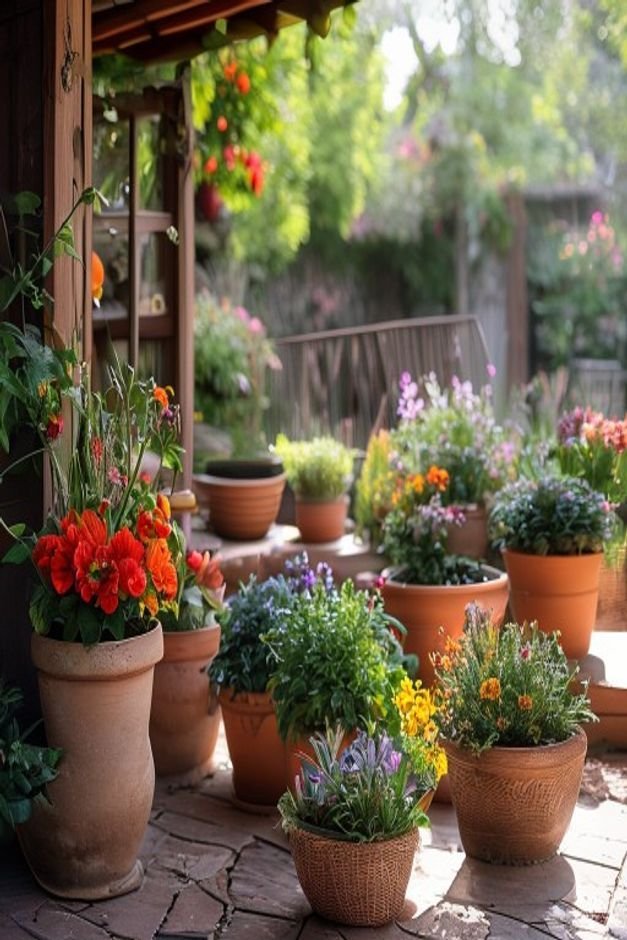
- Select Durable Bases: While plastic pots are lightweight, they often lack the substantial feel of terracotta, ceramic, or concrete. Investing in quality unglazed terracotta, sturdy ceramic, or even basic concrete pots provides a better canvas. These materials offer natural texture and weight, immediately giving your flower pot crafts a more substantial, high-end feel.
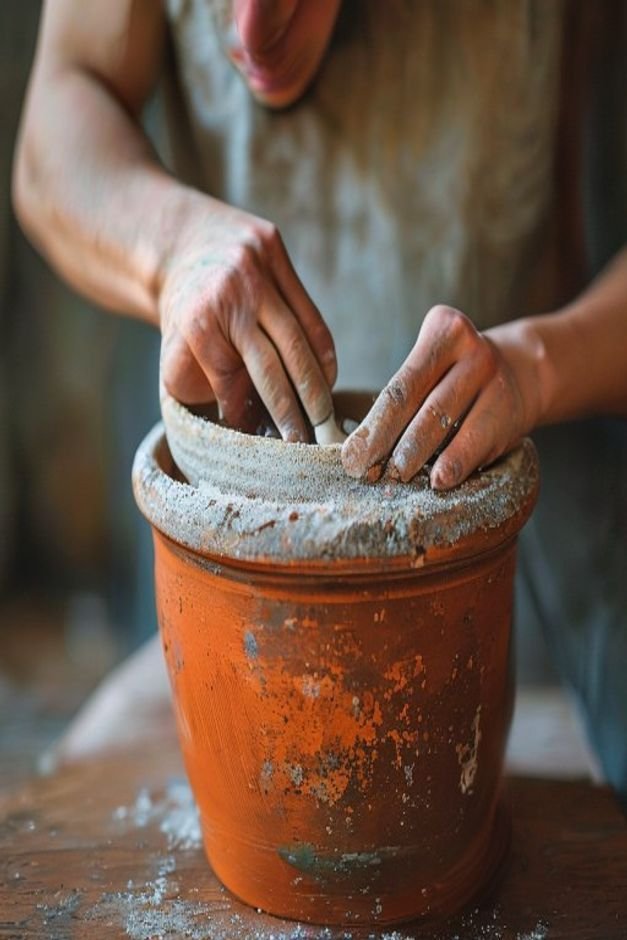
- Prime and Clean Thoroughly: Before any paint touches the surface, ensure your pots are impeccably clean. Wash away dirt, dust, and any manufacturing residues. For porous materials like terracotta, a quick rinse and thorough drying is key. For a truly finished look, always apply a good quality primer, especially if you’re using lighter colors or painting over a dark surface. Primer creates an even base, prevents paint absorption, and ensures better adhesion and longevity.
Thoughtful Paint Techniques
Painting is where personality shines, but technique makes all the difference in achieving a polished outcome.
- Layered Painting for Depth: Instead of a single flat coat, consider layering colors. Start with a solid base, then add a lighter, complementary shade with a dry brush technique to create subtle highlights. Or, use a darker wash over a lighter base to emphasize texture. This multi-dimensional approach adds visual interest and sophistication.
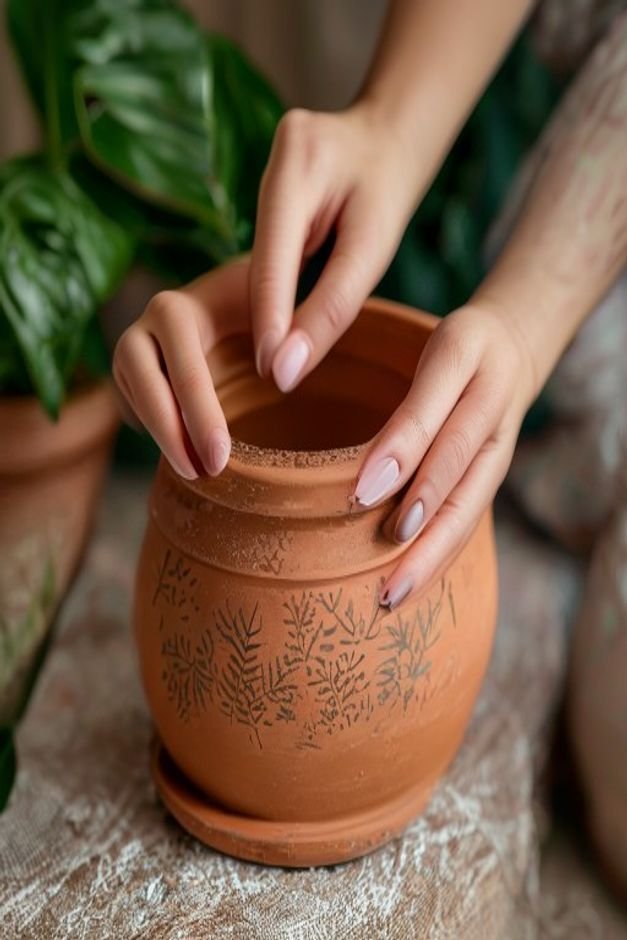
- Stenciled Patterns with Precision: Stenciling can quickly elevate a plain pot, but precision is key. Use high-quality stencils and a minimal amount of paint to prevent bleeding. Secure the stencil firmly with painter’s tape. For crisp lines, apply paint in thin layers, dabbing rather than brushing, and remove the stencil while the paint is still slightly damp to avoid tearing.
- Textured Brushstrokes or Sponging: Embrace texture by intentionally varying your brushstrokes. A cross-hatch pattern, a gently swirled finish, or even a deliberate stippling effect with a sponge can add an artisanal touch. This isn’t about hiding imperfections, but creating character and a handmade feel that looks intentional and refined, not accidental.
Intentional Embellishments
Small decorative additions can significantly enhance the perceived value and finish of your pots.
- Natural Twine or Rope Wraps: A simple wrap of natural jute twine, sisal rope, or even a thin cotton cord around the rim or belly of a pot adds organic texture. Secure it neatly with a strong adhesive. This natural element softens edges and introduces an earthy, tactile appeal that complements greenery beautifully.
- Metallic Accents: A thin band of metallic paint – gold, copper, or silver – around the rim or base of a pot can add a touch of understated luxury. Use painter’s tape for clean lines. Even small metallic details catch the light and make your flower pot crafts feel more curated.
- Quality Decoupage: If you love patterns, decoupage with beautiful paper can be stunning. Choose high-quality, durable paper with designs that complement your garden aesthetic. Apply with precision, smoothing out all bubbles, and seal thoroughly with multiple coats of a waterproof decoupage medium for a seamless, protected finish that looks like part of the pot itself.
The Power of a Perfect Finish
Often overlooked, the final protective layer is crucial for both aesthetics and durability.
- Seal with a Durable Topcoat: This is non-negotiable for outdoor pots. A good quality clear sealant, whether matte, satin, or gloss, protects your paintwork from weather, UV rays, and general wear. A matte finish often lends a sophisticated, contemporary look, while satin offers a subtle sheen that enhances color. Apply several thin, even coats for maximum protection.
- Controlled Distressing or Sanding: Sometimes, a perfectly pristine finish isn’t the goal. Controlled distressing can add character and a sense of age. Lightly sand edges and raised areas after painting and sealing to reveal hints of the base color or the pot’s natural material. This technique creates a “loved and lived-in” look that feels authentic and charming, rather than just worn.
Smart Structural Additions
How you display your pots can dramatically impact their overall presentation.
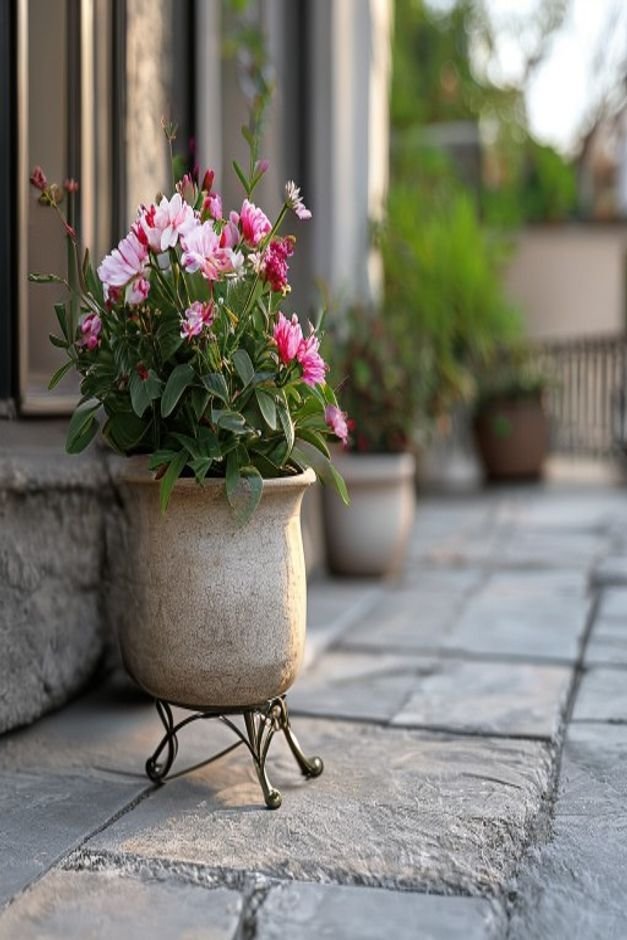
- Decorative Pot Feet: Lifting your pots slightly off the ground with decorative feet serves a dual purpose: it improves drainage and adds a refined touch. Choose ceramic, metal, or even sculpted resin feet that match your pot’s style. This small detail immediately elevates the pot, literally and figuratively, giving it a more substantial presence.
- Sturdy Stands and Hangers: Don’t let a beautiful pot sit forgotten on the ground. Pair it with a well-chosen plant stand – perhaps a minimalist metal design, a rustic wooden stool, or an elegant ceramic pedestal. For hanging pots, select sturdy, attractive hangers made from macrame, metal, or strong rope. The right stand or hanger frames your pot, making it a focal point.
Curated Plant Styling
The plant itself is the ultimate embellishment for your pot, and thoughtful pairing is key.
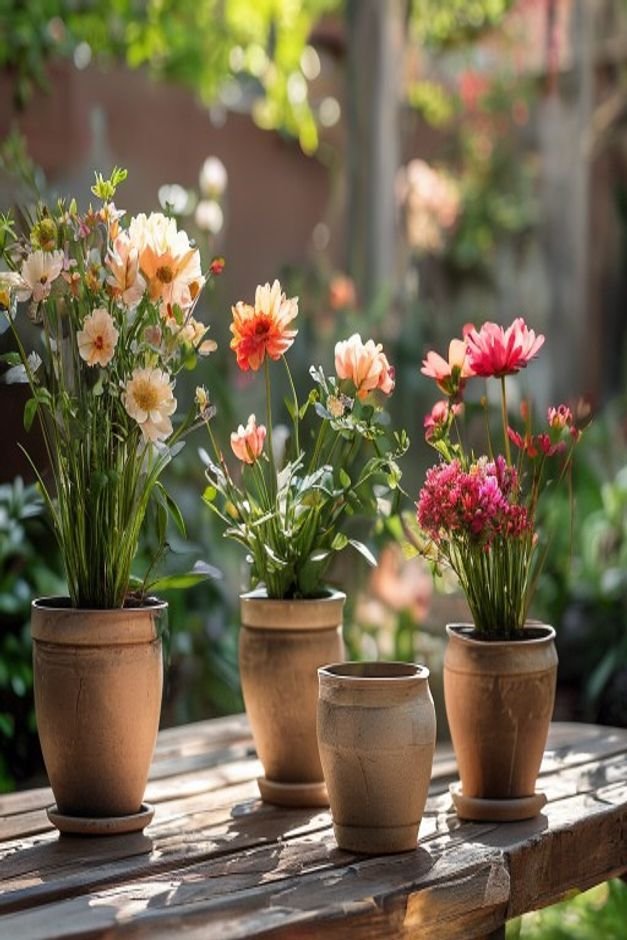
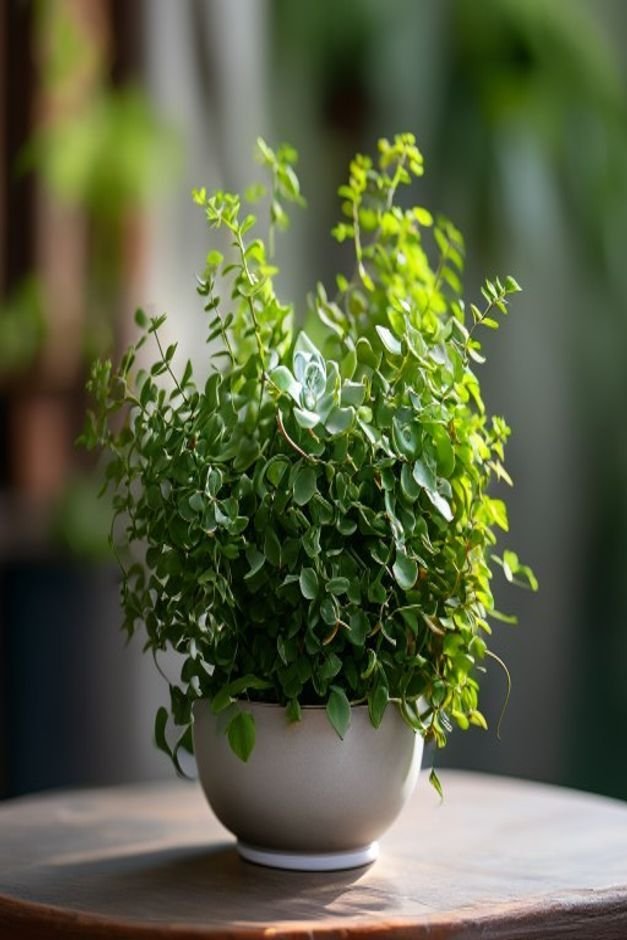
- Complementary Plant Choices: The plant should enhance, not compete with, your pot’s design. If your pot has a bold pattern, choose a plant with simple foliage or a single color flower. For a minimalist pot, a vibrant, lush plant can add drama. Consider the plant’s leaf shape, texture, and bloom color in relation to your pot’s aesthetic.
- Proportionate Plant Pairing: Size matters. A tiny plant in a large pot looks lost, while an oversized plant can overwhelm a small pot. Aim for a balance where the plant and pot feel like a cohesive unit. Generally, the plant should be about one to two times the height or width of the pot for an aesthetically pleasing proportion, creating a visual harmony that completes the look of your flower pot crafts.
Bringing Your Flower Pot Crafts to Life
Transforming your flower pot crafts from simple DIY projects to polished garden accents is a rewarding endeavor. Each of these 14 upgrades, from meticulous preparation to intentional plant styling, builds upon the last, creating a cumulative effect that speaks of care and attention to detail.
It’s about seeing the potential in every pot and applying these simple, practical touches to achieve a truly finished look.
With these tips, your outdoor spaces will boast planters that look as thoughtfully designed as any store-bought piece, reflecting your personal style and enhancing the beauty of your home.