Ever felt your DIY flower pot crafts just don’t quite hit the mark, looking more ‘homemade’ than ‘artisan’? Many of us face this challenge, striving for that polished, thoughtful finish that truly elevates our outdoor spaces.
It’s often the small details that differentiate a charming garden accent from a casual project.
You’ve put in the effort to paint, decorate, and personalize your containers. Now, let’s refine those efforts. This guide shares 12 practical, visual ideas to upgrade your garden containers, adding significant curb appeal and a professional touch to your patios and balconies.
These aren’t complicated techniques, but rather smart approaches to make your beloved flower pot crafts truly shine.
Beyond Basic Paint Colors
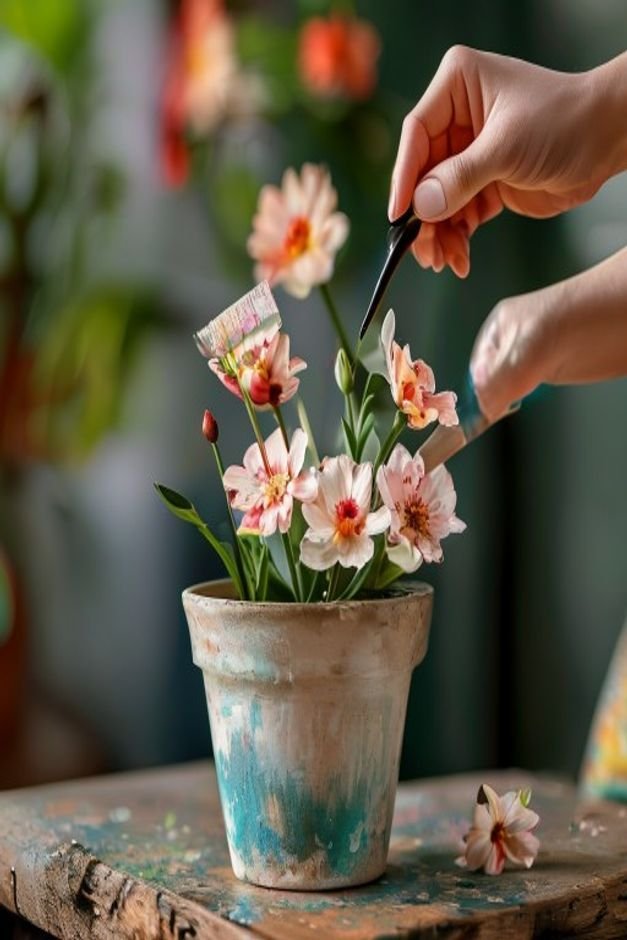
Stepping away from flat, single-color paint jobs can dramatically change the perception of your flower pot crafts. Consider paints that offer inherent texture or a unique finish. Chalk paint, for instance, provides a soft, matte look that feels instantly more sophisticated than standard acrylics.
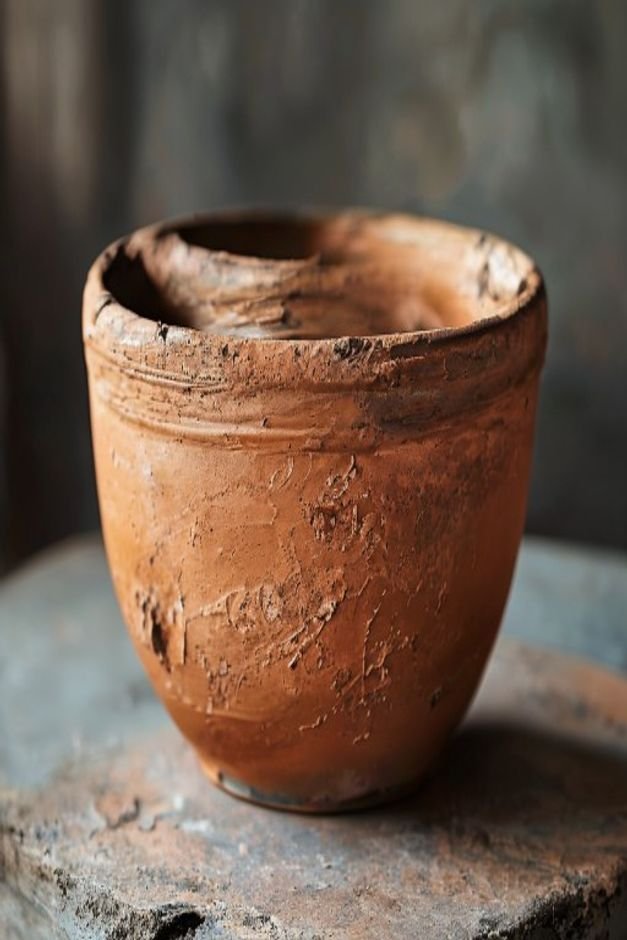
For a truly earthy feel, explore paints with a stucco or stone effect. These specialty finishes can mimic natural materials, lending a rustic elegance to even simple terracotta pots.
Apply them with a dabbing motion or a stiff brush to enhance the textural quality, creating depth that catches the eye and grounds your planting.
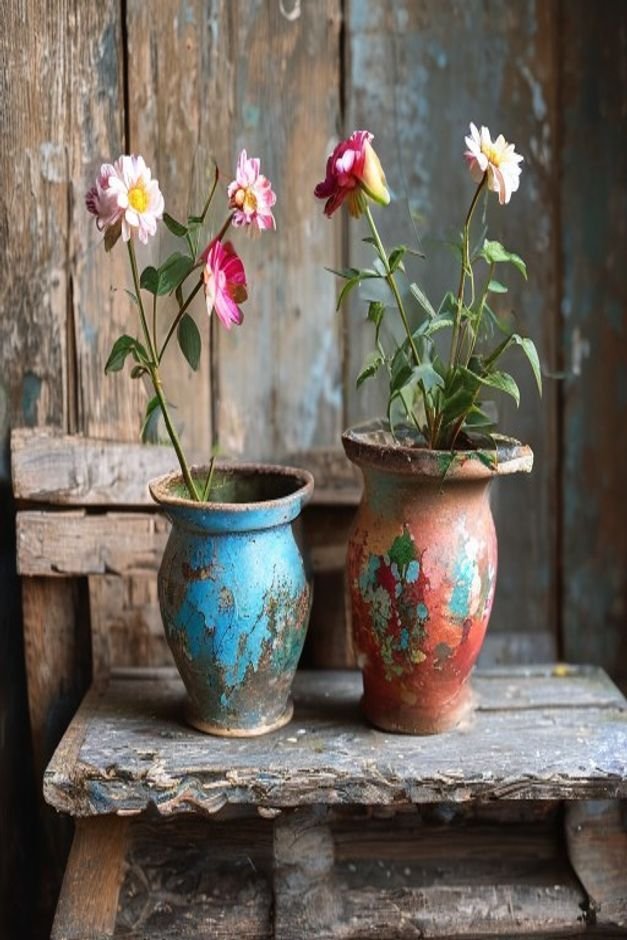
The Art of Layering and Distressing
Achieving an aged or multi-dimensional look is simpler than it seems. Start with a base color, then apply a contrasting or complementary shade over it.
Once dry, use fine-grit sandpaper or a damp cloth to gently rub away parts of the top layer, revealing the color beneath.
This distressing technique works beautifully for a shabby-chic or weathered aesthetic, making new pots feel like cherished heirlooms. For a more subtle effect, try a dry-brush technique where you dip your brush lightly in paint and gently sweep it over a textured surface.
This highlights raised areas and adds visual interest without heavy coverage.
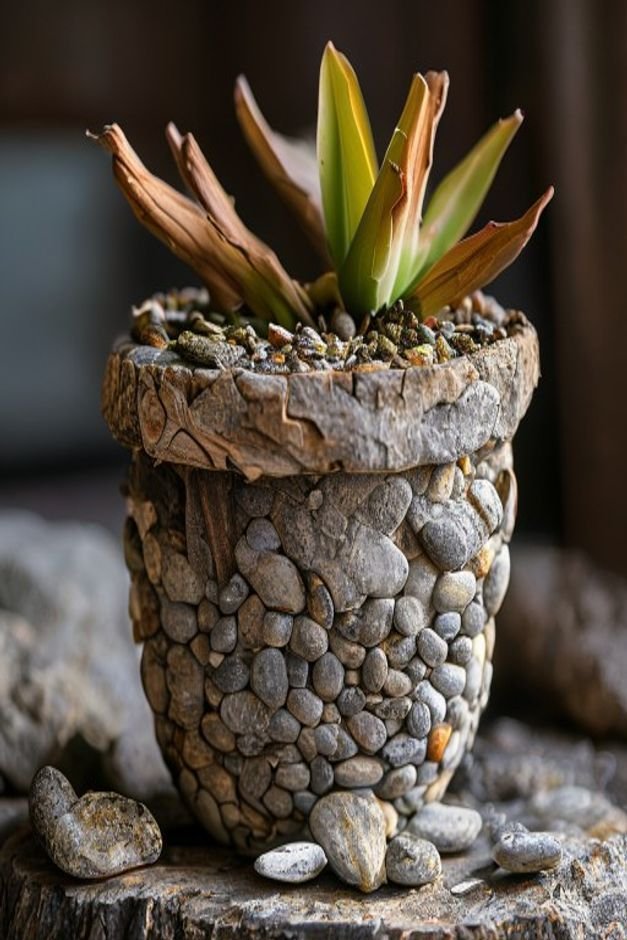
Introducing Natural Elements
Look to nature for free and beautiful embellishments. Small, smooth river stones, pieces of driftwood, or even sturdy twigs can be glued onto your pots for an organic, tactile appeal. Shells collected from a beach trip bring a coastal vibe, perfect for drought-tolerant plants.
Arrange these elements thoughtfully, creating patterns or borders around the rim or base of the pot. Ensure they are securely attached with strong outdoor-grade adhesive to withstand the elements.
This method not only adds texture but also tells a story, making your flower pot crafts uniquely yours.
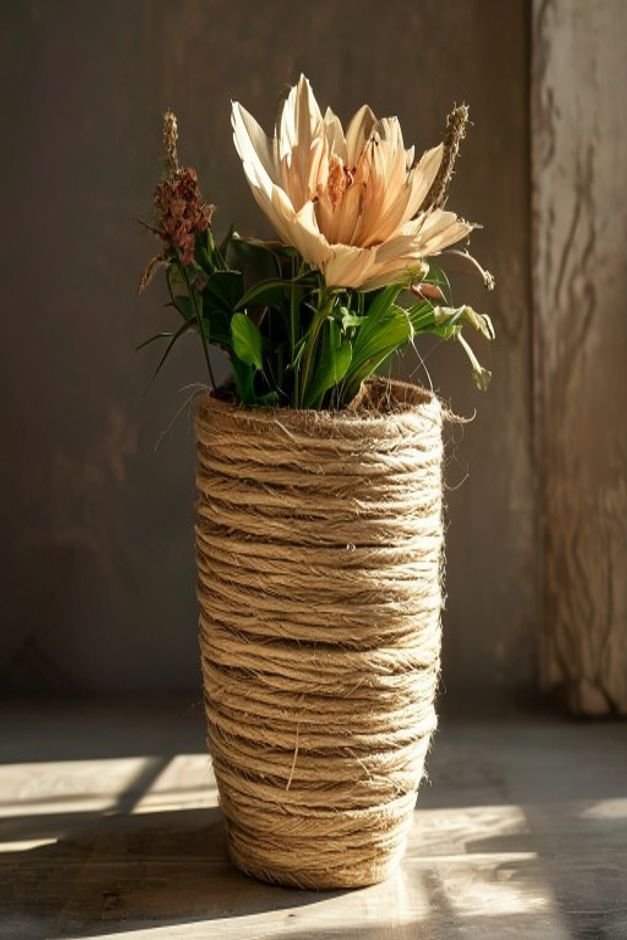
Wrap It Up with Rope and Twine
For an effortlessly chic and rustic upgrade, consider wrapping your flower pots in natural fibers. Jute rope, sisal twine, or even thick cotton cording can transform a plain container into a textured statement piece.
Start by gluing one end of the rope at the base and tightly coil it upwards, applying glue as you go.
Varying the thickness or color of the rope can create different effects. A thick, chunky rope gives a substantial, grounded feel, while thinner twine offers a more delicate, intricate look.
This technique is particularly effective on cylindrical or simple-shaped pots, allowing the texture to be the star.
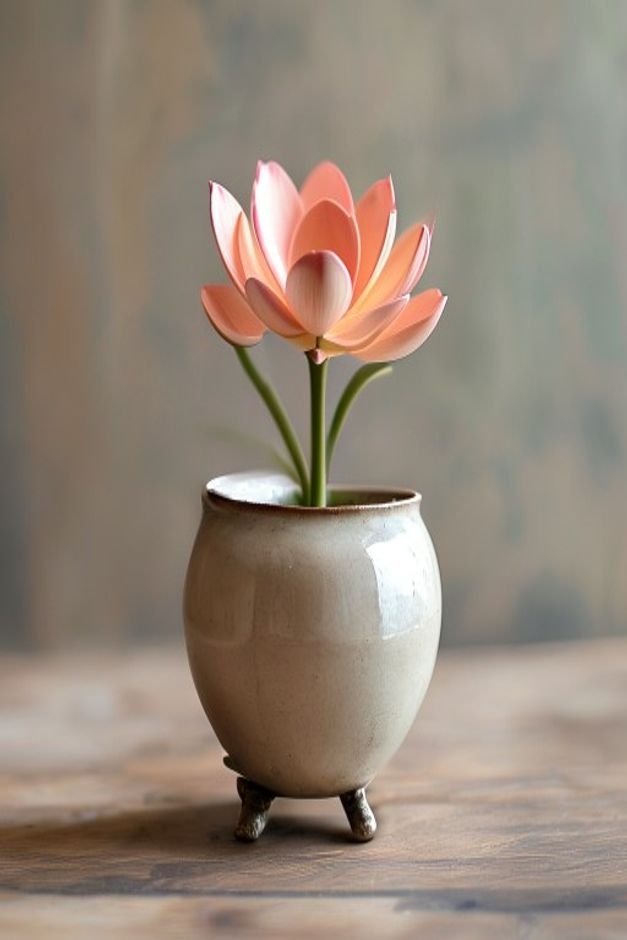
Adding Architectural Details
Sometimes, the smallest additions make the biggest difference. Attaching decorative feet to the base of your flower pots not only elevates them literally but also makes them appear more substantial and finished. These can be small wooden blocks, ceramic spheres, or even metal casters.
Beyond feet, consider adding simple handles to larger pots for a decorative touch, even if they aren’t functional for carrying. Small metal escutcheons or decorative trim pieces can also be adhered to the pot’s surface, mimicking the look of architectural salvage.
These details lend a bespoke, furniture-like quality to your containers.
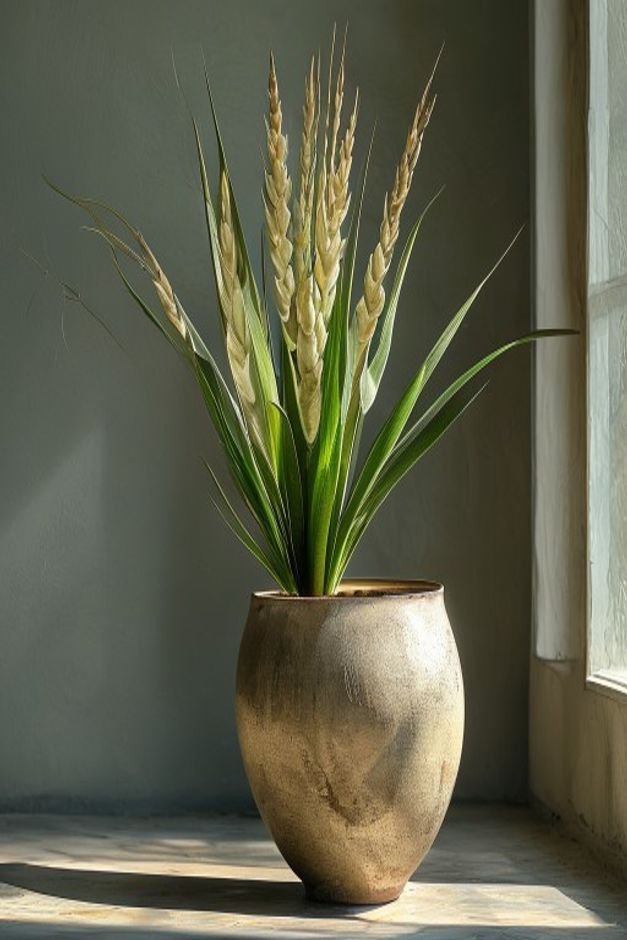
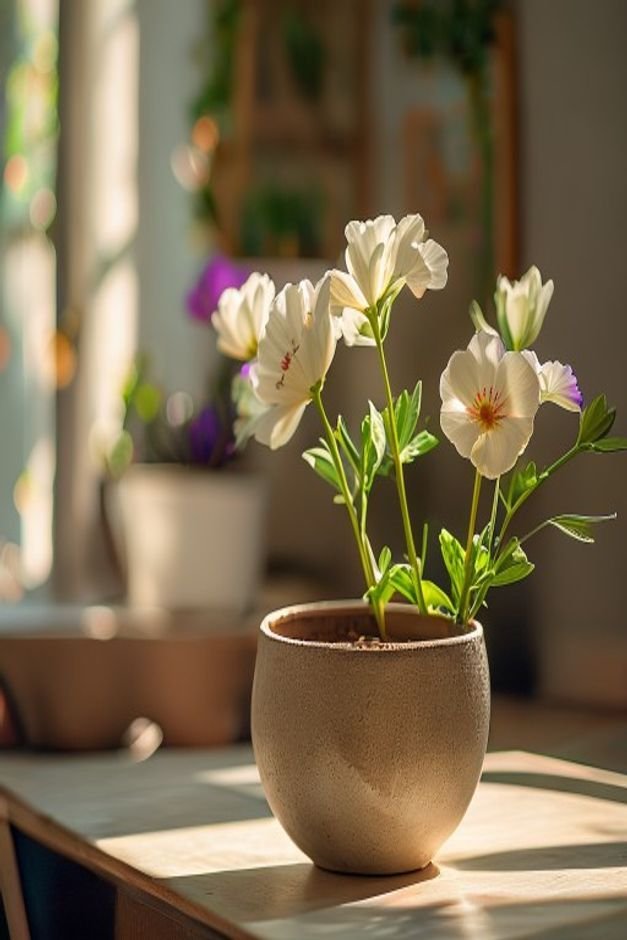
Smart Plant Pairing for Impact
The plant itself is half the equation when it comes to making your flower pot crafts look better. Think about how the plant’s form, texture, and color complement the pot’s design.
A tall, slender pot often pairs well with an architectural plant like a snake plant or a tall ornamental grass, creating vertical interest.
For a pot with intricate patterns or textures, choose a simpler plant that won’t compete visually. Conversely, a plain pot can become a backdrop for a cascading fuchsia or a vibrant coleus.
Consider the plant’s growth habit—will it spill over, stand upright, or fill out the pot? Matching the plant to the pot’s style creates a cohesive, intentional display.
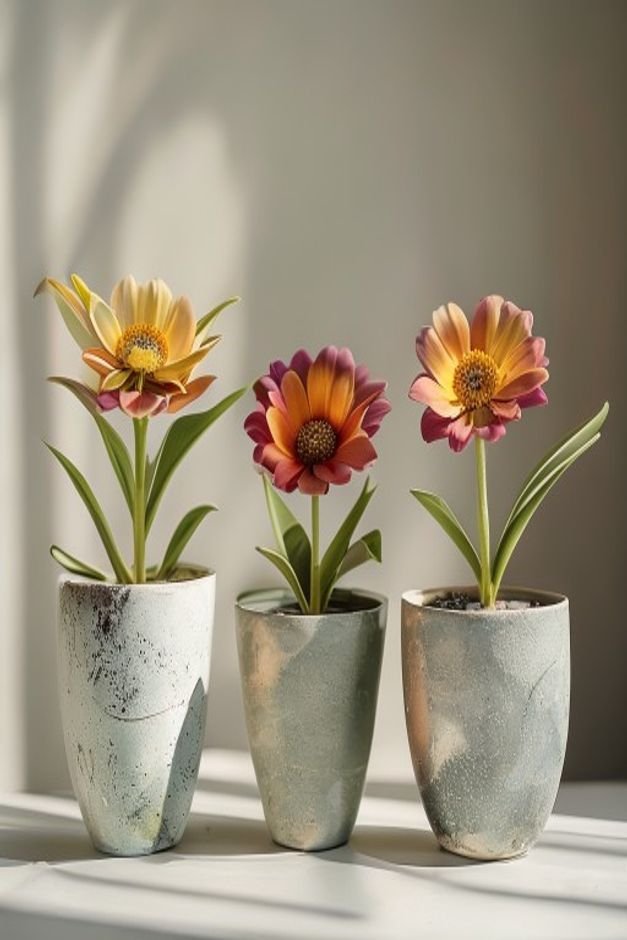
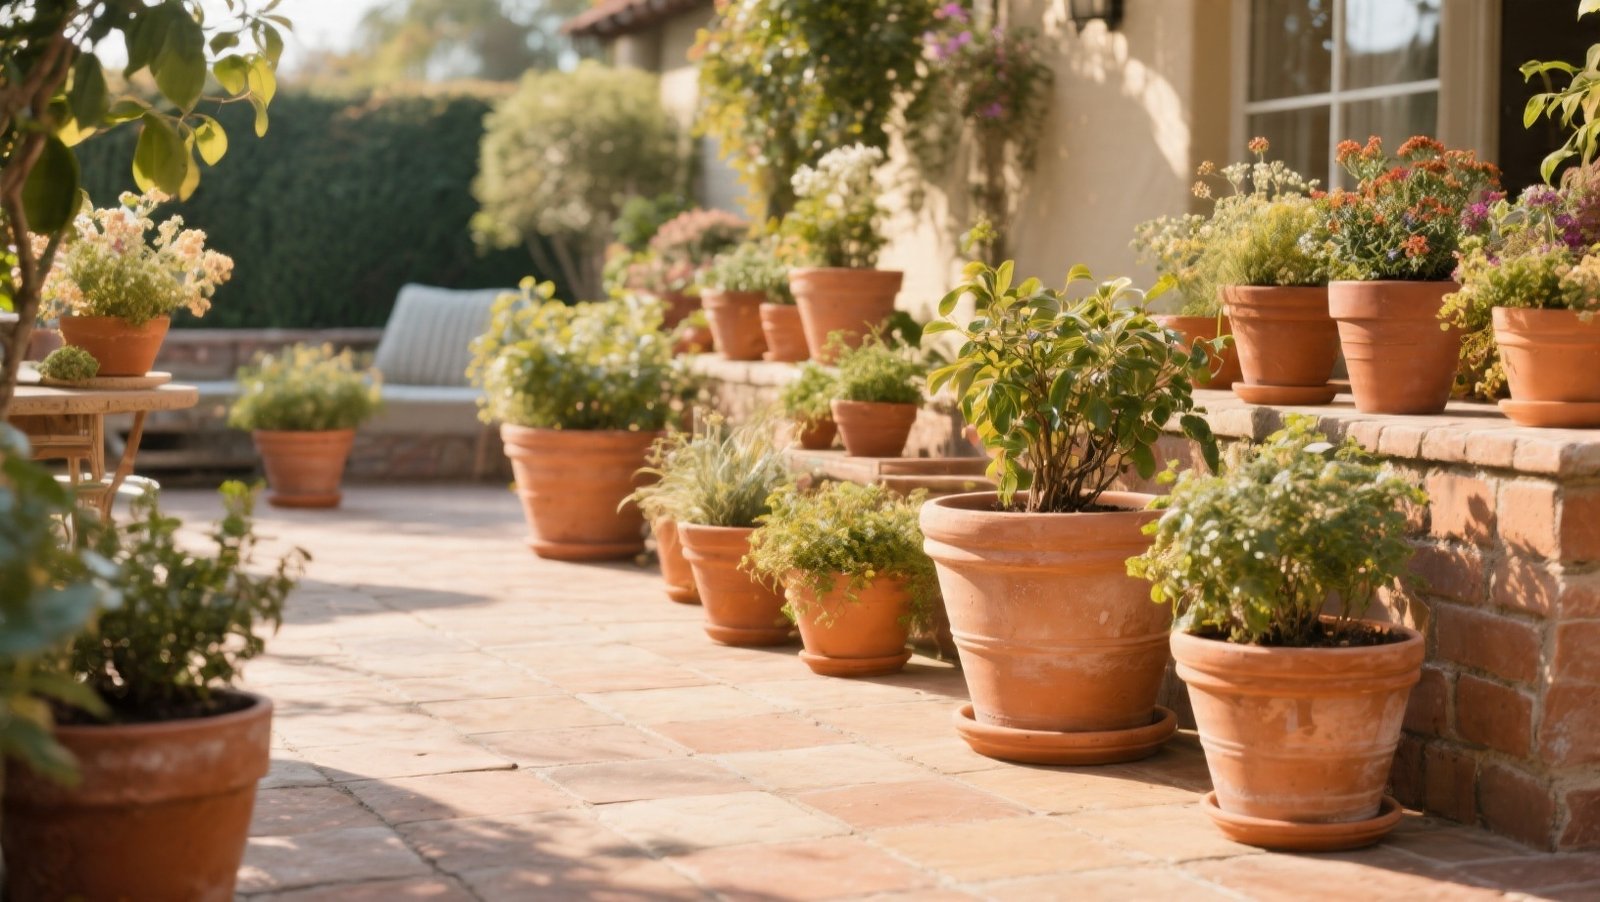
Grouping and Display Matters
A single beautifully crafted pot is lovely, but a thoughtfully arranged grouping is truly impactful. Cluster pots of varying sizes and heights together. This creates a dynamic visual interest that draws the eye and makes your display feel more composed and less scattered.
Consider placing taller pots at the back and shorter ones in front, or arranging them on different levels using risers or plant stands. Ensure there’s a common thread, perhaps a shared color palette in the pots or plants, to maintain harmony.
This arrangement elevates the entire collection, turning individual flower pot crafts into a unified garden statement.
Finishing Touches and Sealants
After all your creative work, the final step is often the most overlooked: sealing your flower pot crafts. A good quality outdoor sealant will protect your paint and embellishments from the elements, ensuring your hard work lasts longer.
It also often adds a subtle sheen or deepens colors, making the finish appear more professional.
There are various types of sealants, from matte to glossy, allowing you to choose one that best suits your desired aesthetic. Apply in thin, even coats, allowing each layer to dry thoroughly.
This small step makes a significant difference in both the durability and perceived quality of your finished pots.
Thoughtful Finishes for Your Flower Pot Crafts
Making your flower pot crafts look better isn’t about complicated techniques; it’s about thoughtful application and attention to detail. From experimenting with textured paints to incorporating natural elements or simply choosing the right plant, each step contributes to a more polished, intentional outcome.
By applying these simple upgrades, you can transform everyday containers into garden showpieces. Your outdoor spaces will reflect a sense of care and personal style, creating an inviting atmosphere that you, and your plants, will truly appreciate.