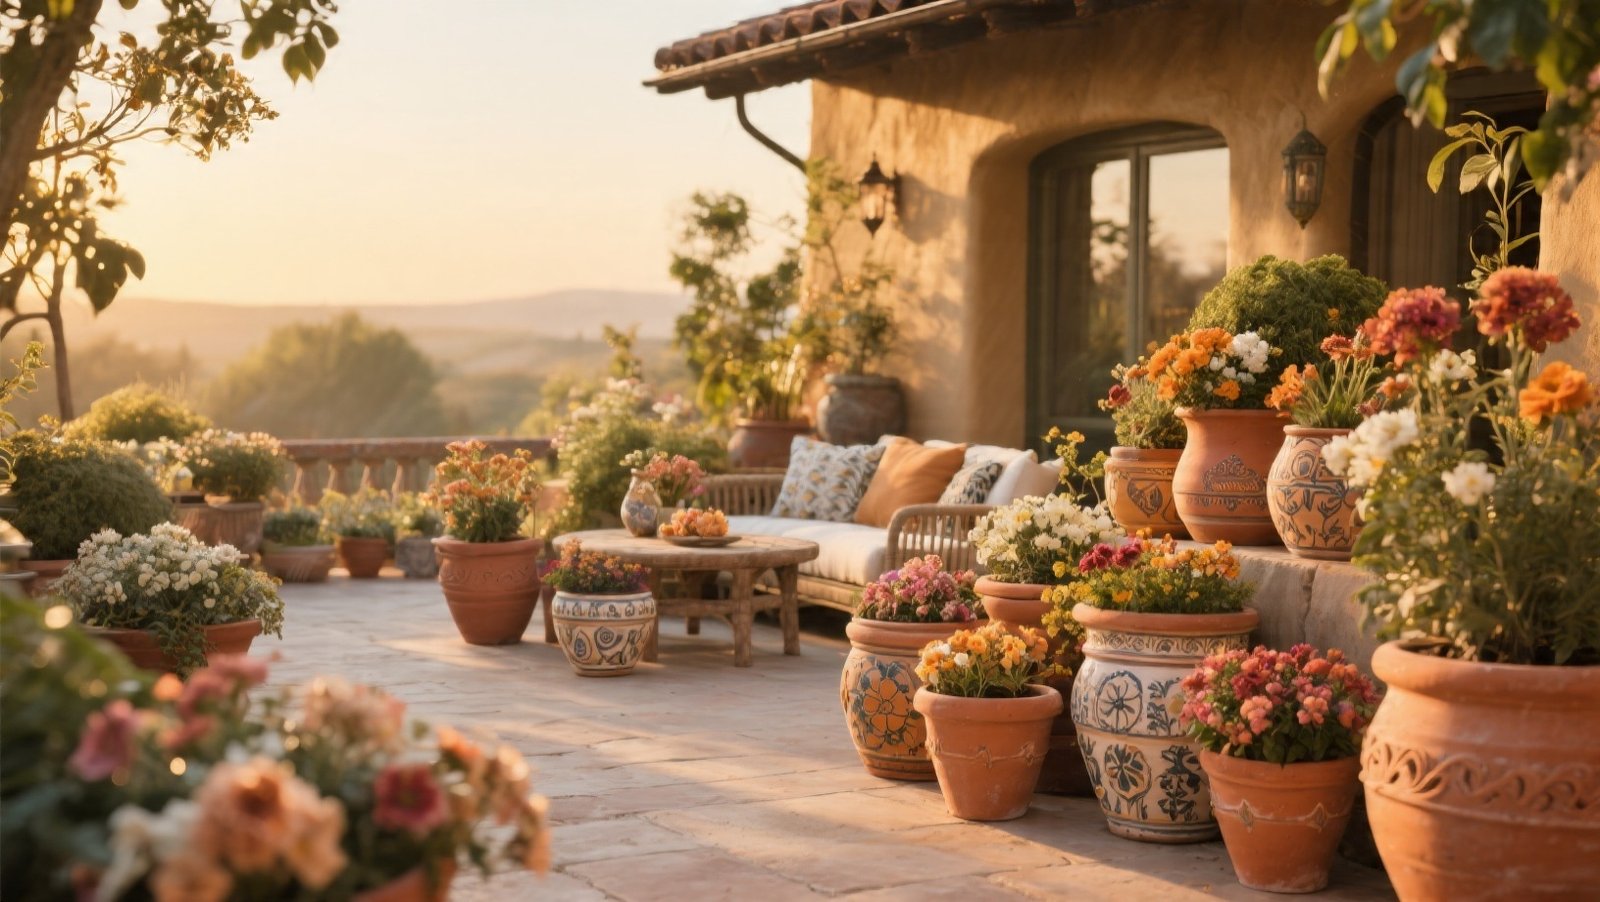
There’s a special satisfaction in transforming a plain terracotta pot into a piece of garden art. These flower pot crafts add personality to our patios, brighten our balconies, and bring a touch of the outdoors inside.
But even the most enthusiastic DIY efforts can sometimes fall short, leading to chipped paint, unhealthy plants, or a design that just doesn’t quite work. The good news is that many common missteps are easily avoidable with a bit of foresight and understanding.
As someone who spends countless hours styling outdoor spaces, I’ve seen firsthand how a few crucial mistakes can derail a beautiful vision.
From selecting the wrong materials to overlooking the fundamental needs of your greenery, these errors can impact both the aesthetic appeal and the longevity of your creations.
This guide will walk you through the top 10 mistakes to avoid, ensuring your next flower pot crafts project is a resounding success, adding lasting charm and life to your home.
1. Skipping Proper Pot Preparation
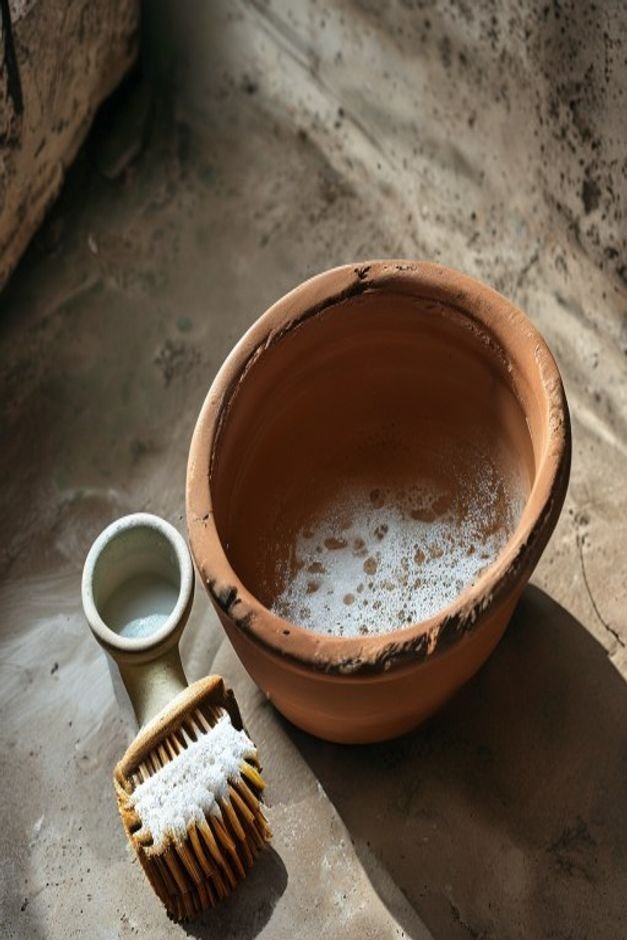
Many eager crafters jump straight to painting or decorating a new pot, but this is a common oversight. Terracotta, especially, can have dust, residue, or even a thin film from manufacturing.
These unseen elements prevent paint and sealants from adhering correctly, leading to peeling or chipping down the line.
The Fix: Clean and Condition Your Pots
Before any craft begins, give your pots a thorough cleaning. Scrub them with warm, soapy water, rinse well, and let them dry completely.
For terracotta, a quick soak in water can also help prevent the pot from absorbing too much paint or glue, ensuring a more even finish. If the surface is particularly rough, a light sanding can create a smoother canvas for your design.
2. Choosing the Wrong Materials for the Job
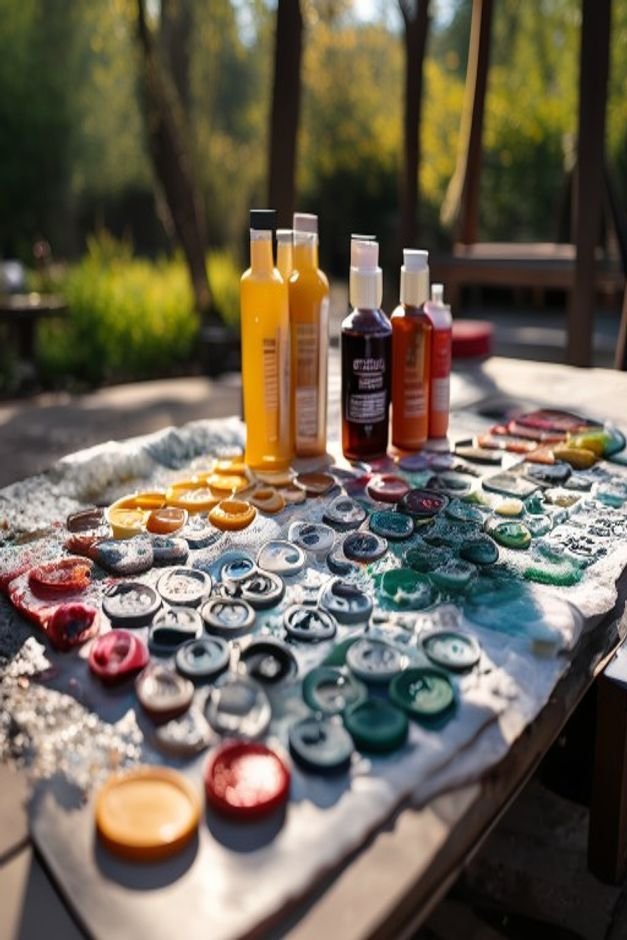
Using indoor craft paint on an outdoor pot is a recipe for disaster. Rain, sun, and temperature fluctuations will quickly degrade non-weatherproof materials, turning your beautiful creation into a faded, flaking mess.
Similarly, glues not rated for outdoor use will fail when exposed to the elements.
The Fix: Match Materials to Environment
Always check labels for ‘outdoor use’ or ‘weather-resistant’ when selecting paints, sealants, and adhesives. Acrylic latex paints designed for outdoor use are a good choice, as are marine-grade sealants.
When in doubt, invest a little more in specialized products; they will save you time and frustration in the long run.

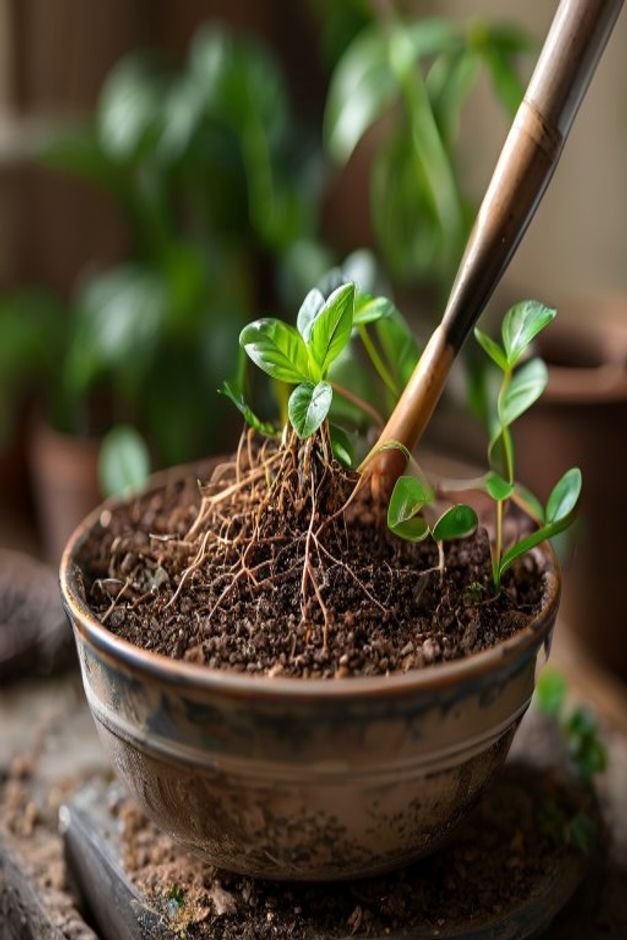
3. Overlooking Proper Drainage
This isn’t just a craft mistake; it’s a fundamental gardening error that impacts your plants. Many decorative pots lack drainage holes, or crafters inadvertently seal them with paint or embellishments.
Without adequate drainage, water pools at the bottom, leading to root rot and a very unhappy plant.
The Fix: Prioritize Plant Health
Ensure every pot intended for live plants has at least one drainage hole.
If a decorative pot lacks one, you can often drill a hole using a masonry bit, or simply use it as a cachepot (a decorative outer pot) with your plant remaining in a smaller, well-draining nursery pot inside.
Never block existing drainage holes with paint or embellishments.
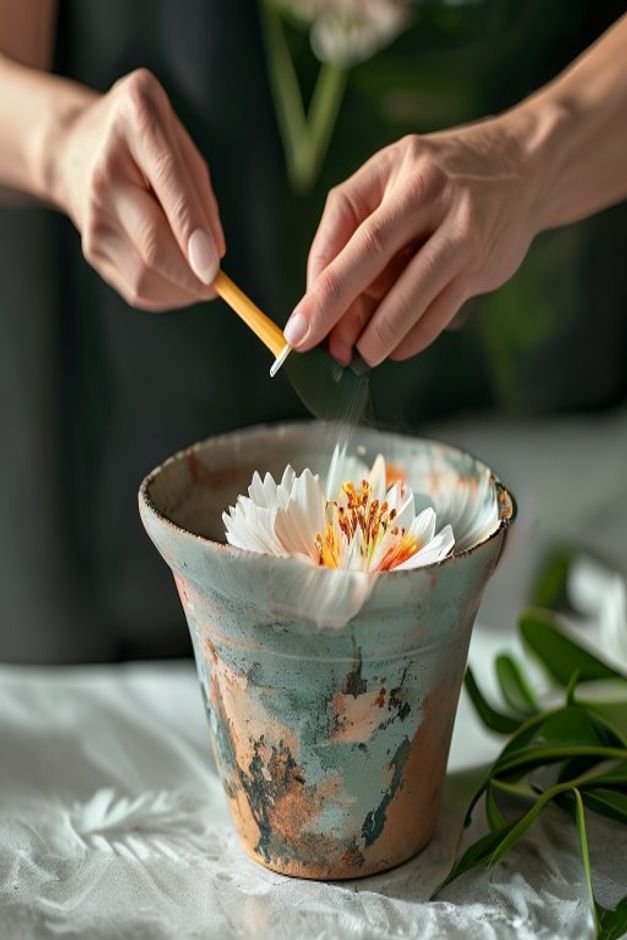
4. Cluttering the Design
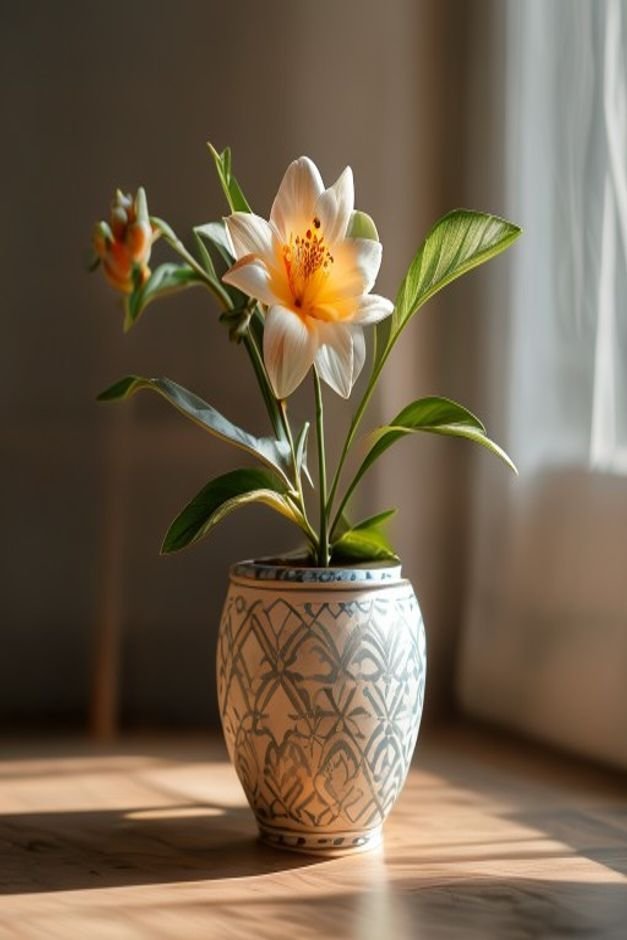
It’s easy to get carried away with too many colors, patterns, or embellishments. A pot that’s overly decorated can look busy and detract from the beauty of the plant it holds, or the garden space it inhabits. The goal is often to enhance, not overwhelm.
The Fix: Embrace Simplicity and Focus
Sometimes, less is truly more. Choose one or two focal points for your design, whether it’s a specific pattern, a bold color, or a unique texture. Allow negative space to highlight your chosen elements.
Consider how the pot will look with a plant in it; the plant itself is part of the overall aesthetic, not just the pot.
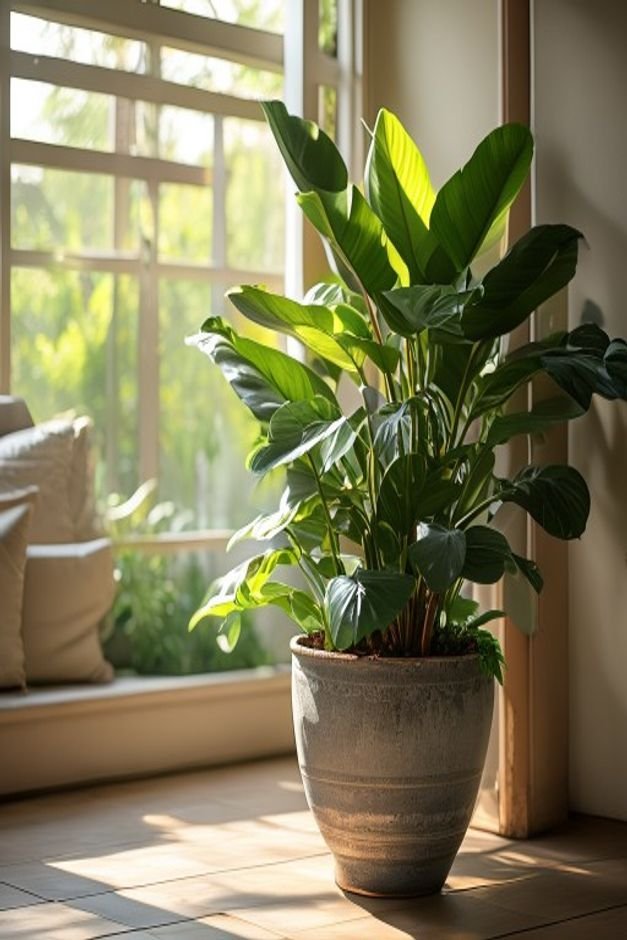
5. Ignoring Scale and Proportion
A tiny pot under a sprawling tree looks lost, while an oversized pot can dwarf a delicate plant. The size and shape of your decorated pot should relate harmoniously to both the plant it will house and the space it will occupy.
The Fix: Balance Your Elements
When selecting pots for your flower pot crafts, consider the mature size of the plant. A large, robust plant needs a substantial pot to anchor it. Similarly, think about the visual weight of the pot in its environment.
A collection of varying-sized pots can create visual interest, but ensure they are proportional to each other and their surroundings.
6. Neglecting the Plant’s Specific Needs
While you might be focused on the pot’s appearance, the plant’s well-being is paramount. Some plants need deeper pots for their taproots, while others prefer wider, shallower containers.
Choosing a pot solely for its decorative potential without considering the plant can lead to stunted growth or a sickly specimen.
The Fix: Research Your Greenery
Before you even start crafting, know what you intend to plant. Does your chosen plant prefer to be root-bound or have room to grow? Does it need excellent drainage or can it tolerate slightly wetter conditions?
Match the pot’s dimensions and material (e.g., terracotta breathes more than glazed ceramic) to the plant’s requirements for a thriving display.
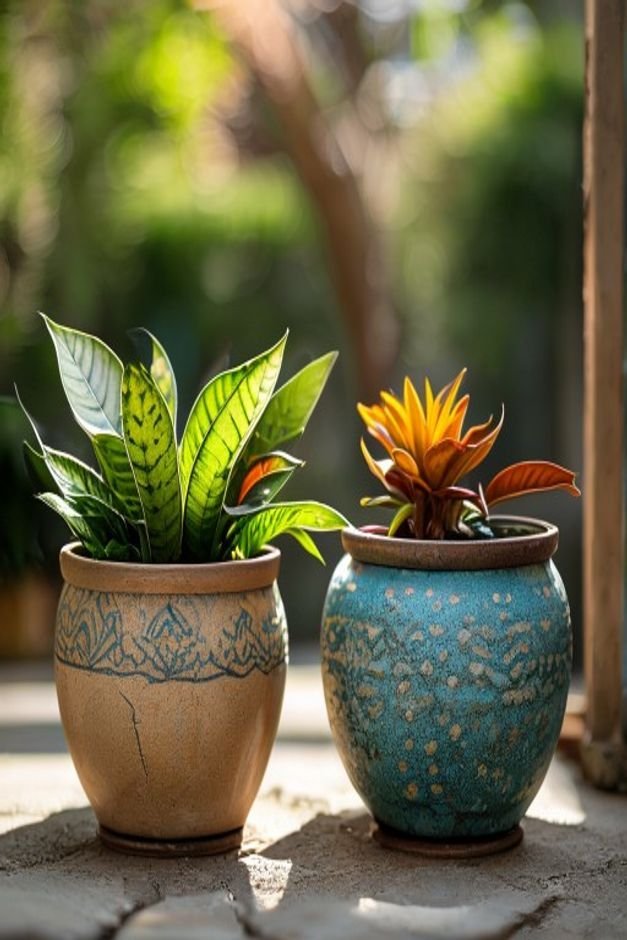
7. Poor Color and Texture Coordination
Your beautifully decorated pot should complement its surroundings, not clash with them. This includes the colors of your plants, your home’s exterior, and any existing garden decor. A vibrant, clashing color scheme can create visual discord, diminishing your curb appeal.
The Fix: Harmonize with Your Environment
Look at your existing space. Do you have warm earth tones, cool blues, or a riot of bright colors? Choose paint colors and textures for your flower pot crafts that either blend seamlessly or provide a thoughtful, contrasting accent.
Consider the plant’s foliage and flower colors too. A pot in a complementary color can make the plant truly pop.
8. Rushing the Curing and Drying Process
Impatience can be the enemy of a polished finish. Applying a second coat of paint before the first is dry, or sealing a still-tacky surface, can lead to smudges, uneven textures, and poor adhesion.
The final result will look amateurish and won’t stand the test of time.
The Fix: Allow Ample Time
Always follow the manufacturer’s recommendations for drying and curing times for all paints, glues, and sealants. This might mean waiting several hours or even a full day between coats.
Patience ensures each layer properly bonds and hardens, resulting in a durable, professional-looking finish for your flower pot crafts.
9. Forgetting a Protective Sealant
Even if you’ve used outdoor-rated paint, an additional sealant layer is crucial for long-term durability. This topcoat provides an extra barrier against moisture, UV rays, and general wear and tear, protecting your artistic efforts from the elements.
The Fix: Seal Your Hard Work
Once all your painting and decorating are complete and fully dry, apply a clear, outdoor-rated sealant. This can be a spray-on or brush-on product, available in various finishes like matte, satin, or gloss.
A good sealant will lock in your design, making your pots more resilient and easier to clean.

10. Mismatching Style with Surroundings
A rustic, farmhouse-style pot might look out of place in a sleek, modern minimalist garden, just as a brightly painted, whimsical design might clash with a formal, traditional setting. The most beautiful flower pot crafts are those that feel at home in their environment.
The Fix: Consider Your Home’s Aesthetic
Before you begin, take a moment to consider the overall style of your home and garden. Are you aiming for a cohesive look, or a deliberate contrast? Choose patterns, colors, and embellishments that resonate with your existing decor.
A unified aesthetic creates a sense of calm and intention, making your crafted pots feel like a natural extension of your space.
Crafting Pots with Purpose and Polish
Creating beautiful flower pot crafts is a truly rewarding endeavor that allows us to infuse our personal style into our living spaces. By being mindful of these ten common mistakes, you’re not just avoiding pitfalls; you’re actively setting yourself up for success.
From proper preparation and material selection to thoughtful design and plant care, each step contributes to a finished product that is not only visually appealing but also functional and long-lasting.
Remember, the goal is to create pieces that enhance your home and garden, bringing joy and a touch of handcrafted charm. With these practical
tips in hand, you’re well-equipped to make your next flower pot crafts project a triumph, adding character and lush greenery to every corner.