There’s a special joy in creating something with your own hands, especially when it adds life and colour to your home or garden.
Flower pot crafts are a wonderful way to express creativity, but sometimes, despite our best efforts, they can feel a little unfinished or rough around the edges. They might not quite achieve that polished, styled look we admire in garden magazines.
The good news is that you don’t need a complete overhaul or advanced crafting skills to make a significant difference. Often, it’s a few thoughtful, low-effort adjustments that take your handmade pots from charmingly homemade to genuinely sophisticated.
These small tweaks, grounded in practical design principles, can dramatically improve their visual appeal and longevity.
We’re going to explore nine straightforward changes that focus on texture, styling, and smart foundational choices. Each one is designed to enhance your flower pot crafts, making them feel more intentional and integrated into your outdoor living spaces.
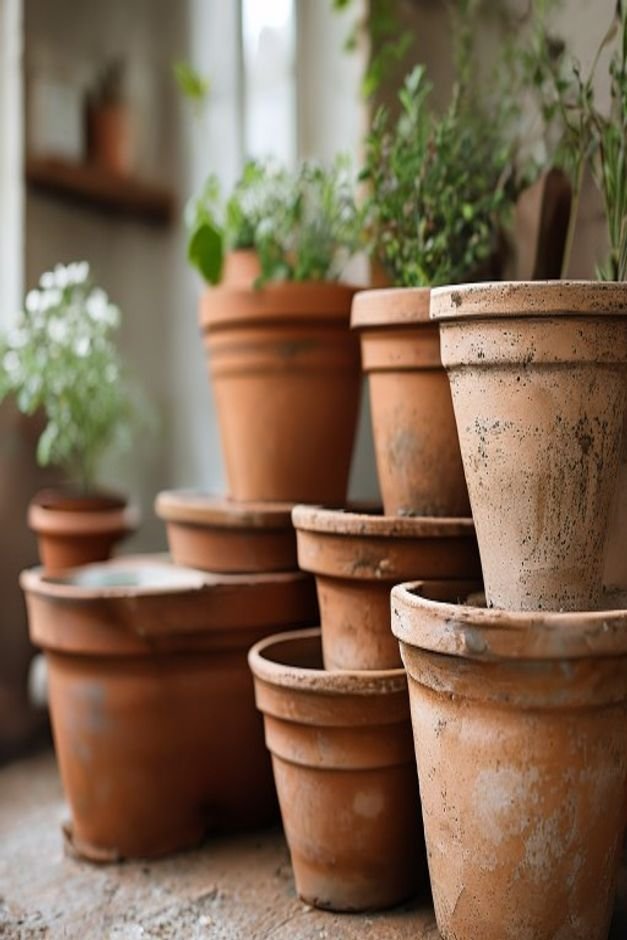
Start with the Right Pot Base
The foundation of any good craft is the material you begin with. For flower pot crafts, this means choosing the right pot itself.
While painting over an old, chipped plastic pot might seem like an easy win, a quality base makes all the difference in the final look and feel.
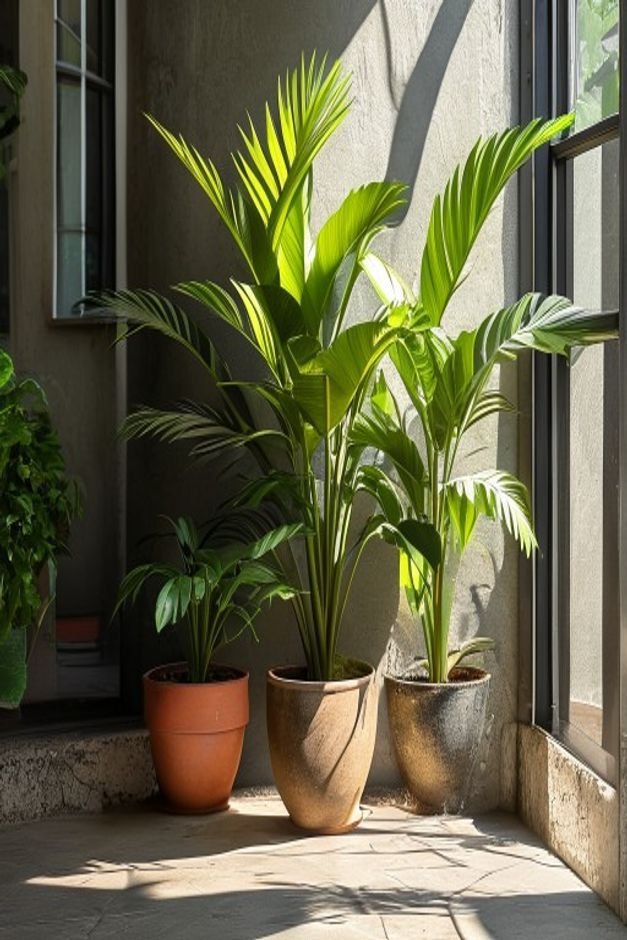
Terracotta is a classic for a reason; its porous nature is great for plants, and its natural colour provides a warm canvas. Consider smooth ceramic pots for a contemporary feel or even concrete for an industrial edge.
Pay attention to the pot’s shape and size relative to where it will sit. A sturdy, well-proportioned pot inherently looks more substantial and finished, even before you add any embellishments.
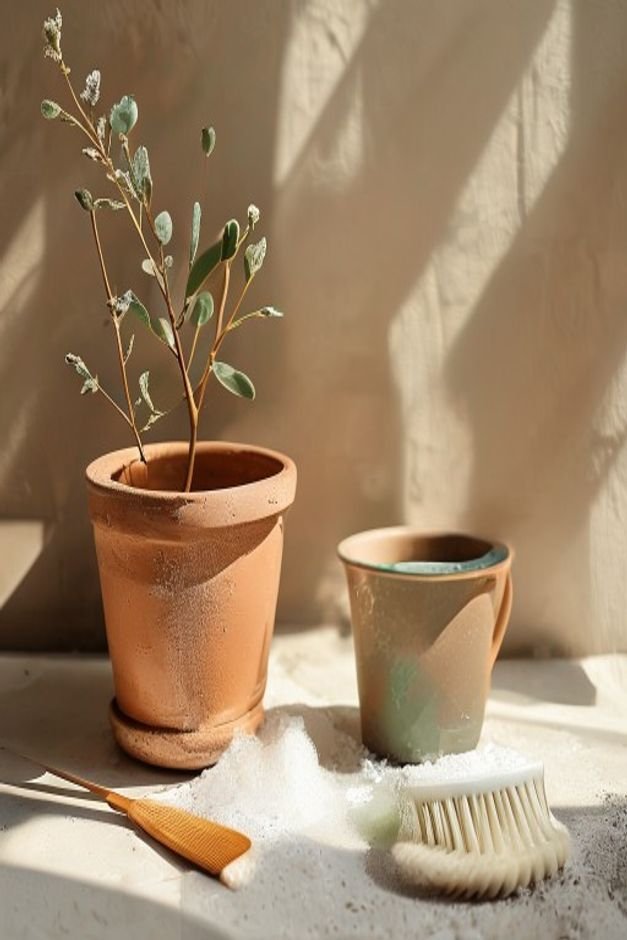
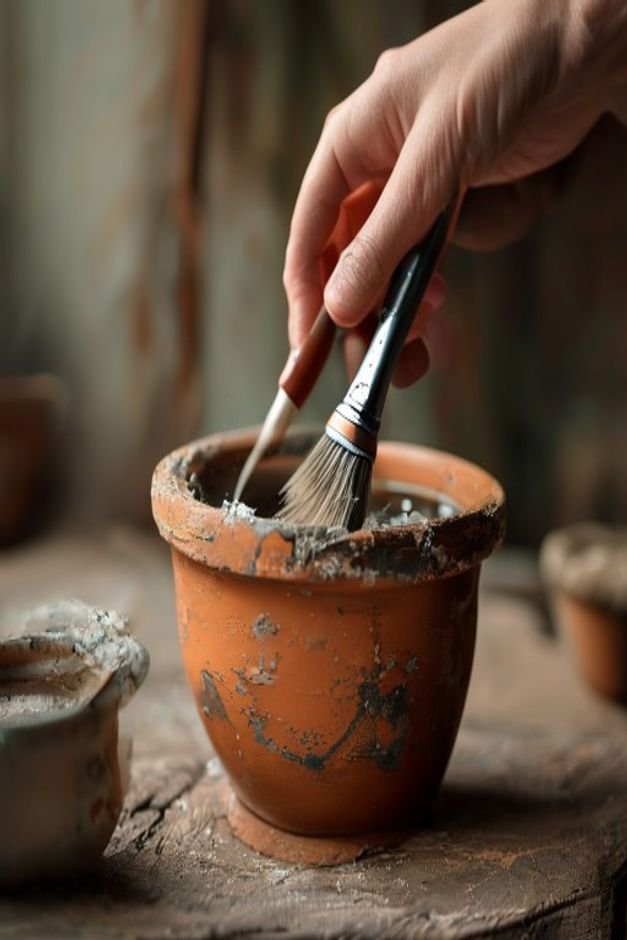
Essential Prep Work Makes Perfect
Skipping preparation is the quickest way to end up with a less-than-stellar result. Before any paint or sealant touches your pot, ensure it’s spotless and smooth. Wash new terracotta pots thoroughly to remove dust and let them dry completely, ideally for a full day.
For used pots, scrub away all soil residue, mineral deposits, and any loose paint. A light sanding, especially on glazed surfaces or rough edges, creates a better surface for paint adhesion.
Finally, a good quality primer, particularly one designed for outdoor use or specific materials like plastic, will prevent chipping and ensure your colours pop. This step truly saves effort in the long run.
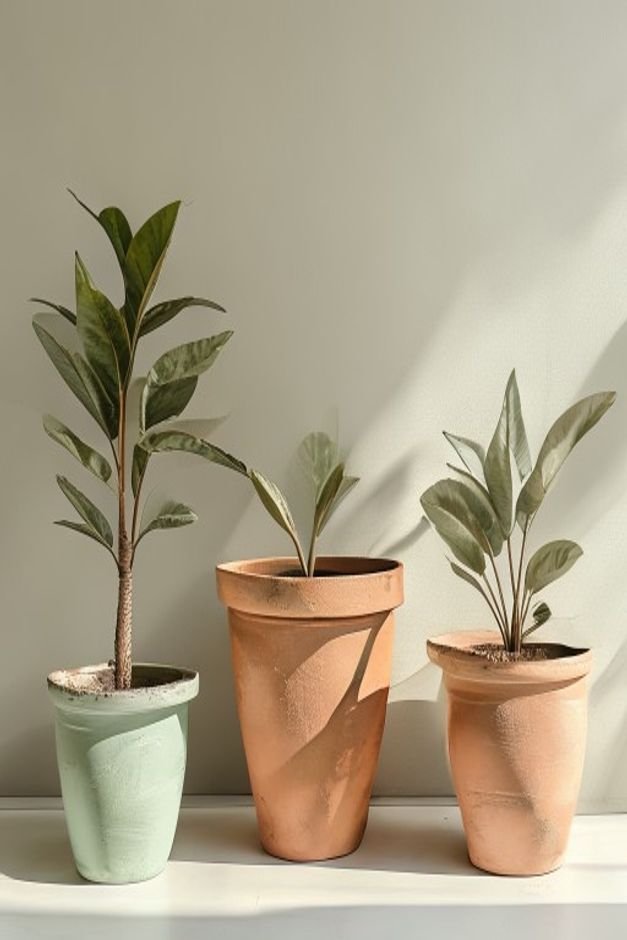
Thoughtful Color Palettes
Colour is powerful, and a cohesive palette makes your pots look like part of a larger design scheme, rather than isolated pieces. Instead of picking colours at random, consider your home’s exterior, patio furniture, or the natural hues of your garden.
Soft greens, muted blues, warm creams, and earthy ochres blend beautifully with foliage and flowers. If you prefer brighter tones, use them as accents against more neutral bases. Stick to a maximum of three main colours for a group of pots to maintain harmony.
This thoughtful approach ensures your pots complement their surroundings, adding to the overall curb appeal.
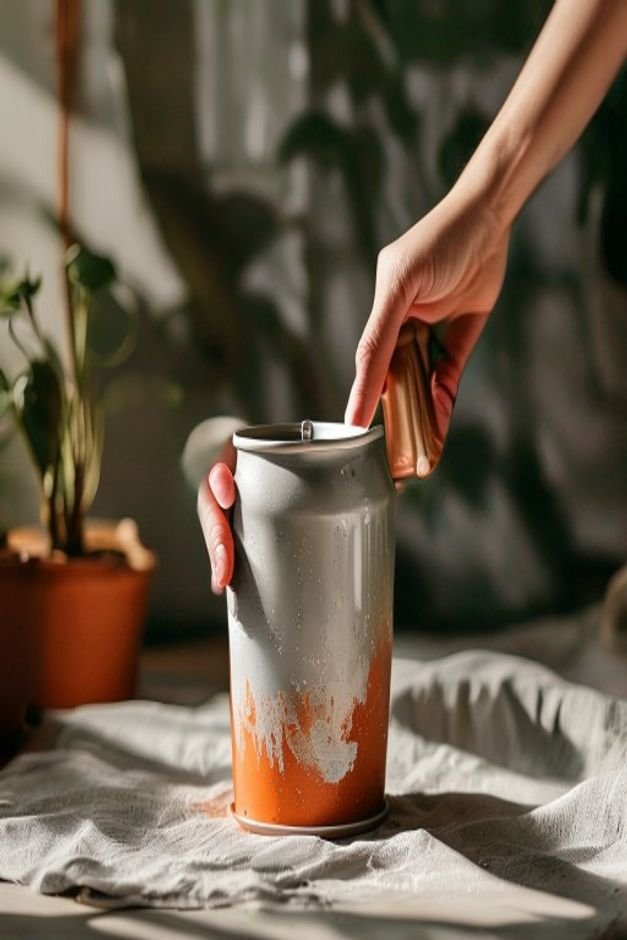
Add Texture with Simple Finishes
Flat, uniform paint can sometimes look a bit sterile. Introducing texture is an easy way to add depth and character.
Consider a distressed look by applying a base coat, then a contrasting top coat, lightly sanding parts of the top coat once dry to reveal the colour beneath.
Sponge painting or stippling with a brush can create a lovely mottled effect. For a more sophisticated touch, use painter’s tape to create clean stripes or geometric patterns.
You don’t need complex techniques; even a matte finish versus a glossy one can add a subtle tactile quality that looks more expensive and intentional.
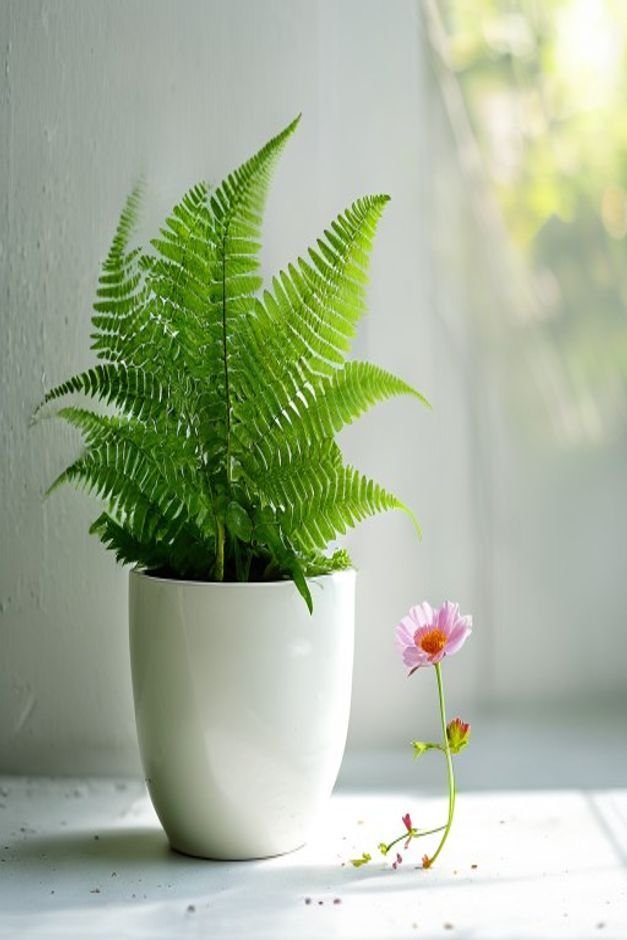
Thoughtful Plant Pairings for Your Flower Pot Crafts
The plant is as much a part of the craft as the pot itself. A stunning pot can be undermined by an unsuitable plant, and vice-versa. Think about the plant’s shape, size, and growth habit.
A tall, upright plant might look best in a squat, wide pot, creating a balanced silhouette.
For trailing plants, choose a pot that allows their cascades to be admired. Consider colour contrasts too: vibrant green foliage against a muted pot, or a flowering plant whose blooms pick up a subtle accent colour in the pot’s design.
Matching the plant’s needs to the pot’s environment is also key for healthy, beautiful displays.
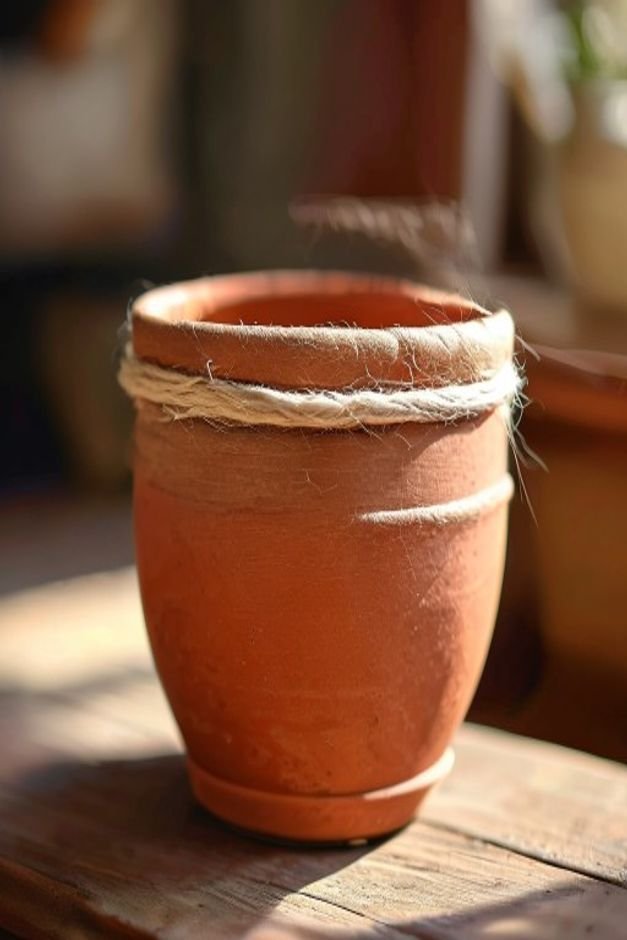
Understated Embellishments
Sometimes, less is truly more. Instead of elaborate decorations, opt for simple, natural embellishments. A band of natural jute twine wrapped around the rim of a pot, secured with a dab of hot glue, adds an appealing rustic texture.
Small, smooth river stones or decorative pebbles glued around the base can give a grounded, earthy feel. Consider painting a simple, elegant border or a single, subtle motif rather than covering the entire surface with intricate designs.
These small, thoughtful additions enhance without overwhelming, lending a handcrafted but refined appearance.
Sealing for Longevity and Shine
A beautiful craft deserves protection. Sealing your painted pots is crucial, especially for outdoor use, to guard against moisture, UV rays, and general wear and tear. A good quality outdoor sealant will prevent paint from chipping, fading, or peeling over time.
You can choose from matte, satin, or glossy finishes, each imparting a different character. A matte sealer keeps the natural, earthy look, while a satin or glossy finish can deepen colours and add a subtle sheen, making the pot appear more vibrant.
Always apply several thin coats, allowing each to dry completely, for the best and most durable protection.
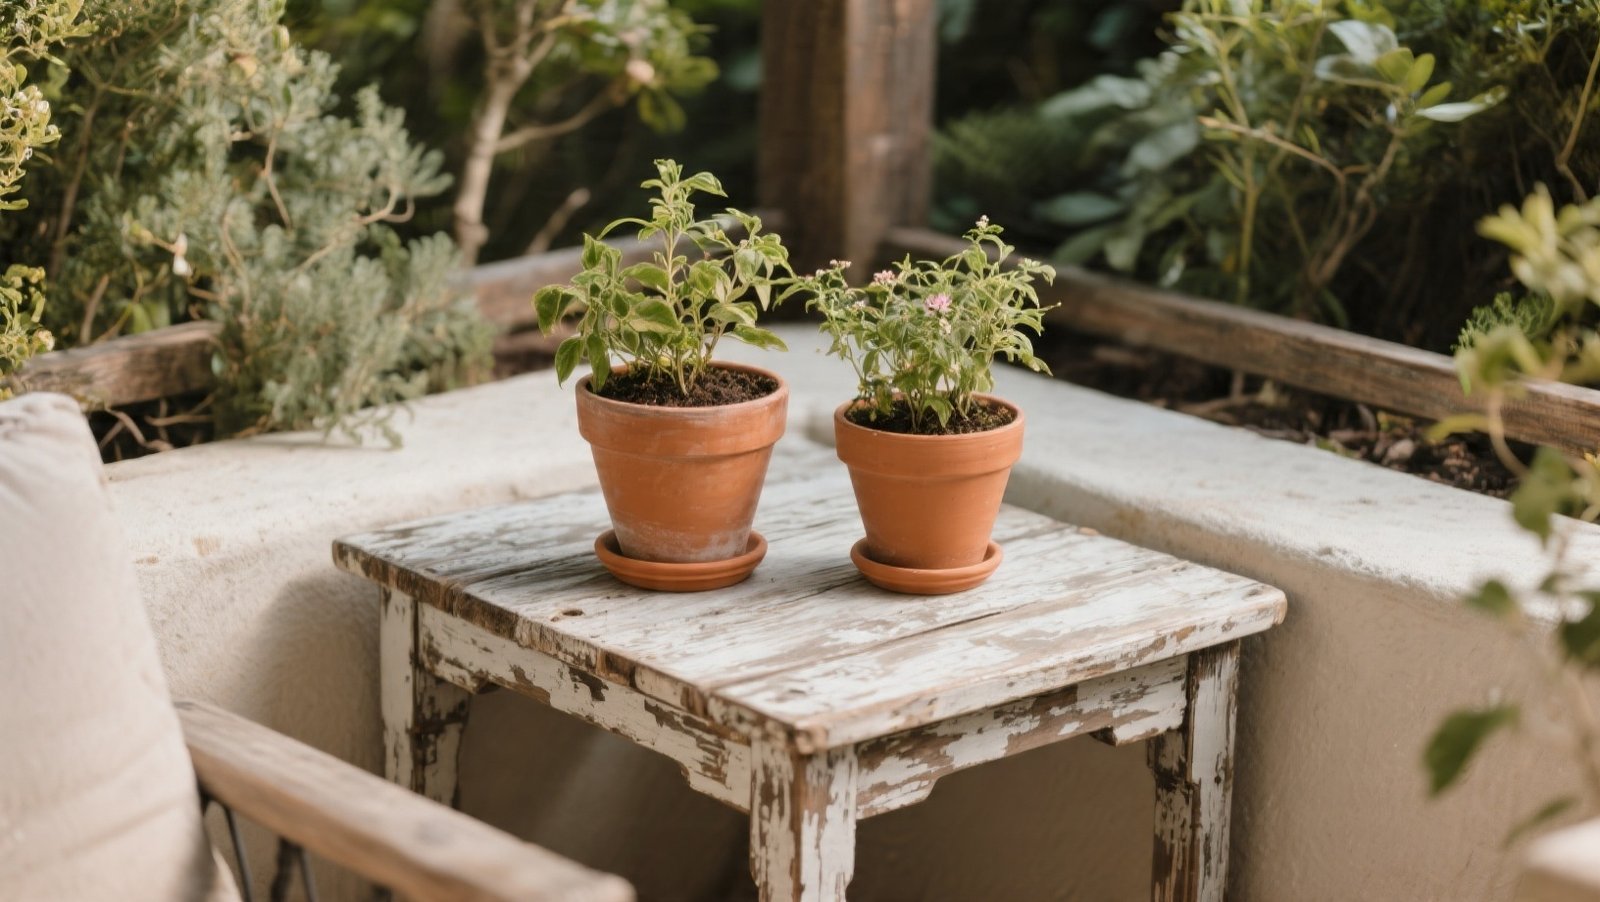
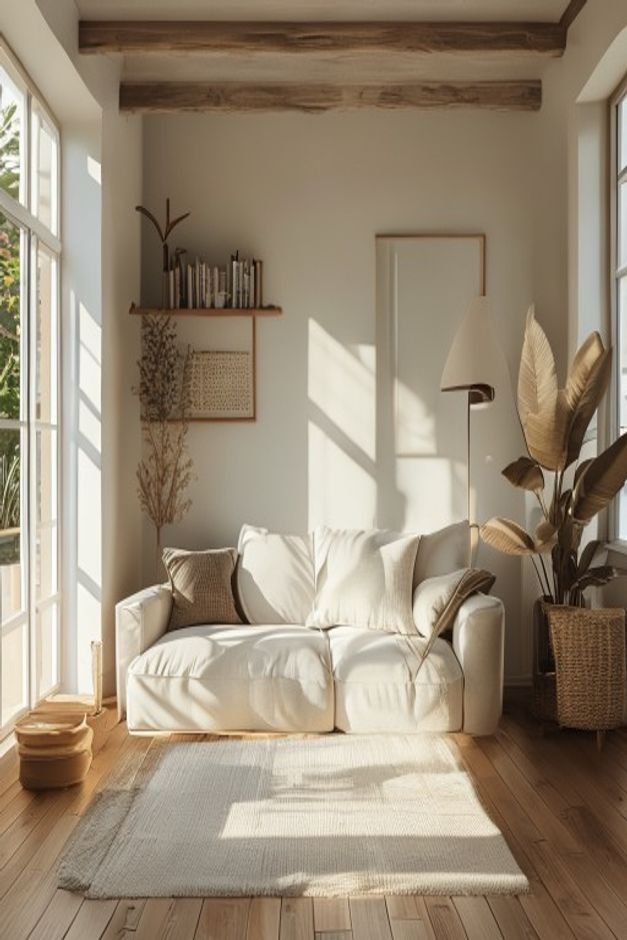
Grouping and Arrangement
Even the most beautiful individual pots benefit from smart placement. Instead of scattering single pots, group them in thoughtful arrangements. Varying heights and sizes within a cluster creates visual interest and makes the display feel more intentional.
Use plant stands, overturned smaller pots, or even sturdy books (indoors) to create different levels. Arrange pots with contrasting textures or colours together to highlight their individual qualities, but ensure they still adhere to your overall colour palette.
A well-composed grouping instantly elevates a corner, turning a collection of pots into a curated garden vignette.
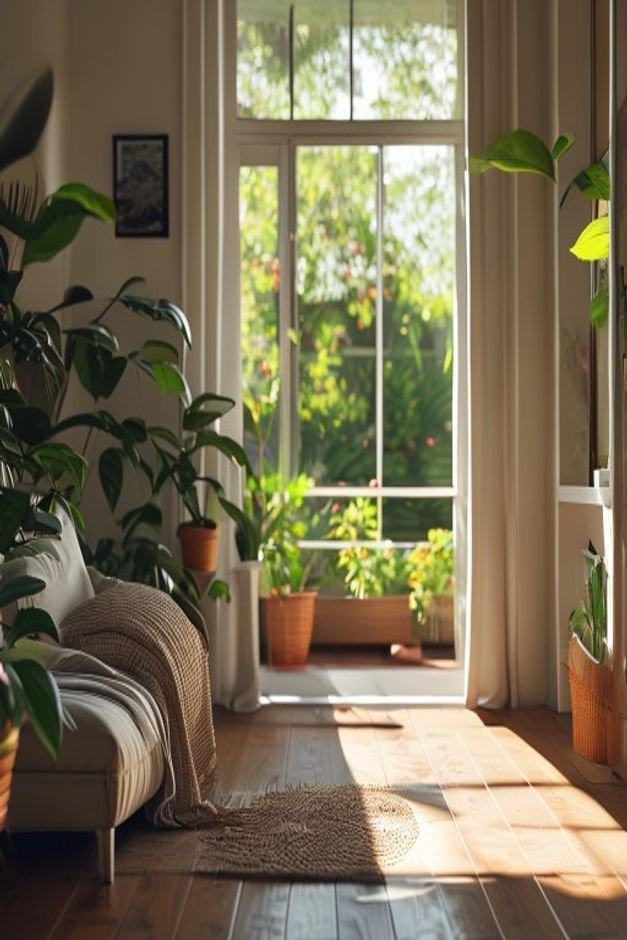
The Power of a Clean Base
This final point circles back to a fundamental principle: a clean, tidy presentation makes everything look better. This applies not just to the pot itself, but to its immediate surroundings. Ensure the soil level is neat, without debris or weeds.
Wipe down any dust or drips from the pot’s surface regularly.
If your flower pot crafts are on a patio, sweep the area around them. If they’re indoors, ensure the surface they rest on is clean.
This simple act of maintaining a pristine base instantly enhances the perceived quality of your craft, making it look well-cared for and truly part of a stylish home.
Bringing Your Garden Vision to Life
Transforming your flower pot crafts doesn’t require grand gestures. It’s about paying attention to the small details, from the quality of your base material to the final protective seal. Each of these nine low-effort changes contributes to a more cohesive, polished, and enduring result.
By approaching your projects with a little more thought and care in these key areas, you’ll find that your handmade pots not only look better but also bring a deeper sense of satisfaction.
These aren’t just containers for plants; they’re expressions of your personal style, adding beauty and character to your living spaces. Embrace these practical tips, and your flower pot crafts will not just hold plants, they’ll hold attention.