There’s a special satisfaction that comes from painting your own flower pots. It’s a chance to infuse personality into your garden, patio, or balcony. But sometimes, despite our best efforts, a freshly painted pot can still feel a little unfinished, a bit too homemade.
The secret to elevating these charming pieces lies in a few thoughtful upgrades. These aren’t complicated steps; they’re simple design choices and practical additions that transform your painted flower pots from lovely to truly polished.
Think of it as adding the perfect accessories to an outfit – they complete the look. Let’s explore 14 easy ways to give your hand-painted flower pots that professional, styled finish.
The Essential Topcoat
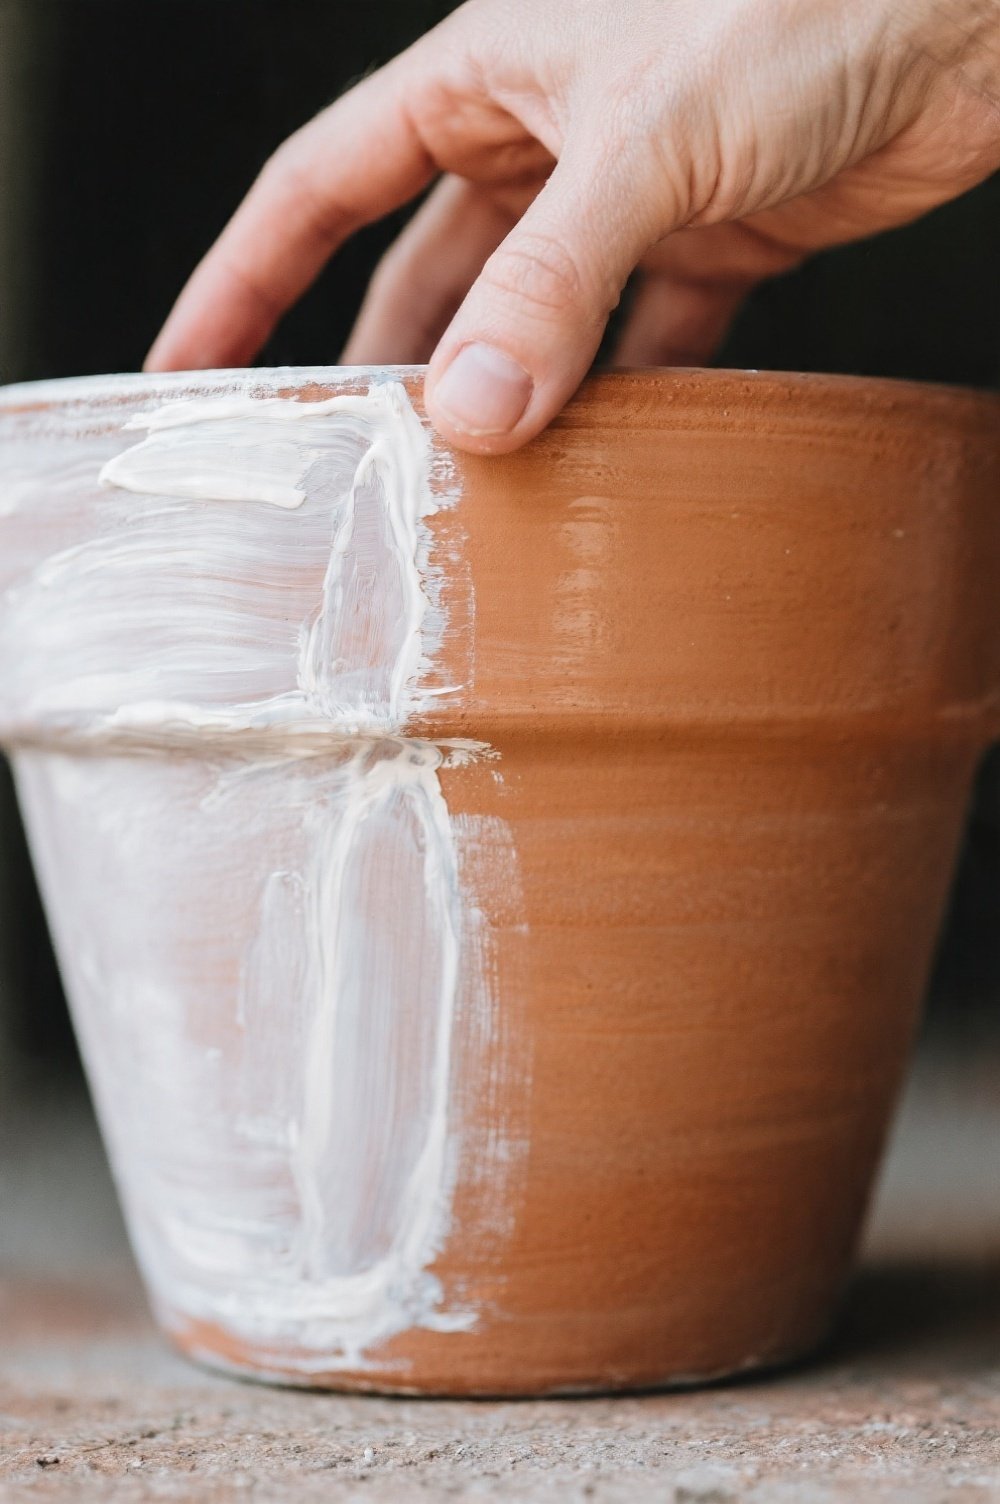
1. Add a Clear Protective Sealant: This is arguably the most crucial step for a finished look and lasting durability. A clear sealant protects your paint from the elements, preventing chipping, fading, and water damage.
Choose a matte finish for a natural, understated vibe, or a glossy sealant for a vibrant, polished sheen that makes colors pop. It instantly elevates the perceived quality of your work.
Applying a sealant also unifies the surface. It smooths out any minor imperfections in the paint job and provides a consistent texture. This makes your painted flower pots look intentionally crafted, not just quickly decorated.
Subtle Textured Overlays
2. Incorporate Stenciling: Beyond a solid color, stenciled patterns can add immense sophistication. Choose a subtle, repeating motif – think geometric shapes, delicate botanicals, or classic damask – and apply it in a slightly darker or lighter shade of your base color.
This creates depth without being overwhelming.
3. Introduce Raised Textures: For a tactile and visually rich finish, consider adding raised textures. This can be achieved with textured paints, stucco paste, or even a thin layer of grout applied through a stencil.
A subtle, sandy texture or a series of raised dots can transform a flat surface into something dimensional and intriguing, giving your painted flower pots an artisanal feel.
A Touch of Glaze or Varnish
4. Layer with Glaze: A translucent glaze can add incredible depth and a professional touch. After your base paint is dry, brush on a colored glaze that’s a shade darker or a complementary hue.
This technique creates a subtle antiqued effect or a rich, layered look, making your pots appear more complex and expensive.
5. Apply a Varnish for Sheen: While sealants protect, varnish specifically adds a beautiful luster. A high-gloss varnish can give your pots a ceramic-like sheen, making them feel luxurious. For a softer glow, opt for a satin varnish.
The reflective quality of varnish catches the light, drawing attention to your carefully chosen colors and designs.
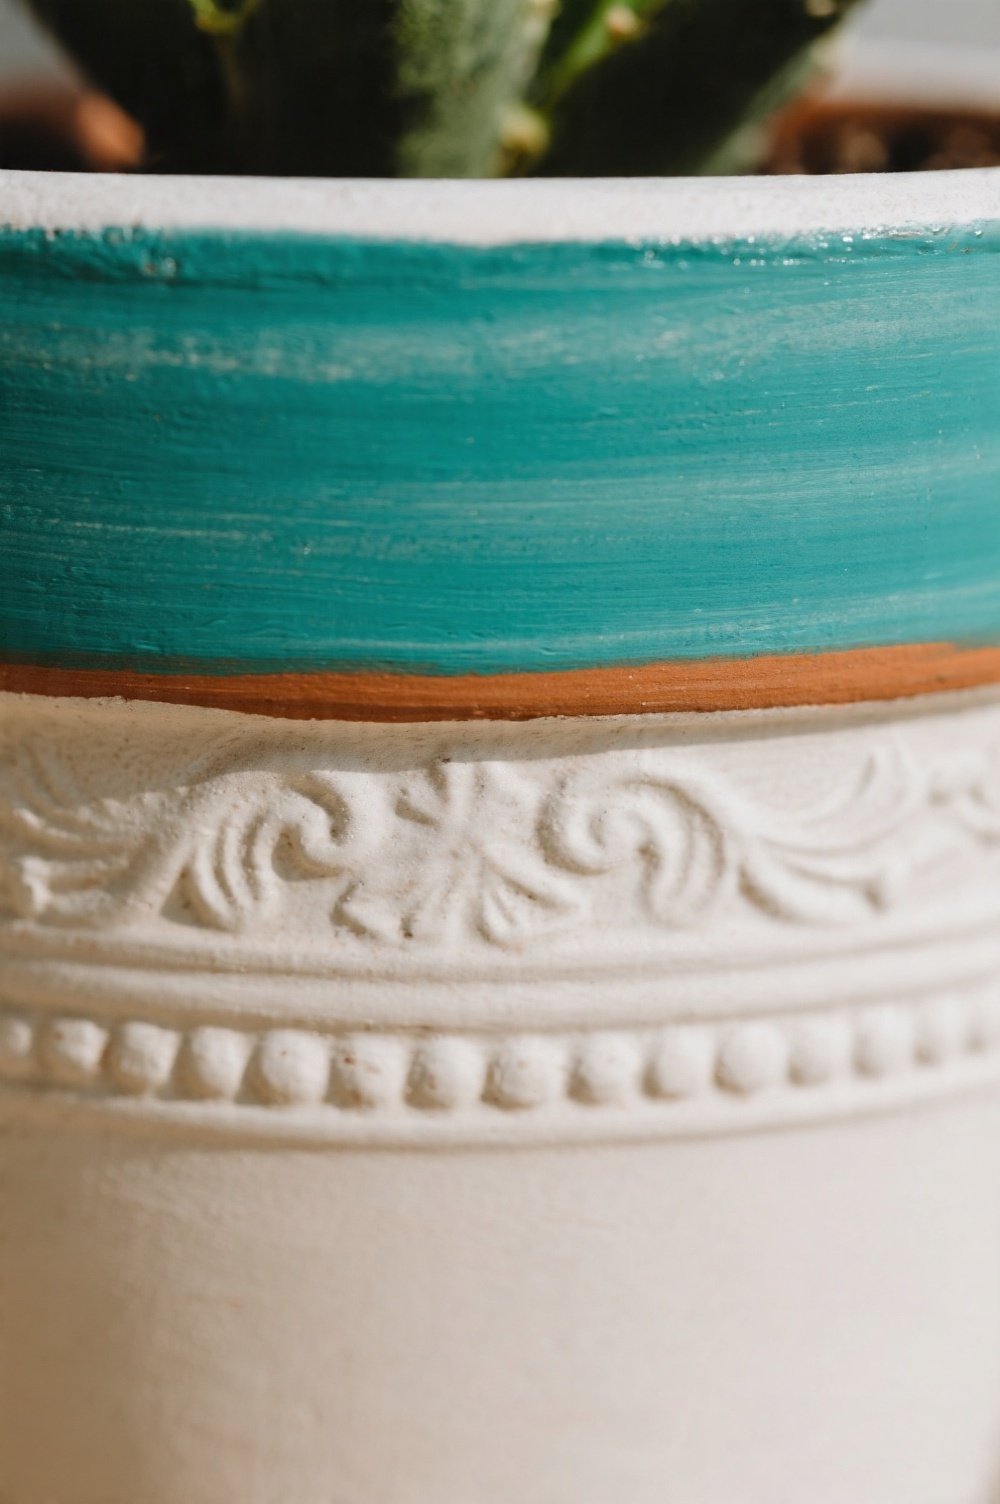
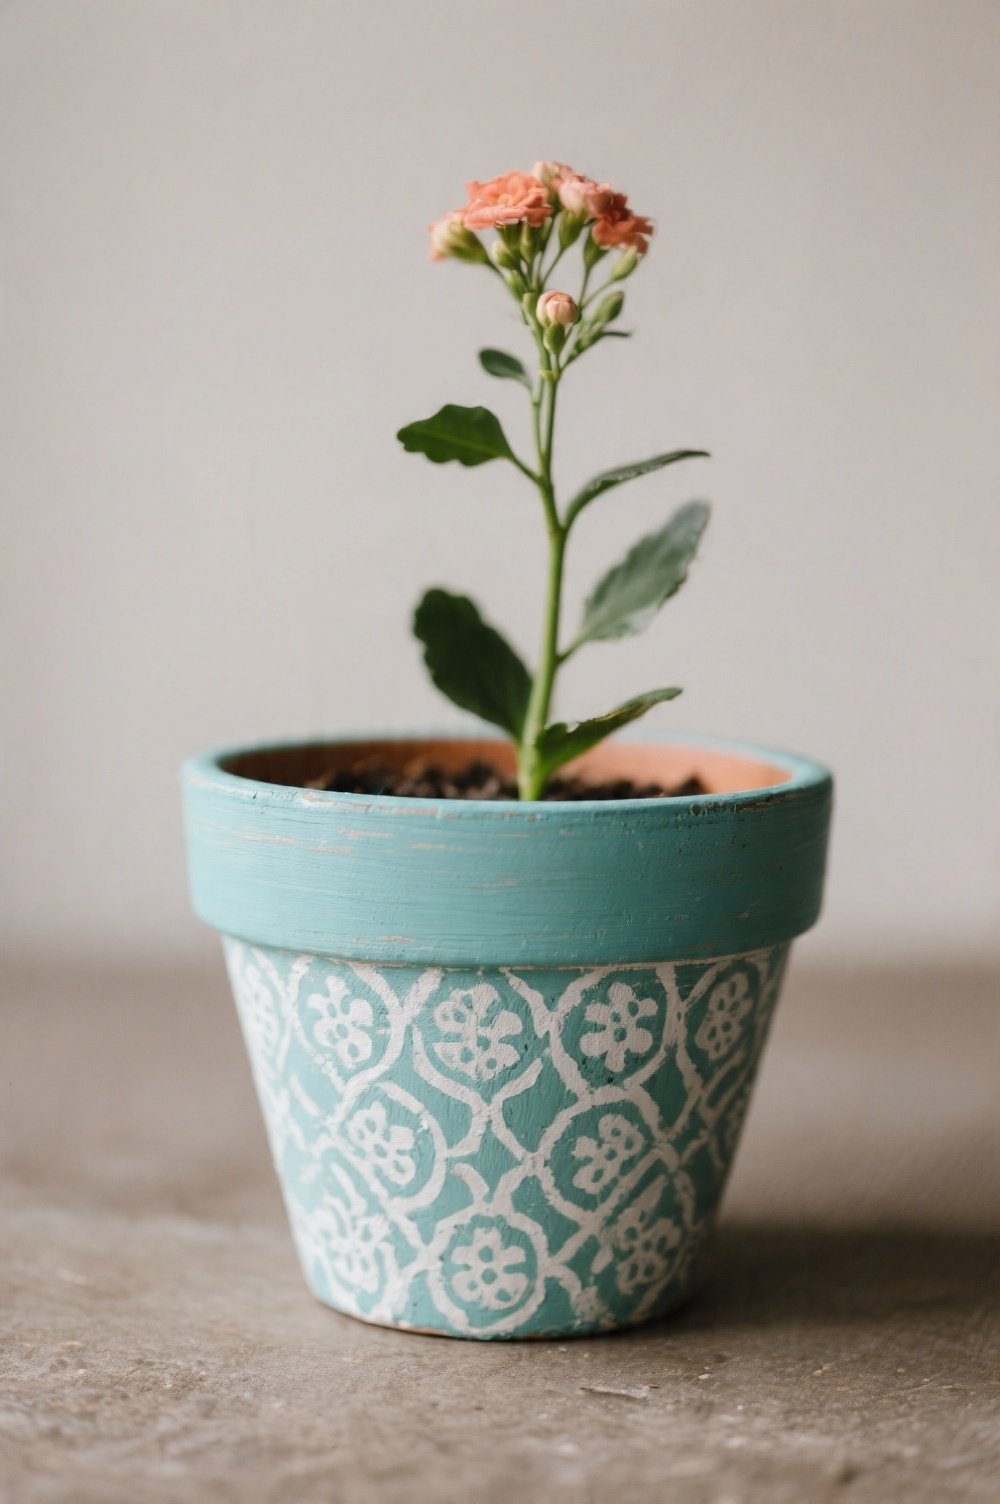
Defining the Rim
6. Paint a Contrasting Rim: A simple yet powerful upgrade is to paint the very top edge of your pot in a contrasting color.
A crisp white rim on a dark pot, or a metallic gold band on a pastel pot, creates a clean, defined line. This acts like a frame, neatly finishing the design and drawing the eye to the pot’s contents.
7. Add Decorative Trim to the Edge: For a more elaborate finish, consider attaching decorative trim. This could be a thin strip of natural rope, a delicate ribbon, or even a border of tiny mosaic tiles or pebbles.
Such an accent adds texture and visual interest right where the pot meets the plant, making it feel custom-made.
[IMAGE PROMPT: A terracotta pot painted in a deep matte color with subtle metallic gold accents hand-painted along its base and rim Sun]
Metallic Touches
8. Use Metallic Paint Accents: A touch of metallic paint can instantly elevate the elegance of your pots. Use gold, copper, or silver paint to highlight specific details, like a stenciled pattern, the rim, or a raised design.
Even a thin metallic stripe around the base can add a sophisticated shimmer.
9. Incorporate Metallic Leafing: For a truly luxurious and refined finish, metallic leafing is an excellent choice. Gold leaf, silver leaf, or copper leaf can be applied to small sections or patterns on your painted pots.
The rich, authentic metallic shine is unparalleled and makes any pot look like a high-end art piece.
[IMAGE PROMPT: A painted pot sitting on decorative ceramic pot feet slightly elevated from a stone patio surface The feet are visible a]
Elevating with Feet and Risers
10. Add Drainage Feet: Practicality meets aesthetics with pot feet. These small supports elevate your pot slightly off the ground, improving drainage and airflow, which is crucial for plant health.
But beyond function, decorative pot feet – whether ceramic, metal, or stone – add a deliberate design element that makes the entire display feel more grounded and substantial.
11. Use Pot Risers for Presence: Similar to pot feet, risers offer more significant elevation. These can be small, sturdy blocks or even decorative pedestals.
Lifting a pot even a few inches can dramatically increase its presence and make it feel more important in your garden layout. It’s an easy way to add height variation to your plant groupings.
[IMAGE PROMPT: A beautifully painted flower pot displayed on a sleek minimalist wooden plant stand on a modern patio The plant stand co]
Strategic Plant Stands
12. Pair with Complementary Plant Stands: The right plant stand acts as an extension of your pot’s design.
A minimalist metal stand for a modern pot, a rustic wooden stand for an earthy design, or a classic ceramic pedestal for an ornate pot – choosing a stand that complements the style and color of your painted pot makes the entire arrangement look cohesive and thoughtfully curated.
It’s an instant upgrade to the overall display.
[IMAGE PROMPT: A painted pot wrapped with natural jute twine around its upper section creating an organic texture contrast A small leaf]
Natural Rope and Twine Wraps
13. Wrap with Natural Materials: For an organic, textural finish, consider wrapping sections of your painted pots with natural rope or twine. Jute, sisal, or hemp rope can be spiraled around the top portion, the base, or even the entire pot.
This adds a beautiful, earthy contrast to the painted surface, introducing warmth and an artisanal touch that feels both relaxed and refined.
Thoughtful Plant Pairings
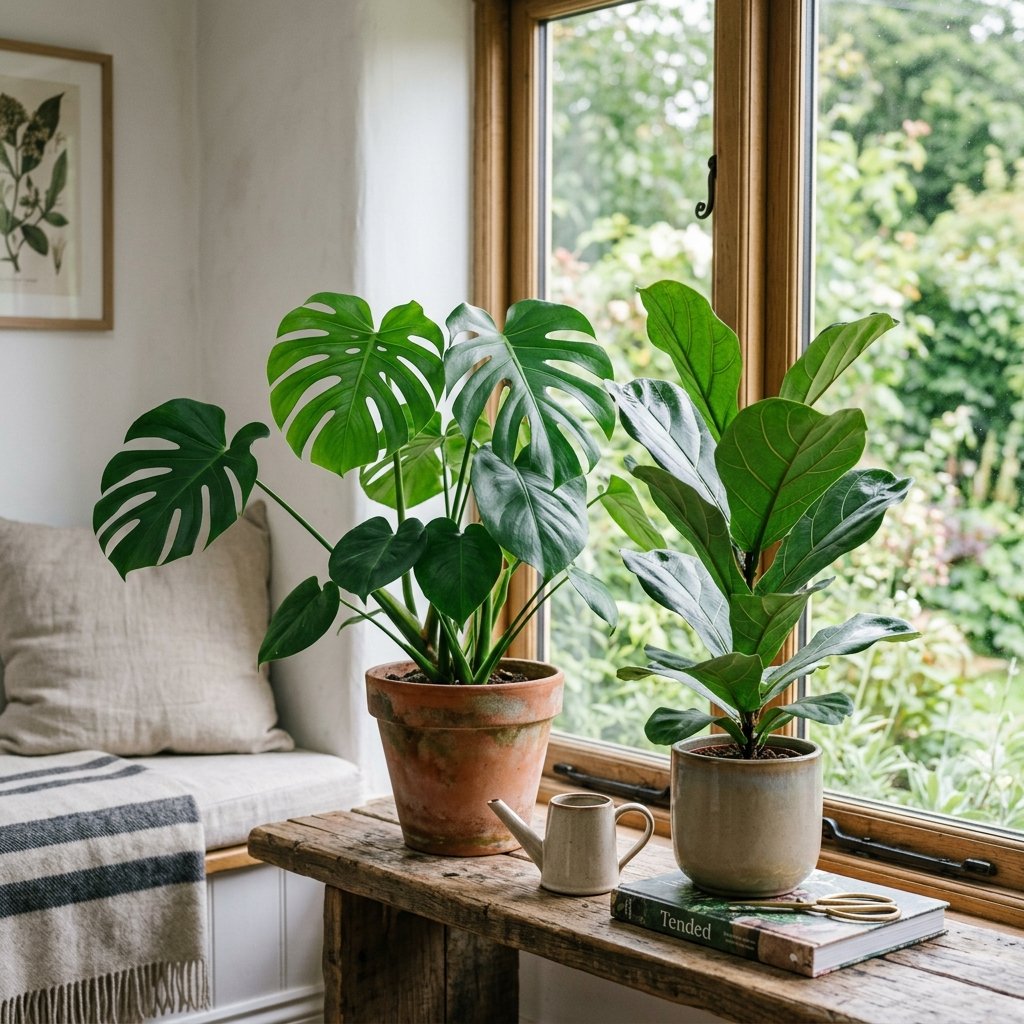
14. Curate Thoughtful Plant Pairings: The plant itself is the ultimate finishing touch for any pot. Consider the plant’s foliage color, texture, and growth habit in relation to your pot’s design.
A bright green fern in a dark, moody pot; a trailing succulent spilling over a vibrant, patterned pot; or a delicate flowering annual in a subtly textured pot.
The synergy between plant and pot is what truly brings the entire display to life and makes your painted flower pots look complete.
Curated Groupings and Placement
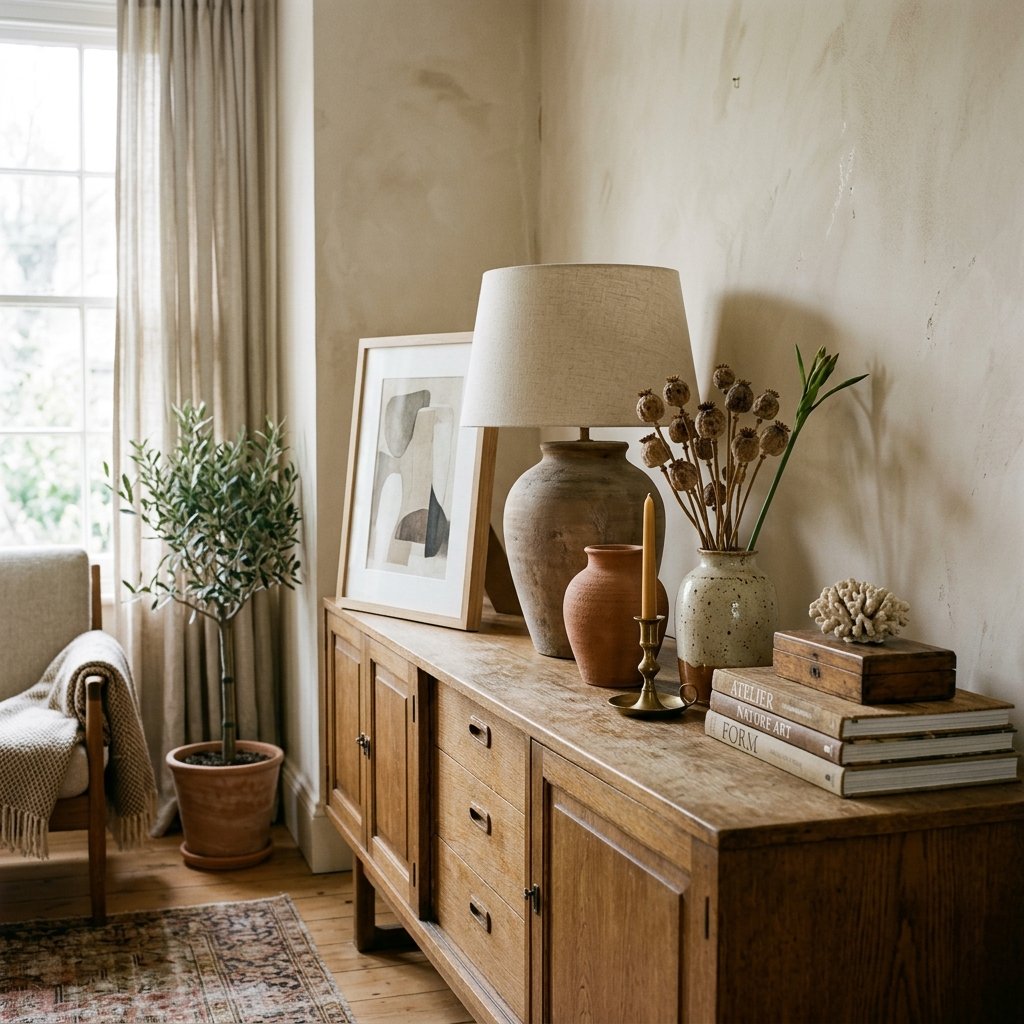
While not an upgrade to the pot itself, how you arrange your individual painted flower pots significantly impacts their finished look. Grouping pots of varying sizes, shapes, and finishes together creates a visual story.
Arrange them on different levels, creating a dynamic display that draws the eye. Thoughtful placement against a backdrop of lush greenery or a clean wall allows each pot to shine, making the collective display feel intentional and polished.
These simple upgrades demonstrate that the beauty of your painted flower pots isn’t just in the initial brushstrokes. It’s in the details, the protective layers, and the thoughtful presentation that follows. Each small addition contributes to a more cohesive, attractive, and professionally finished outdoor space.
Enjoy the process of refining your creations and watching your garden aesthetic flourish.