It’s a rewarding feeling to transform a plain terracotta pot with a splash of color. We’ve all been there, though: that moment when your freshly painted flower pot looks… good, but not quite finished .
It has that lovely homemade charm, but perhaps lacks the polished presence you see in garden magazines or boutique nurseries.
The difference often lies in a few simple, often overlooked steps that elevate your flower pot painting from a weekend craft to a genuine piece of patio styling.
These aren’t complicated techniques, but rather thoughtful additions that make all the difference in durability, visual appeal, and overall impact.
We’re going to walk through 14 easy upgrades that will make your painted pots look like they were always meant to be exactly where they are, enhancing your garden or balcony with effortless style.
The Foundation First: Surface Preparation and Priming
A beautiful finish always starts with a clean, smooth base. Don’t skip these crucial first steps in your flower pot painting process.
- 1. Clean the Pot Thoroughly: Whether it’s a brand-new pot or one you’re repurposing, it needs a good scrub. Remove all dirt, dust, and any residual salts or minerals. A stiff brush and a mix of water with a little mild soap usually do the trick. For older pots, a weak bleach solution can help sanitize and remove stubborn stains. Rinse thoroughly and let it dry completely, ideally in the sun for a day or two.
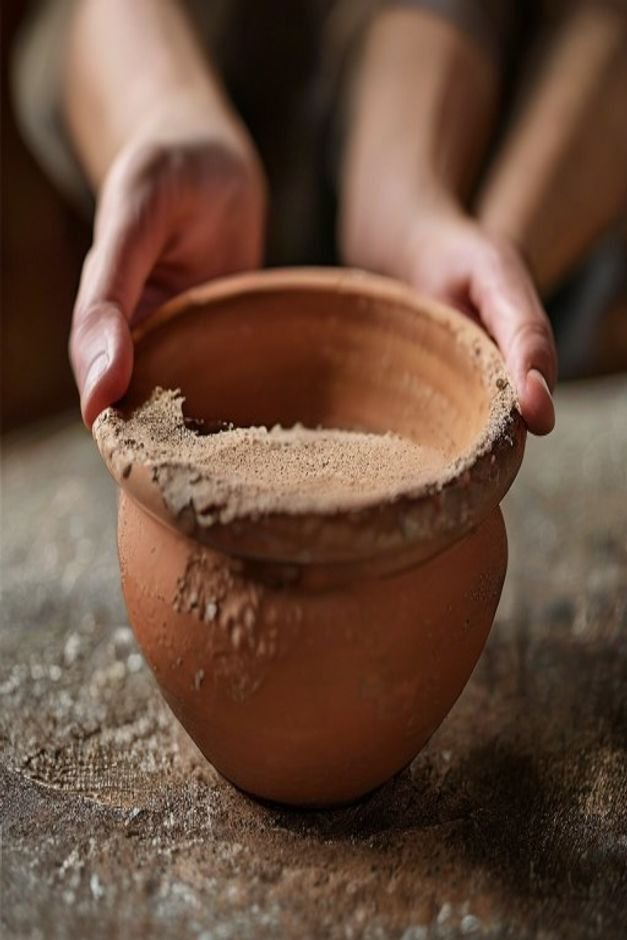
- 2. Sand for Smoothness: This is a game-changer for a truly professional look. Lightly sand the entire exterior surface of the pot with a fine-grit sandpaper (around 120-220 grit). This removes any rough spots, bumps, or manufacturing imperfections. It also creates a slightly abraded surface, giving your paint something better to adhere to. Wipe off all dust with a damp cloth afterward.
- 3. Prime for Adhesion and Evenness: Primer isn’t just for walls. It’s essential for painted flower pots, especially terracotta, which is porous. A good quality exterior primer creates a uniform surface, prevents the pot from absorbing too much paint, and ensures your colors appear vibrant and last longer. Apply one or two thin, even coats and let it cure according to the manufacturer’s instructions.
Choose Your Colors Wisely: Quality Paints and Strategic Hues
The right paint and color choices are foundational to a polished outcome.
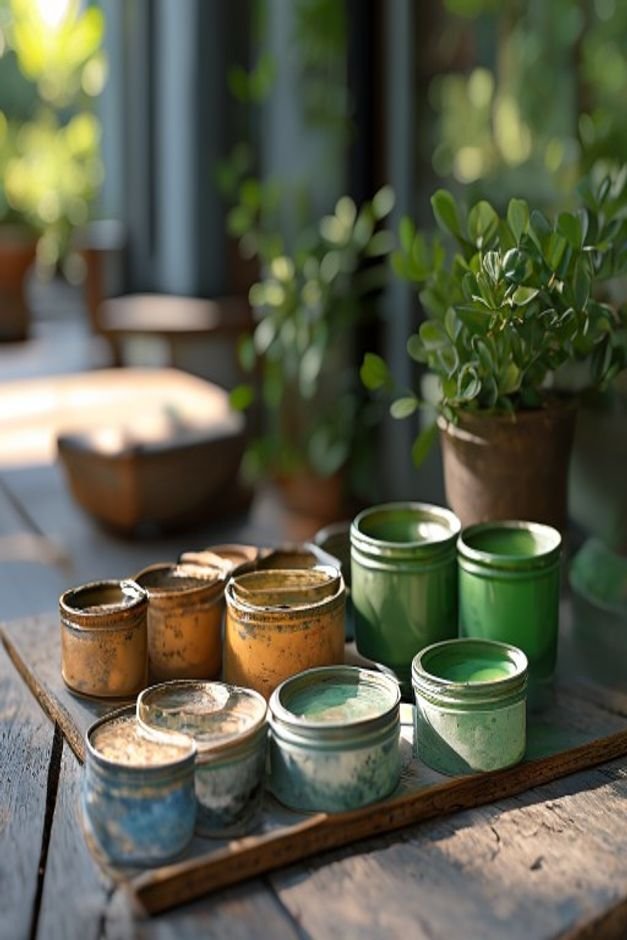
- 4. Use Quality Outdoor-Grade Paint: This might seem obvious, but it’s often overlooked. Interior paints won’t stand up to the elements. Invest in acrylic latex exterior paints, or paints specifically designed for masonry or outdoor use. They are formulated to resist fading, cracking, and peeling, ensuring your hard work endures sun, rain, and temperature fluctuations.
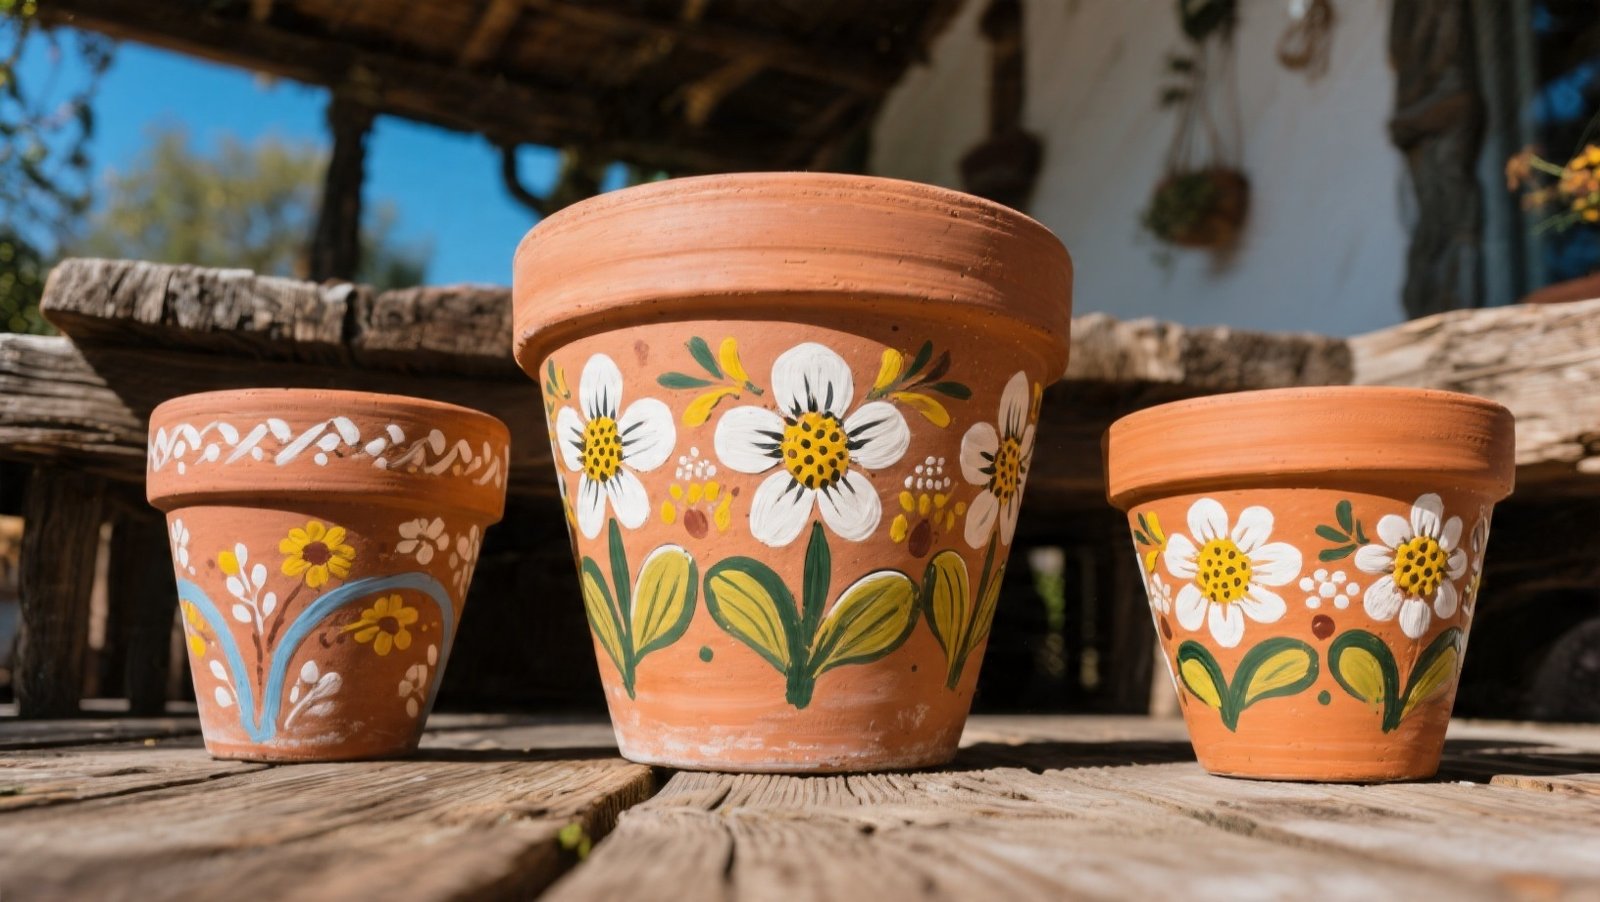
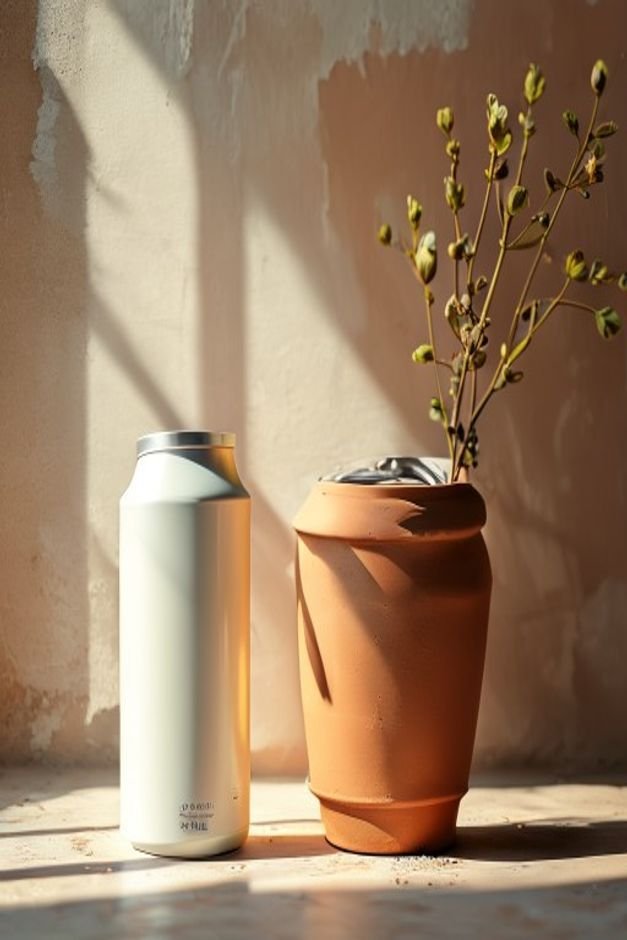
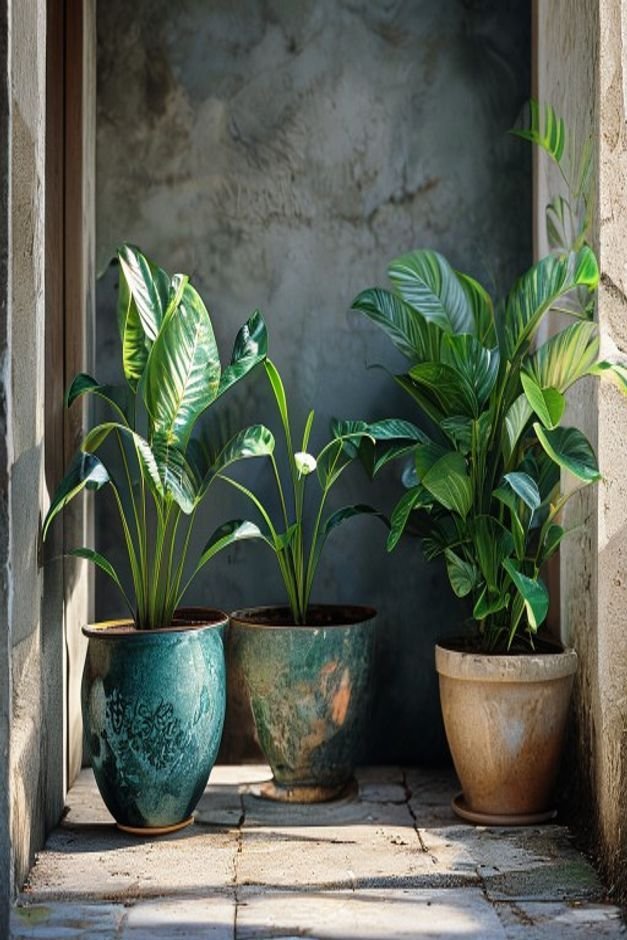
- 5. Strategize Your Color Palette: Think beyond a single color. Choose hues that complement your home’s exterior, patio furniture, or the plants you intend to pot. A cohesive color scheme across multiple pots, or even a single pot with a two-tone design, creates a deliberate, styled look. Consider earthy tones for a natural feel, or vibrant shades for a cheerful pop.
Mastering the Brushwork: Layering, Taping, and Textures
How you apply the paint makes a significant difference in the final aesthetic of your painted flower pots.
- 6. Apply Thin, Even Coats: Resist the urge to slather on a thick layer. Multiple thin coats (two to three are usually ideal) will always look smoother, dry more evenly, and be more durable than one heavy coat. Allow each layer to dry completely before applying the next. This prevents drips, brushstrokes, and a clumpy appearance.
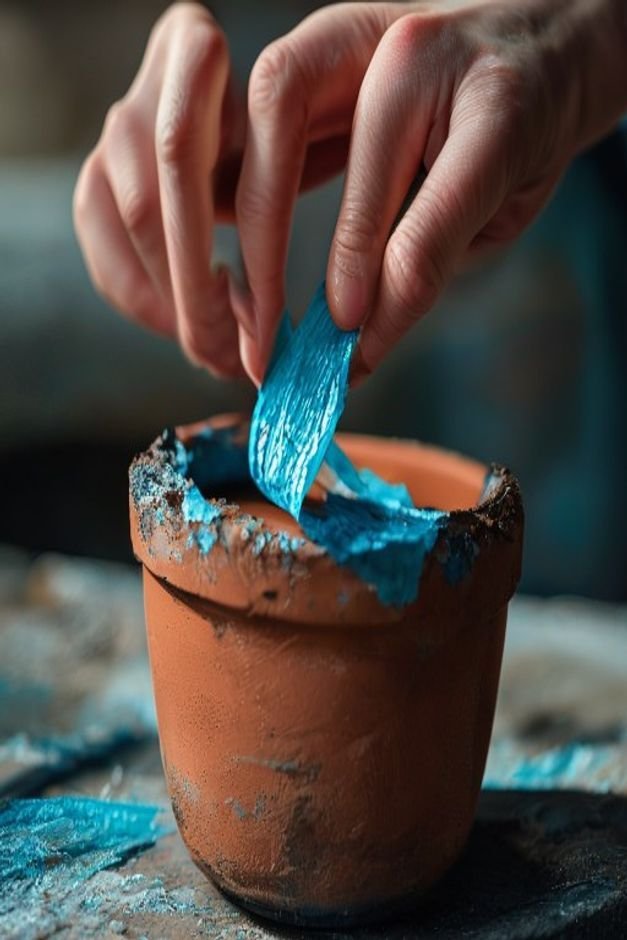
- 7. Achieve Crisp Lines with Painter’s Tape: For geometric patterns, stripes, or color blocking, painter’s tape is your best friend. Apply it firmly to create precise edges. Once the paint is dry to the touch, slowly peel off the tape at a 45-degree angle for a razor-sharp line. This simple trick instantly upgrades any design.
- 8. Add Subtle Texture: For a more interesting tactile and visual appeal, consider adding texture. You can mix fine sand or grit into your paint for a subtle, earthy finish. Alternatively, use a stippling brush or sponge for a mottled effect. A light dry-brush technique can also create a weathered, rustic look that adds depth.
Sealing for Longevity and Luster: Topcoats and Finishes
The final protective layer not only ensures durability but also defines the pot’s visual finish.
- 9. Apply a Clear Exterior Sealant: This is non-negotiable for longevity. Once your paint is fully cured (which can take several days), apply two to three coats of a clear, waterproof exterior sealant. This protects the paint from UV rays, moisture, and general wear and tear, preventing chipping and fading.
- 10. Experiment with Finishes (Matte vs. Gloss): Sealants come in various finishes – matte, satin, or gloss. A matte finish offers a sophisticated, understated look, while a gloss finish provides a vibrant, polished shine that makes colors pop. Consider the overall aesthetic you’re aiming for and choose accordingly. A mix of finishes among grouped pots can also create visual interest.
Beyond the Paint Brush: Adding Structural Details
Sometimes, the little extras make the biggest impact.
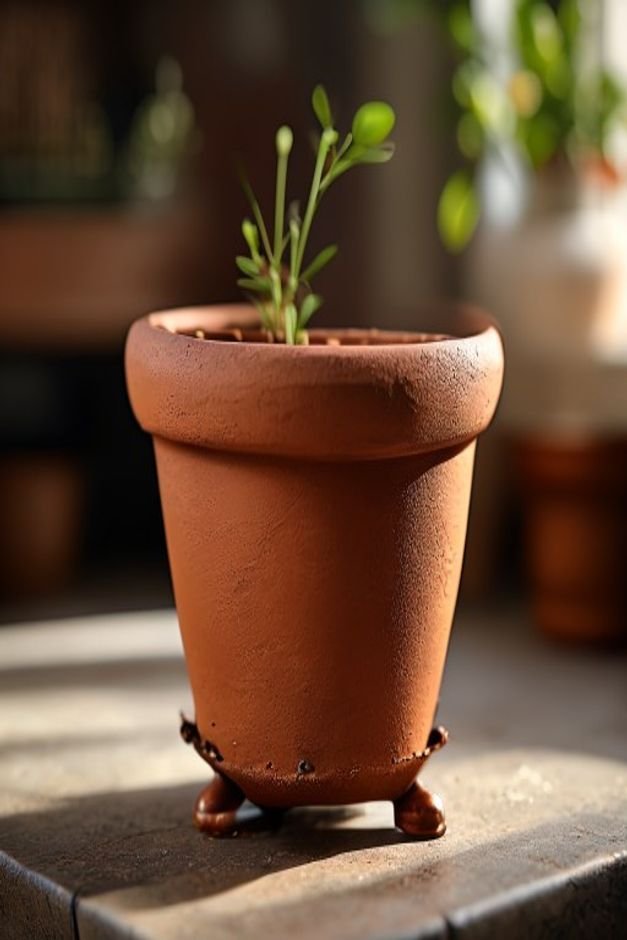
- 11. Attach Decorative Feet: Elevating your pots slightly off the ground with small, decorative feet (made of metal, ceramic, or rubber) serves multiple purposes. It improves drainage and air circulation, preventing moisture buildup under the pot. Aesthetically, it adds a touch of elegance and makes the pot look more substantial and thoughtfully designed.
- 12. Consider Subtle Hardware or Stenciling: For a truly bespoke feel, add small, weather-resistant hardware like a simple handle or a decorative medallion. Alternatively, use stencils to add a subtle pattern or motif. Choose designs that complement your pot’s style and don’t overpower the plant. Less is often more for a refined look.
Intentional Plant and Pot Pairings
The plant and the pot should enhance each other, not compete.
- 13. Choose the Right Plant for the Pot’s Style: A beautifully painted pot deserves a plant that complements its character. A bold, architectural plant might suit a minimalist, modern pot. A delicate, trailing plant could soften a rustic, textured pot. Consider the plant’s foliage, flower color, and growth habit in relation to your pot’s design. The goal is a harmonious pairing that creates a cohesive display.
The Overlooked Essential: Drainage and Functionality
A beautiful pot must also be a healthy home for your plants.
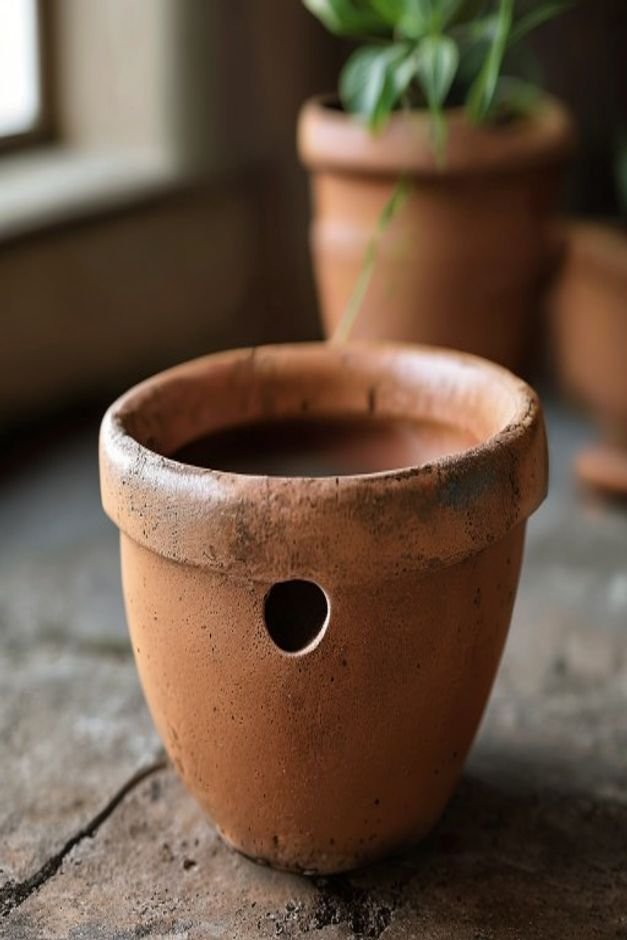
- 14. Ensure Proper Drainage: This is critical for plant health and, by extension, the longevity of your pot. Most pots come with drainage holes, but if yours doesn’t, drill one or two carefully at the bottom using a masonry drill bit. Good drainage prevents waterlogging and root rot, ensuring your plant thrives and your painted pot doesn’t suffer from constant moisture exposure at the base.
Bringing It All Together
Achieving a polished look for your painted flower pots isn’t about grand gestures; it’s about a series of thoughtful, practical steps.
From meticulous surface preparation to selecting the right paints and sealants, and finally, adding those subtle finishing touches, each upgrade contributes to a result that feels intentional and complete. These aren’t just decorative items; they’re integral elements of your outdoor styling.
By implementing these 14 easy upgrades, you’re not just painting a pot; you’re crafting a lasting piece of garden artistry that enhances your home’s curb appeal and brings joy for seasons to come.