We’ve all been there: you pour your heart into a creative project, only to step back and feel like it still looks… well, handmade. Especially with flower pot crafts, that initial burst of creativity can sometimes fall short of a truly polished, finished look.
It’s not about being a professional artisan; it’s about understanding a few simple upgrades that refine your work from charmingly rustic to thoughtfully designed.
This guide shares nine practical ways to elevate your flower pot crafts, ensuring they add genuine curb appeal and style to your home, inside or out. We’ll explore techniques that bring a sense of intention and completeness, transforming your creations into sophisticated garden accents.

1. Start with the Right Base
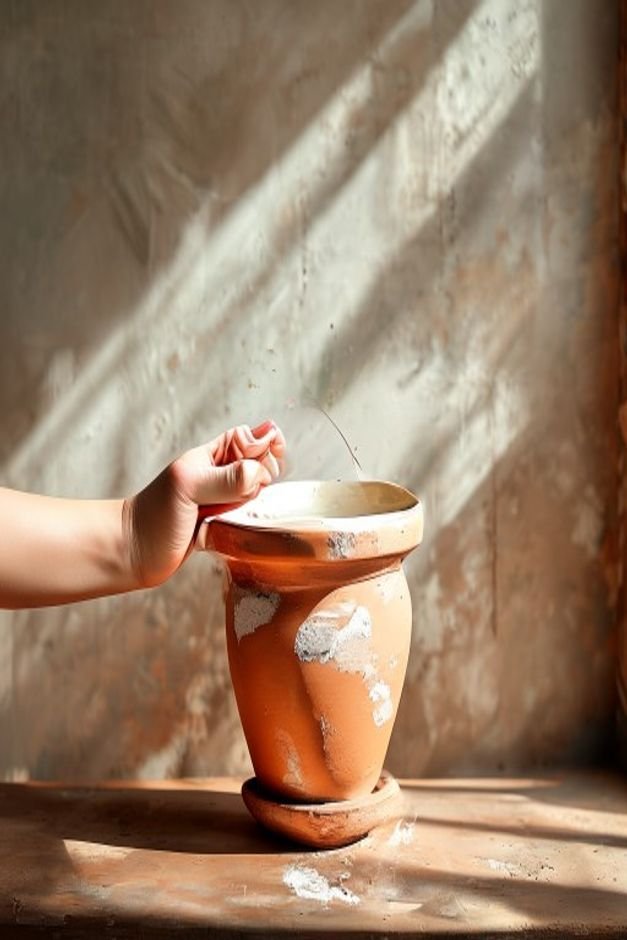
The foundation of any good craft is the material itself. When it comes to flower pot crafts, choosing the right pot from the start makes a significant difference in the final outcome.
Don’t just grab the cheapest option; consider the material, its texture, and how it will interact with your intended design.
Terracotta is classic, offering a porous surface that takes paint well and develops a lovely patina over time. Ceramic pots provide a smoother, more refined canvas, while durable plastic options are lightweight and come in a vast array of shapes.
Always ensure your chosen pot is clean and dry before you begin. A quick wipe-down and a light sanding can prep the surface perfectly, allowing paints and finishes to adhere smoothly and last longer.
2. Layer Textures Thoughtfully
Beyond a simple coat of paint, adding varied textures can significantly enhance the visual depth of your flower pot crafts. This isn’t about making it busy, but about creating interest that draws the eye and feels good to the touch.
Consider techniques like subtle stenciling with a raised texture medium, or applying a thin layer of fine sand mixed into your paint for a gritty, earthy feel. Wrapping sections of a pot with natural jute twine or thin rope can introduce a rustic, tactile element.
Even distressing a painted surface to reveal the underlying material adds a layer of history and character. Think about how these textures complement the plants they will eventually hold.
3. Use Strategic Paint Washes
Solid blocks of color can sometimes feel flat. Introducing paint washes, glazes, or dry-brush techniques can add incredible dimension and a professional touch to your flower pot crafts.
This approach allows the base material or a previous layer of paint to show through, creating a more nuanced effect.
A simple whitewash can instantly give terracotta a charming, aged Mediterranean look. An antiquing glaze applied over a base color will settle into crevices, highlighting texture and adding depth.
For a weathered appearance, try dry-brushing a lighter color over a darker one, catching only the raised surfaces. These techniques create visual softness and make your pots feel more integrated into the garden landscape.
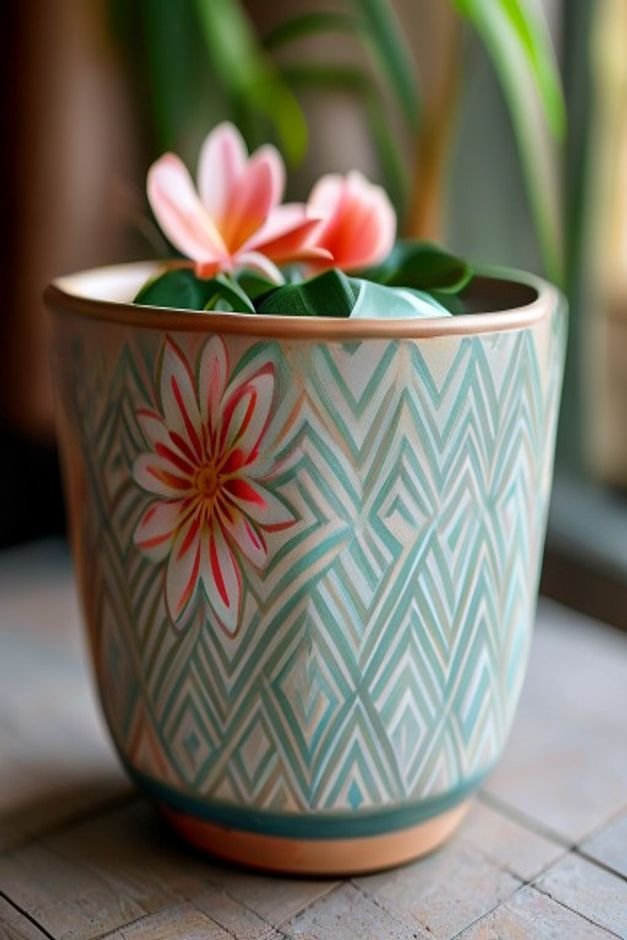
4. Add Decorative Edging and Trim
Just like a well-framed painting, a pot with a defined edge or trim feels more complete. This small detail can make a big impact, elevating your flower pot crafts from raw to refined. It’s about creating a visual boundary that brings a sense of finish.
Consider painting the rim of your pot in a contrasting or complementary color. A simple metallic band, either painted or applied, can add a touch of understated luxury. For a more intricate look, try stenciling a delicate border pattern just below the rim.
Even a thin line of decorative braid or ribbon glued neatly around the top can serve as elegant trim. These small accents draw attention to the pot’s form and the effort you put into its design.
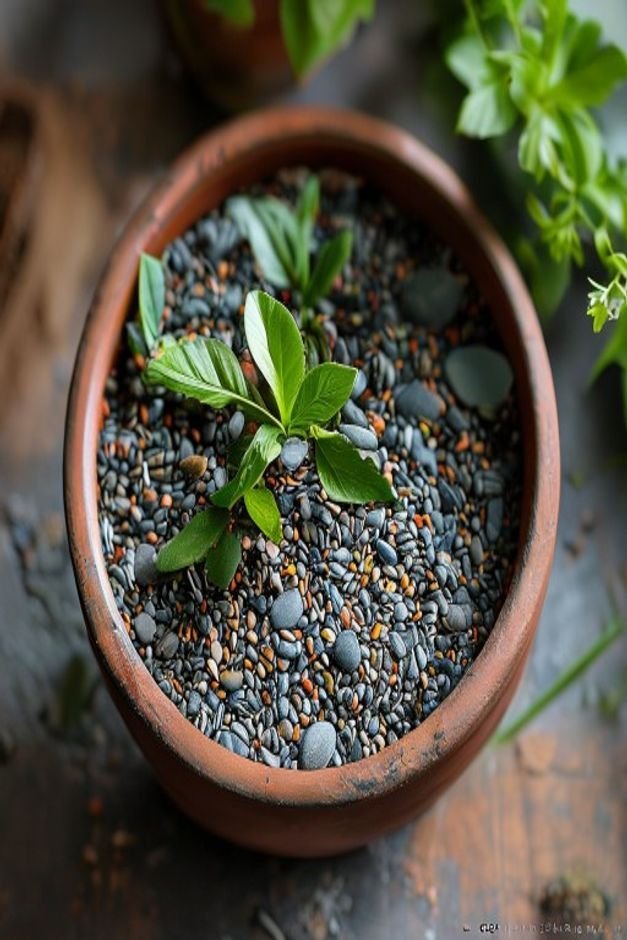
5. Incorporate Natural Elements
To truly integrate your flower pot crafts with their environment, weave in natural elements directly onto the pot. This blurs the line between the container and its contents, creating a cohesive, organic look that feels effortlessly stylish.
Think about using small, flat river pebbles glued around the base or rim for a stone-like texture. Preserved moss can be attached to create soft, green accents. Even small, dried seed pods or thin twigs can be arranged decoratively.
When selecting these elements, choose those that complement your chosen plants and the overall aesthetic of your garden, ensuring a harmonious blend of nature and craft.
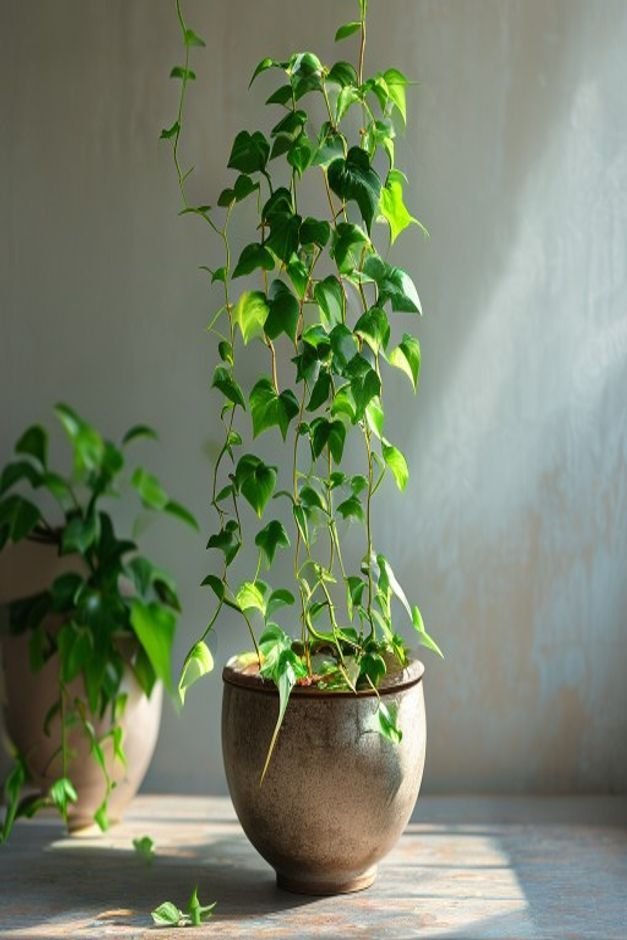
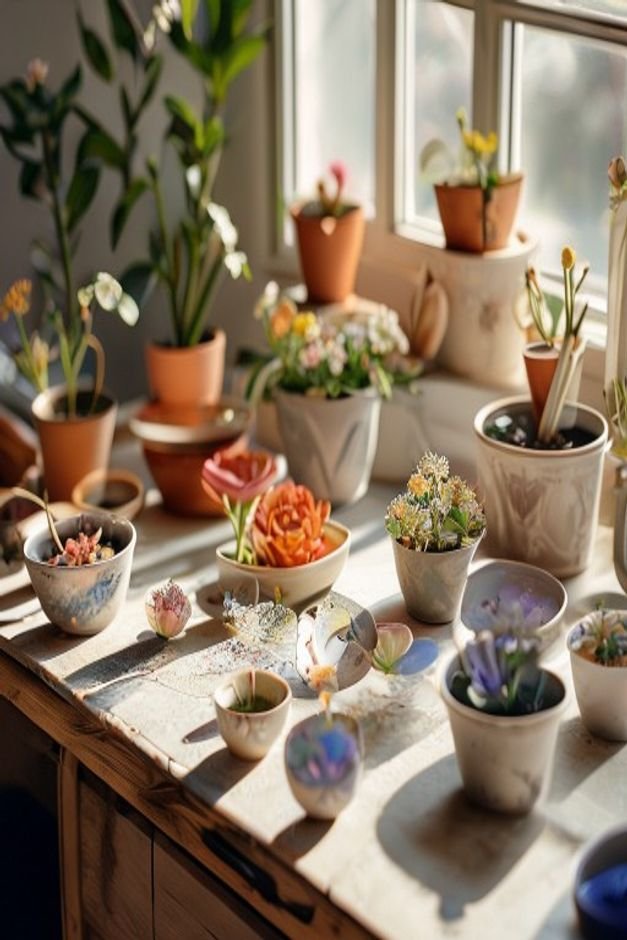
6. Think About Plant Styling
The plant itself is not just an afterthought; it’s an integral part of your flower pot craft. The most beautifully decorated pot can fall flat if the plant choice is mismatched or poorly styled.
Consider the plant’s form, color, and texture as an extension of your pot’s design.
Pair a bold, architectural succulent with a minimalist, geometric pot. Let a cascading ivy trail elegantly from a pot with a gentle, flowing pattern.
Consider the scale: a tiny plant in a massive pot can look lost, while an oversized plant can overwhelm a small container. Think about color palettes—complementary or contrasting hues between the foliage, flowers, and the pot.
The right plant styling brings your entire creation to life.
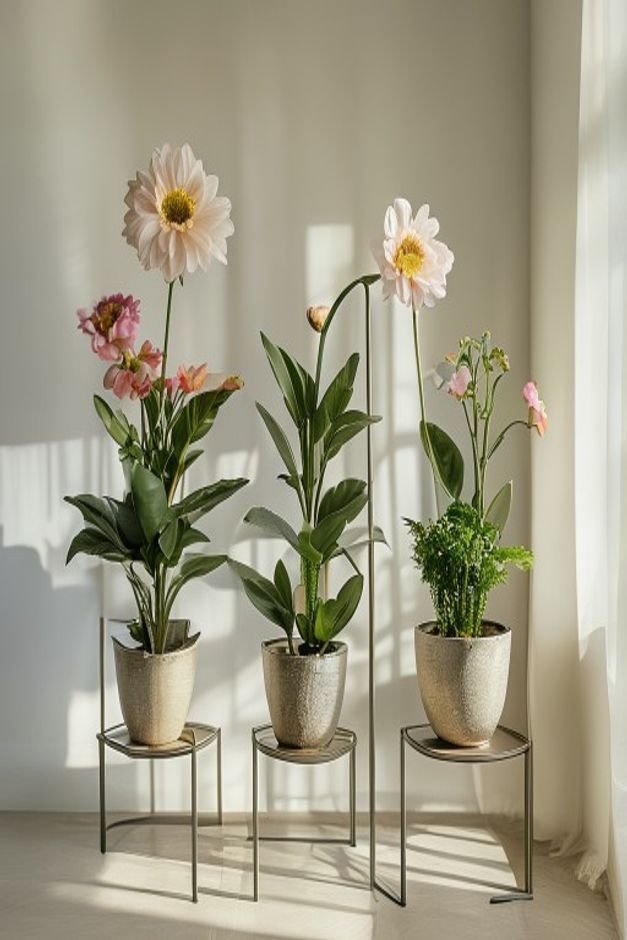
7. Elevate with Smart Stands
A pot sitting directly on the ground can sometimes get lost in the landscape. Introducing plant stands or risers can significantly elevate your flower pot crafts, both literally and aesthetically. This simple upgrade adds height, creates visual interest, and can define distinct planting zones.
Look for minimalist metal stands that lift pots off the ground, allowing for better drainage and air circulation. Wooden risers or small crates can add a rustic charm and varying heights.
Even simple pot feet can make a difference, giving the impression of a more intentional display. Varying the heights of your pots creates dynamic groupings and allows each crafted piece to be appreciated individually.
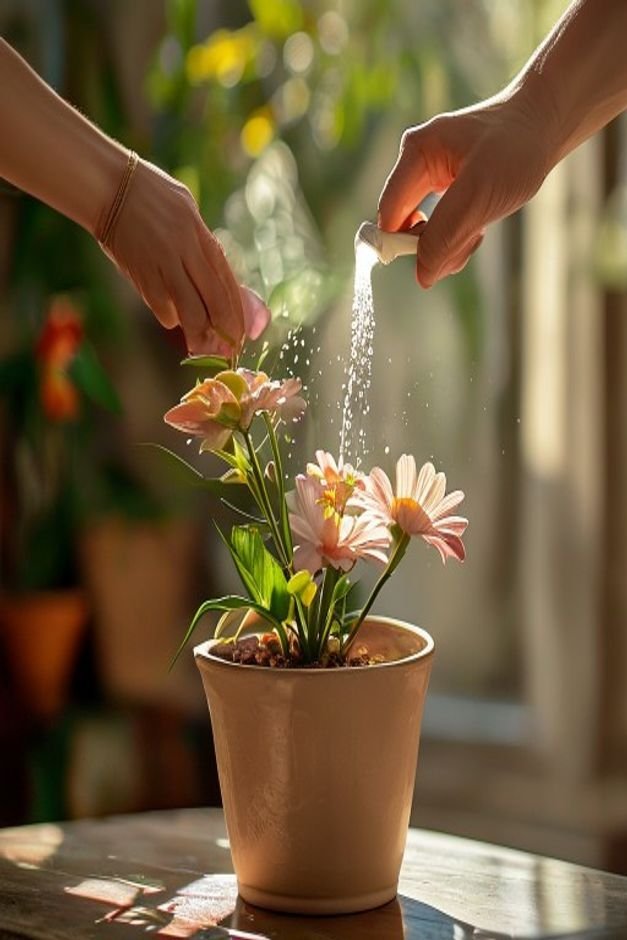
8. Seal for Longevity and Shine
After all your hard work, the last thing you want is for your beautiful flower pot crafts to fade, chip, or deteriorate quickly. A protective sealant is not just about durability; it also adds a finished, professional sheen that makes your work look truly complete.
Choose a clear, weather-resistant sealant suitable for outdoor use. You can opt for a matte finish for a natural, understated look, or a glossy finish to make colors pop and add a polished gleam.
Apply multiple thin coats according to the product instructions, allowing ample drying time between each. This final step protects your artistry from the elements and ensures your flower pot crafts remain vibrant and beautiful for seasons to come.
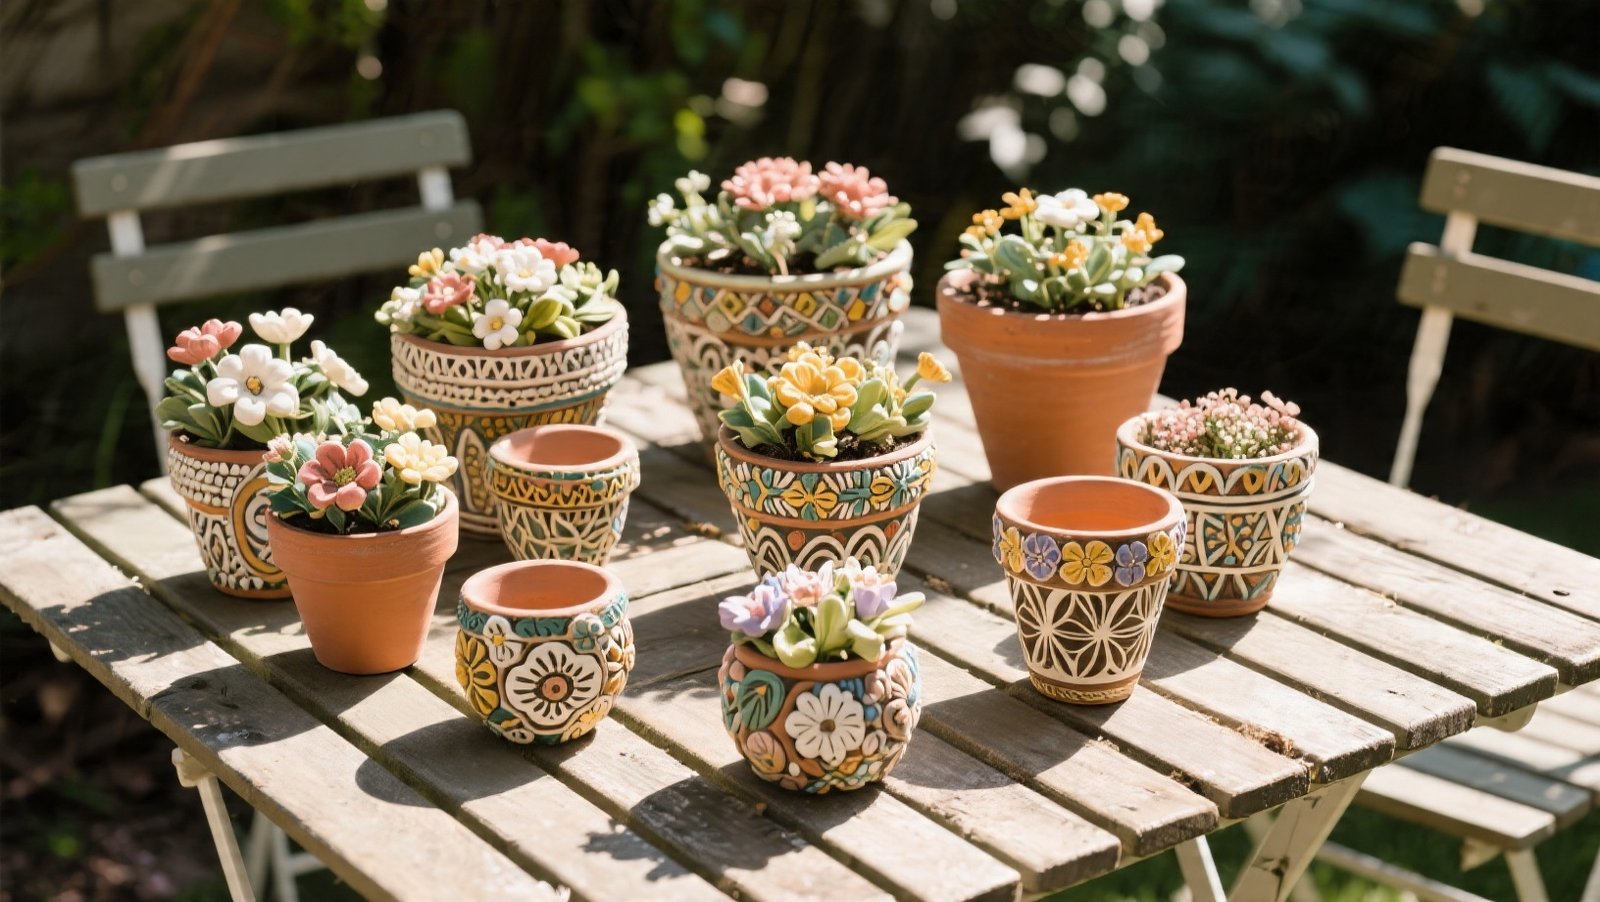
9. Curate Your Flower Pot Crafts Display
Once your individual flower pot crafts are perfected, the final step is to arrange them thoughtfully. A curated display elevates a collection of pots into a cohesive, artistic statement, enhancing your home’s curb appeal and creating inviting vignettes.
Think in terms of groupings. The ‘rule of three’ often works well for visual balance. Vary heights and textures within your arrangement, using stands, risers, and different-sized pots. Consider color palettes; do you want a harmonious blend or a vibrant contrast?
Create a focal point, perhaps with your most striking flower pot craft, and arrange supporting pieces around it. A well-curated display transforms a simple patio or garden corner into a captivating outdoor living space.
Bringing it All Together
Transforming your flower pot crafts from merely handmade to truly finished pieces is all about intention and a few smart techniques.
Each of these upgrades, from selecting the right base to strategically sealing your work, contributes to an overall aesthetic that feels polished and thoughtfully designed.
The beauty lies in the details: the subtle texture, the curated plant pairing, the elegant stand, or the protective finish that ensures your creations endure.
By applying these practical strategies, you’re not just crafting; you’re styling, creating garden accents that enhance your home’s curb appeal and bring lasting joy. Your personalized flower pot crafts will become genuine statements of your outdoor style, admired for their artistry and their refined presence.