9 Easy Upgrades for More Finished Painted Flower Pots
There’s a unique satisfaction in taking a plain terracotta pot and transforming it with a fresh coat of paint. Yet, sometimes, despite our best efforts, the final look can feel a little… unfinished. It’s a common hurdle for many home gardeners and patio stylists.
The vibrant vision in your head doesn’t quite match the reality on the porch, leaving your outdoor decor feeling less than polished.
But achieving that professional, polished look for your painted flower pots is entirely within reach. It’s not about complex artistry, but rather a series of thoughtful, practical upgrades that enhance durability, texture, and visual harmony.
These simple steps ensure your painted creations become genuine accents in your garden and outdoor spaces, rather than just another painted item that fades quickly.
1. Master the Art of Surface Preparation
A beautiful finish starts long before the brush touches the pot. Skipping proper surface preparation is the quickest way to end up with a peeling, uneven result that looks amateurish. Begin by thoroughly cleaning your pots to provide a pristine canvas.
For new terracotta, a good rinse with water and a scrub brush removes dust and loose particles, which can hinder paint adhesion.
For older pots, a gentle wash with mild soap and water, followed by a full dry, is essential to remove dirt, mold, or mineral deposits that could compromise your finish.
Consider a light sanding with fine-grit sandpaper on any rough spots or previous paint remnants to create a smooth, even surface.
This initial effort ensures your paint adheres properly, prevents bubbling or flaking down the line, and lays down beautifully for a smooth, even finish that looks professional.
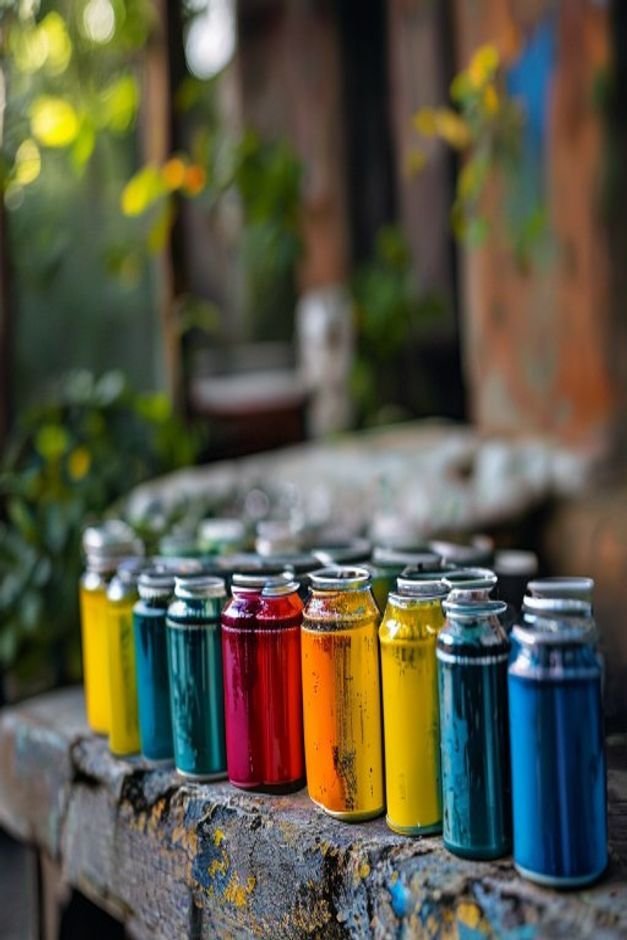
2. Select the Right Paint for Lasting Beauty
The type of paint you choose dramatically impacts both the look and longevity of your flower pot painting. Interior craft paints simply won’t stand up to the elements, quickly deteriorating under sun and rain.
Invest in exterior-grade acrylic paints designed specifically for outdoor use. These paints are formulated to resist moisture, UV rays, and temperature fluctuations, preventing the fading, cracking, and chipping that quickly ruin an indoor paint job.
For a more sophisticated finish, consider mineral paints or chalk paints, which offer a matte, distressed look, but always ensure they are rated for outdoor exposure or are properly sealed afterward.
Quality paint makes all the difference in achieving a durable, finished appearance that holds up beautifully through changing seasons.
3. Layer for Depth and Visual Interest
A single, flat coat of color can often look stark and uninspired. To achieve a more finished, dimensional effect, think in layers. Start with a solid base coat, allowing it to dry completely to ensure proper adhesion.
Then, introduce a second color through techniques like dry brushing, sponging, or a subtle wash. This adds texture and depth, making the pot feel more artisanal and less like a single block of color.
Consider a gentle dry brush technique with a lighter shade for subtle highlights, or a slightly darker wash applied sparingly to create shadows and aged character. These layers add visual richness without overwhelming the original design, giving your pots a handcrafted feel.
4. Embrace the Power of a Protective Sealant
This step is non-negotiable for a truly finished and long-lasting painted pot. A high-quality sealant acts as a protective shield against water absorption, harsh sunlight, and everyday wear and tear, significantly extending the life of your artwork.
Choose an outdoor-grade clear sealant, available in matte, satin, or gloss finishes to suit your aesthetic preference. Apply several thin, even coats, allowing each to dry fully before the next to build robust protection.
This not only safeguards your artwork but also unifies the painted surface, giving it a professional, coherent sheen (or elegant lack thereof, if you prefer matte).
It’s the essential final touch that makes your flower pot painting look truly complete, preventing dullness, chalkiness, or peeling over time.
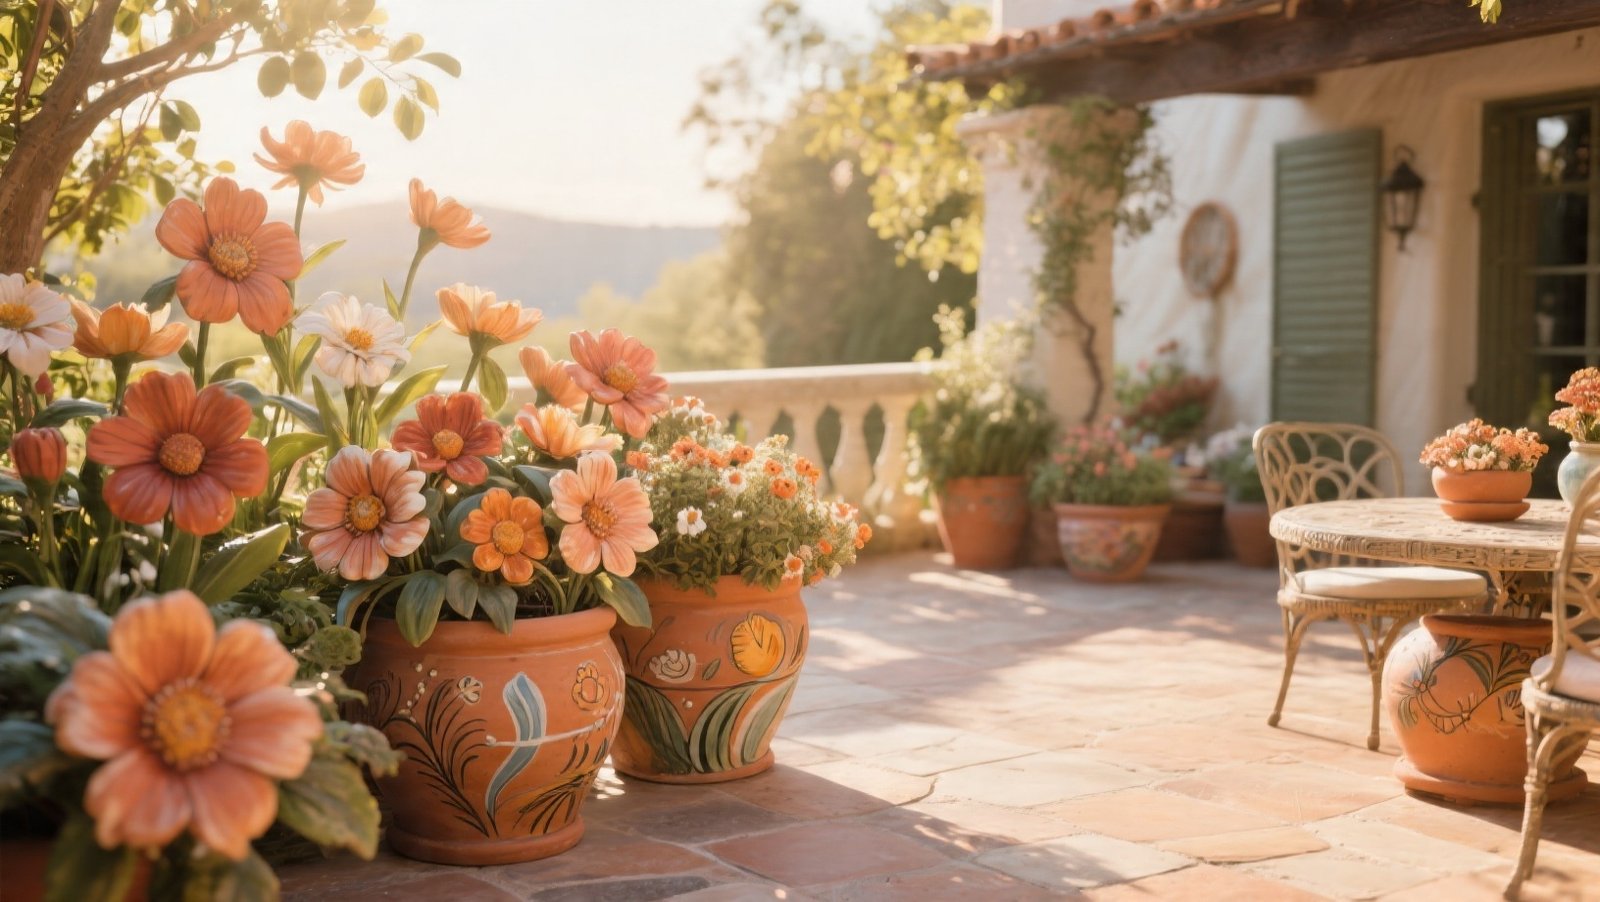
5. Thoughtful Plant Pairing for Harmony
A beautifully painted pot needs a plant that complements its design, not competes with it for attention. Consider the plant’s foliage, flower color, and growth habit when selecting your green companion.
A pot with a bold, intricate design might pair best with a simpler, elegant plant that allows the pot to shine without visual clutter, like a subtle fern or a solid-colored trailing vine.
Conversely, a subtly painted pot can be a perfect canvas for a dramatic, overflowing plant like a vibrant fuchsia or overflowing petunia. Think about color harmonies – cool-toned pots with silver-leafed plants, or warm-toned pots with vibrant red or orange blooms.
The plant and pot should work together seamlessly to create a unified visual statement, enhancing your overall outdoor aesthetic and drawing the eye with harmonious beauty.
6. Adding Architectural Details to Your Flower Pot Painting
Beyond simple color blocks, incorporating subtle architectural details can significantly elevate your painted pots. This doesn’t mean complex frescoes; think simple patterns or textures that add refined structure.
Use painter’s tape to create clean lines and crisp geometric shapes, adding a modern edge or classic banding.
Stencils can introduce elegant motifs, from classic damask to simple botanical outlines, transforming a plain surface into something intricate.
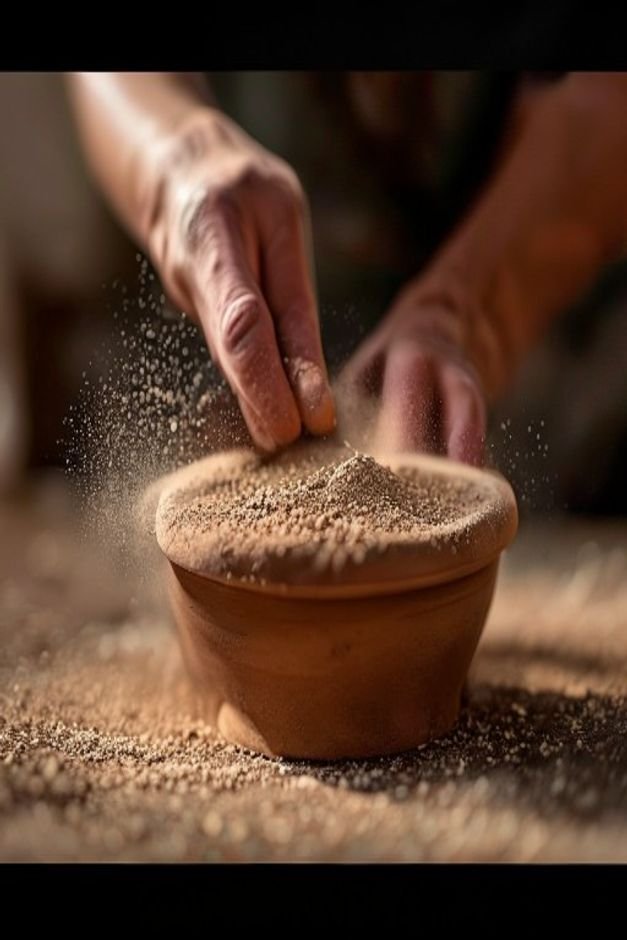
For a textural touch, consider mixing a small amount of fine sand or grout into your paint for a gritty, natural feel on specific areas, mimicking stone or concrete.
These thoughtful additions transform a basic painted pot into a piece of art with structural integrity, making your flower pot painting stand out as truly considered and finished.
7. Grouping and Arrangement Create Impact
One lonely painted pot, no matter how lovely, might not make the statement you desire on a grand porch or expansive patio. Grouping several painted pots together creates a more impactful and finished display, adding visual weight and presence.
Vary the sizes, heights, and even the painting styles of the pots within a cohesive color palette to avoid a monotonous look.
Arrange them in odd numbers – three, five, or seven – for a more natural and visually pleasing composition, creating a dynamic vignette. This approach transforms
individual pieces into a collective art installation, drawing the eye and adding substantial curb appeal to your porch, patio, or garden nook with a curated feel.
8. Consider the Surrounding Environment
Your painted pots aren’t floating in a vacuum; they exist within your home’s exterior and garden landscape. Take cues from your surroundings when choosing colors and styles to ensure a cohesive look. Does your patio furniture feature a particular hue?
Does your home have warm brick, cool stone, or a specific painted siding color?
Selecting colors that echo existing elements or complement them subtly will make your painted pots feel intentionally placed and integrated into the overall design. A pot that harmon
izes effortlessly with its backdrop looks infinitely more finished than one that clashes, creating a seamless and sophisticated outdoor living space that feels curated and thoughtful.
9. Embrace Subtle Embellishments
Sometimes, the smallest details make the biggest difference, providing a sense of completion and personal touch. Once your paint and sealant are dry, consider adding a subtle embellishment to specific pots, especially those in prominent spots.
A length of natural jute twine tied simply around the rim adds a rustic, textural touch that grounds the pot.
Small, polished river stones, sea glass, or even ceramic beads glued strategically can catch the light and add a hint of natural elegance or playful charm. These simple additions aren’t a
bout overwhelming the design but about providing a final, thoughtful flourish that speaks to attention to detail and a truly finished aesthetic, making each pot feel unique and cherished.
Bringing a Polished Look to Your Painted Pots
Achieving a truly finished look for your painted flower pots is less about innate artistic talent and more about a methodical approach to preparation, materials, and presentation. By f
ocusing on surface quality, choosing the right paints and sealants, and integrating your creations thoughtfully into your outdoor spaces, you elevate simple pots into garden statements.
These upgrades ensure your flower pot painting efforts result in durable, beautiful pieces that enhance your home’s curb appeal and bring lasting joy.
Each step, from the first scrub to the final embellishment, contributes to a cohesive, polished result you’ll be proud to display for seasons to come.