9 Easy Upgrades for More Finished Flower Pot Painting
There’s a unique satisfaction in personalizing your outdoor space, and few things offer as much creative freedom as painting your own flower pots. Yet, it’s a common frustration when those hand-painted beauties start to chip, fade, or simply don’t look as polished as you envisioned.
The difference between a charmingly rustic pot and one that looks truly finished often comes down to a few thoughtful steps, not artistic genius.
If you’ve spent hours on a design only for it to fall short, you’re not alone. Achieving that polished, durable finish for your flower pot painting projects is entirely within reach.
It’s about understanding the nuances that elevate a simple craft to a lasting piece of garden art. Here are nine practical upgrades that will give your painted flower pots a professional, enduring look, making them a true asset to your home’s curb appeal.
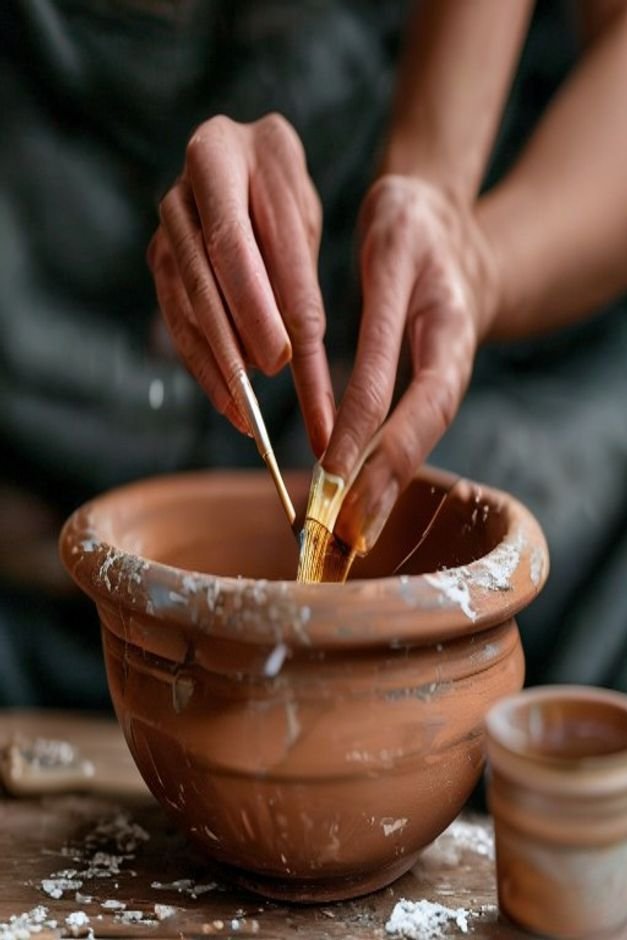
Prepare Your Canvas Thoroughly
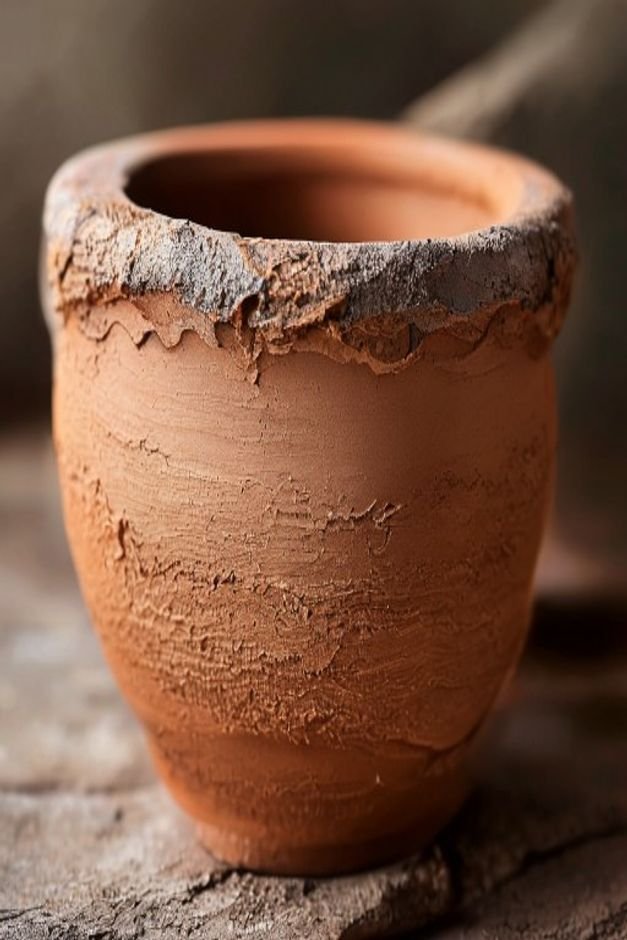
The foundation of any great painting project, especially one exposed to the elements, is impeccable preparation. This isn’t a step to rush or skip. Proper surface prep ensures your paint adheres well and lasts longer, resisting peels and flakes.
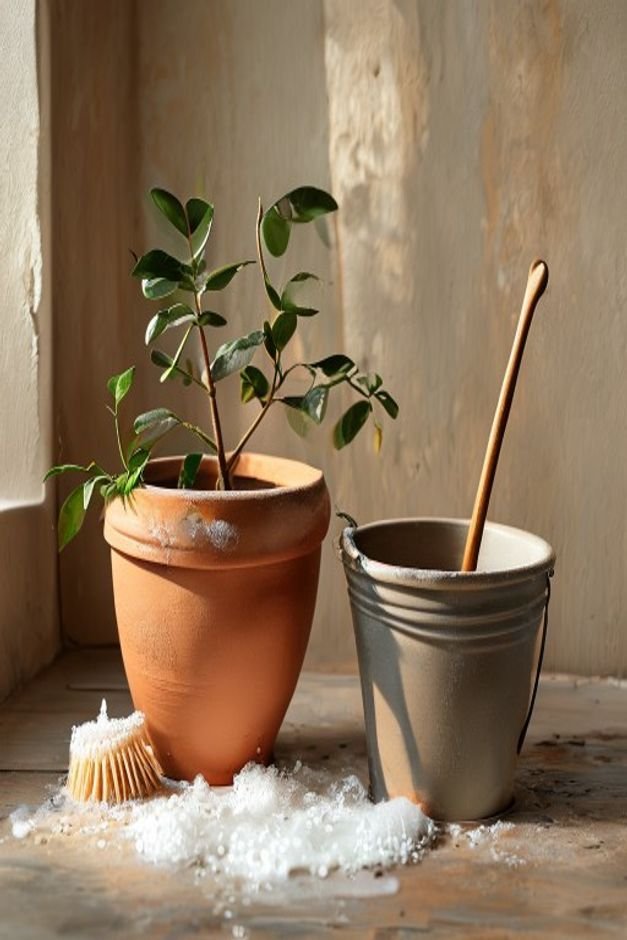
Start by cleaning your pots. Terracotta, ceramic, or concrete pots can accumulate dirt, dust, and even mineral deposits. Use a stiff brush and soapy water to scrub them clean, then rinse thoroughly. For older pots, a diluted bleach solution can help remove mildew or algae.
Ensure the pot is completely dry before moving on, as any trapped moisture will cause adhesion problems.
Next, consider a light sanding. For very smooth or glazed surfaces, a fine-grit sandpaper (around 180-220 grit) creates a slight “tooth” for the primer and paint to grip. This step is often overlooked but makes a significant difference in paint longevity.
Finally, apply a good quality primer. An exterior-grade primer specifically designed for porous surfaces like terracotta or concrete will seal the material, prevent moisture absorption, and provide a uniform base for your chosen colors. Let it cure fully according to manufacturer instructions.
Choose the Right Paint for Outdoor Life
The type of paint you use is paramount for durability. Interior paints simply won’t hold up to sun, rain, and temperature fluctuations. Investing in the correct outdoor-specific product is a non-negotiable upgrade.
Look for exterior acrylic paints, exterior latex paints, or paints specifically labeled for outdoor use on masonry or terracotta. These formulations contain additives that resist UV damage, moisture, and mildew. They are designed to expand and contract with temperature changes, preventing cracks.
While craft acrylics can be used for details, ensure your primary base coats are robust. If you’re using craft paints, always follow up with a strong, outdoor-rated sealant to protect them.
Remember, a paint designed for outdoor furniture or decks often works wonderfully on pots, offering superior resilience.
Embrace Texture with Base Coats
Beyond color, texture adds a layer of sophistication to your flower pot painting. You can create visual interest even before adding intricate designs. A textured base coat gives your pot a tactile quality that feels more substantial and less flat.
One simple method is to use a textured paint, often found in exterior paint lines, which contains fine particles for a subtle grit. Another approach is to mix a small amount of fine sand or grout additive into your base paint.
Apply it with a brush or even a sponge to create a unique, organic feel. This technique can mimic stone, aged concrete, or a rugged natural surface.
Even a simple technique like stippling with a sponge or using a dry brush technique to apply a slightly contrasting second base color can
add depth. These subtle textures catch the light beautifully and make the pot feel more artisanal, even before any detailed artwork begins.
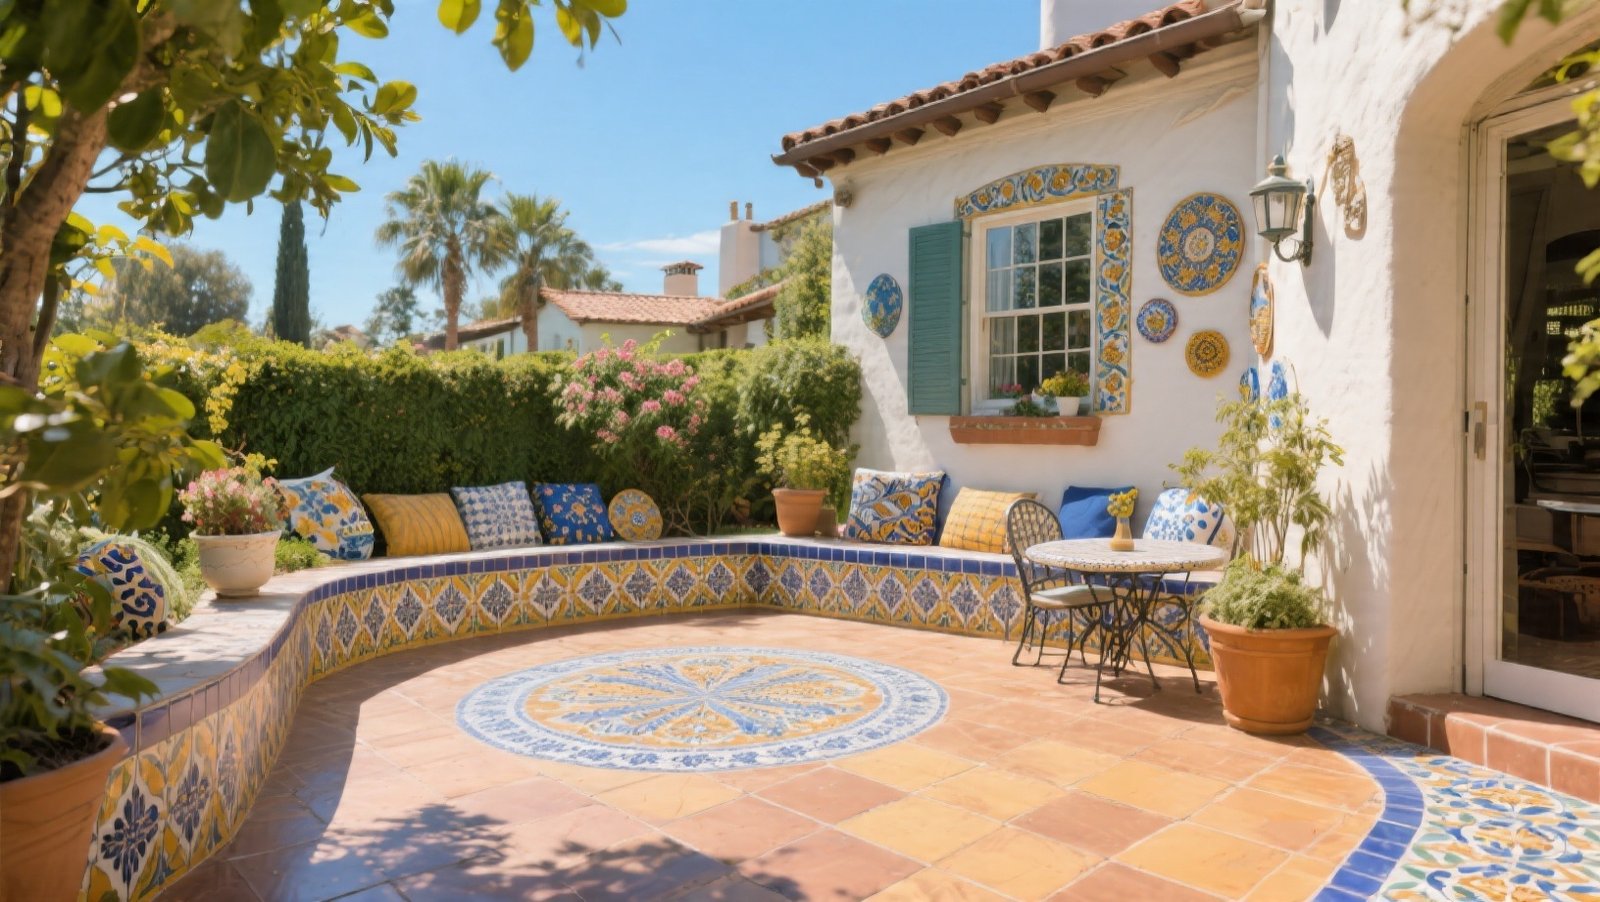
Thoughtful Color Palettes and Plant Styling
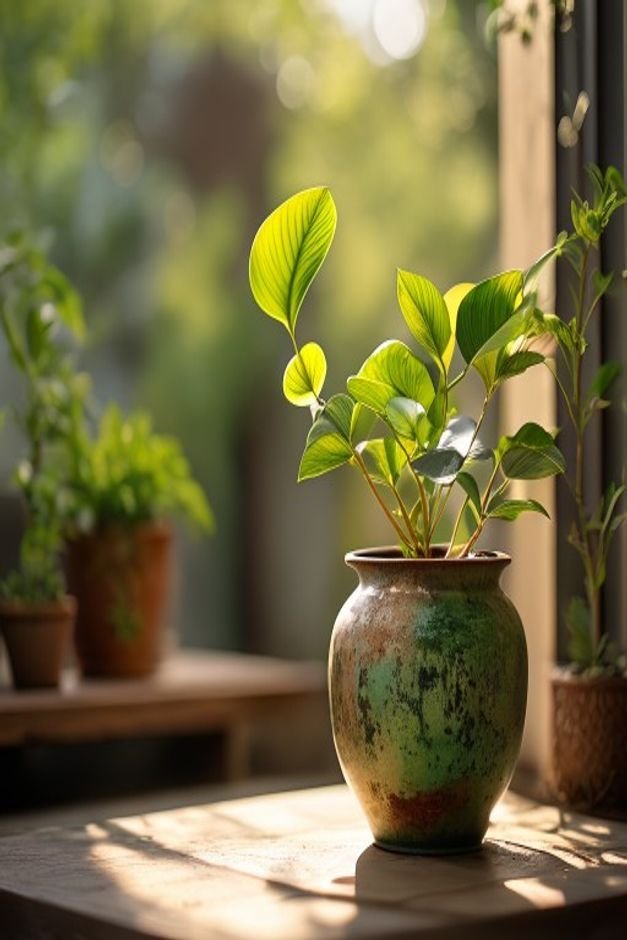
A truly finished pot doesn’t stand alone; it integrates seamlessly with its surroundings and the plant it holds. Consider your home’s exterior colors, garden palette, and the specific plant destined for the pot.
This thoughtful approach elevates your flower pot painting beyond a standalone craft project.
Choose a color palette that complements, rather than clashes, with your home’s aesthetic. Earthy tones, muted greens, soft blues, or warm terracotta shades often blend beautifully with natural garden settings.
If your home has strong architectural colors, pick shades that harmonize or provide a gentle contrast.
Think about the plant itself. A vibrant flowering plant might look stunning in a simple, neutral-colored pot, allowing the blooms to be the star. Conversely, a pot with a bold pattern or color can perfectly frame a lush, green foliage plant.
The pot and plant should enhance each other, creating a cohesive visual statement.
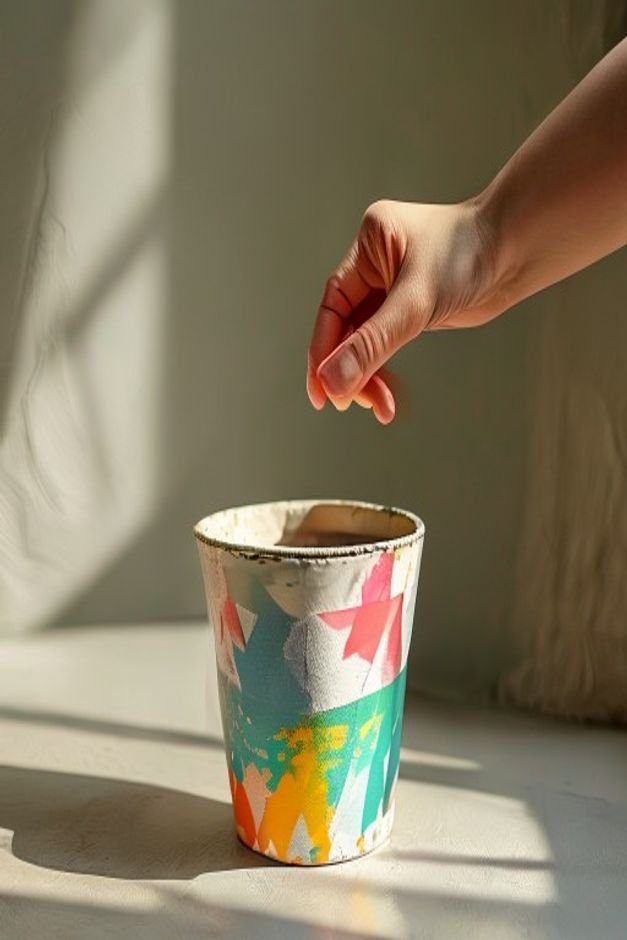
Simple Patterns, Big Impact
You don’t need to be a master artist to create striking designs. Simple, clean patterns often look more refined and professional than overly complex ones. The key is precision and restraint.
Geometric patterns are incredibly effective. Crisp stripes, chevrons, or color-blocked sections can be achieved easily with painter’s tape. Ensure the tape is pressed down firmly to prevent bleed-through, and remove it while the paint is still slightly wet for the cleanest lines.
Dot patterns, created with the end of a paintbrush or a specialized dotting tool, offer a playful yet sophisticated look.
Consider using stencils for more intricate designs. A well-placed botanical stencil, a repeating motif, or even a simple letter can add a personalized touch. The trick is to apply paint thinly with a sponge or a stencil brush to avoid smudging.
Less is often more when it comes to patterns; a single strong design element can be far more impactful than a busy, cluttered surface.
The Power of a Clear Sealant
This is arguably the most critical step for achieving a truly finished and durable painted flower pot. A good quality sealant protects your artwork from the elements, locking in your colors and preventing chips, fading, and water damage.
Opt for an exterior-grade, UV-resistant clear sealant. These come in various finishes: matte, satin, or gloss. Choose one that complements your paint finish. A matte sealant will maintain a natural, unglazed look, while a gloss will give your pot a vibrant, polished shine.
Apply several thin coats rather than one thick one, allowing each coat to dry completely in between. This builds up layers of protection without creating drips or an uneven finish.
Pay particular attention to the rim and base of the pot, as these areas are most exposed to wear and moisture. A properly sealed pot will look vibrant for years, even in harsh weather conditions.
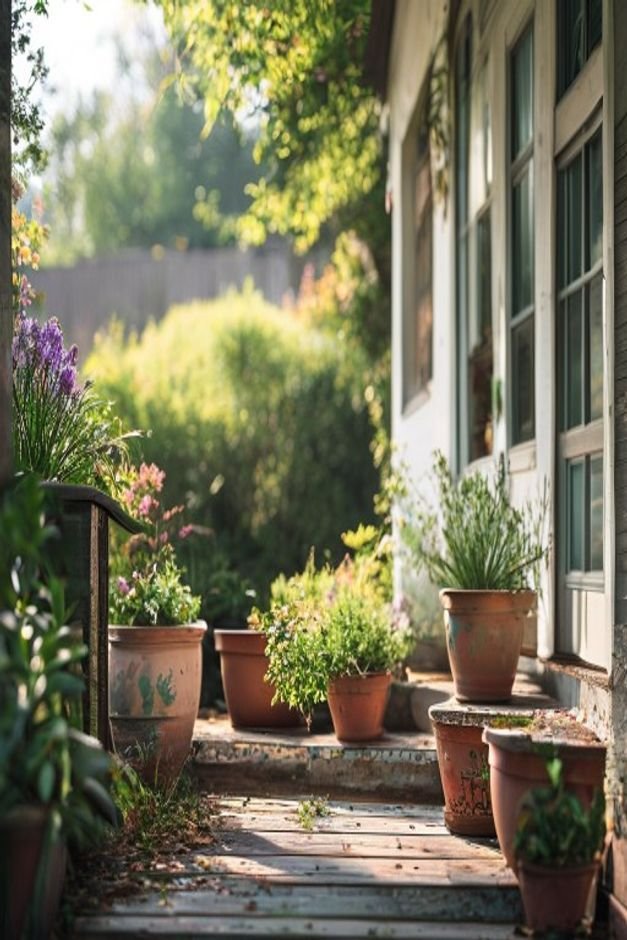
Consider the Pot’s Placement
Where your painted pot sits in your garden or on your patio significantly influences its perceived finish and its longevity. A beautifully painted pot can lose its impact if it’s placed awkwardly or in a location that hastens its wear.
Think about sightlines. Place your most intricate or visually striking pots where they can be appreciated—near an entryway, on a prominent patio table, or at the end of a garden path.
Grouping pots of different sizes but with a cohesive painting style creates a more intentional and impactful display than scattering them haphazardly.
Also, consider environmental factors. While exterior paints are durable, placing a pot under direct, intense sun all day, every day, will naturally lead to faster fading than a spot with some dappled shade.
Similarly, a pot directly exposed to constant rain will experience more wear than one under a covered porch. Thoughtful placement extends the life of your beautiful flower pot painting.

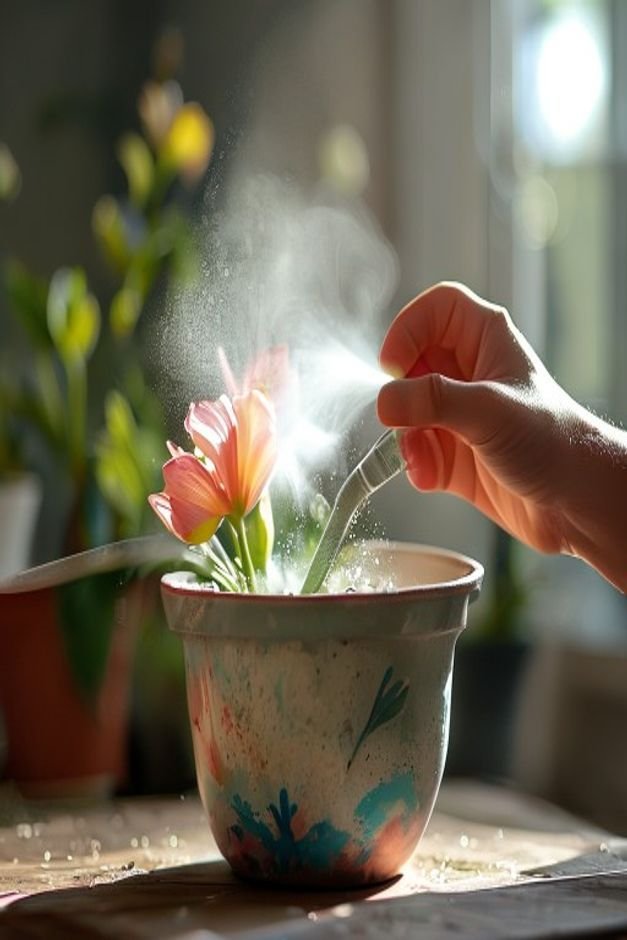
Finishing Touches for Lasting Flower Pot Painting
Once your paint and sealant are dry, take a moment to admire your work and consider any final details that enhance its presentation. These subtle additions can elevate the entire display.
Ensure the plant is properly potted, with soil filled to a consistent level and no unsightly gaps. A layer of decorative mulch, small stones, or even Spanish moss on top of the soil can add a clean, finished look and help retain moisture.
This small detail frames your plant beautifully and hides the raw soil, making the entire arrangement feel more complete.
Regularly wipe down your painted pots to remove dust or dirt. This simple maintenance keeps them looking fresh and vibrant.
By focusing on these upgrades—from meticulous preparation and the right materials to thoughtful design and placement—your flower pot painting projects will transition from simple crafts to sophisticated garden accents, truly enhancing your outdoor living spaces for years to come.