It’s a common scenario: you’ve spent time and effort on a handmade flower pot, but once it’s in place, it just doesn’t quite hit the mark. Instead of looking like a curated garden accent, it sometimes feels, well, a little like a craft project.
The good news is, making your flower pot crafts feel truly intentional, like a natural extension of your home and garden style, is entirely achievable. It’s not about complex techniques, but about thoughtful choices and expert touches that make all the difference.
This guide will walk you through 19 practical ways to transform your flower pot crafts from charming DIYs into polished, purposeful pieces. We’ll focus on design principles that experienced gardeners and stylists use to create curb appeal, enhance texture, and master plant styling.
Get ready to give your handmade pots the sophisticated finish they deserve.
Beyond the Basic Paint Job
A single coat of solid color often falls flat. Think about adding depth and character to your pots. Instead of one hue, layer two complementary shades, allowing the base color to peek through.
Consider texture. Use a stiff brush for a streaky, artistic effect, or dab on paint with a sponge for a mottled, stone-like finish. You can also mix sand or grout into paint for a tactile, gritty surface that mimics natural materials.
A simple glaze or a clear matte sealant can also drastically change the final look, either adding a subtle sheen or a sophisticated, muted finish. These small steps make the pot feel less like a canvas and more like a finished piece of decor.
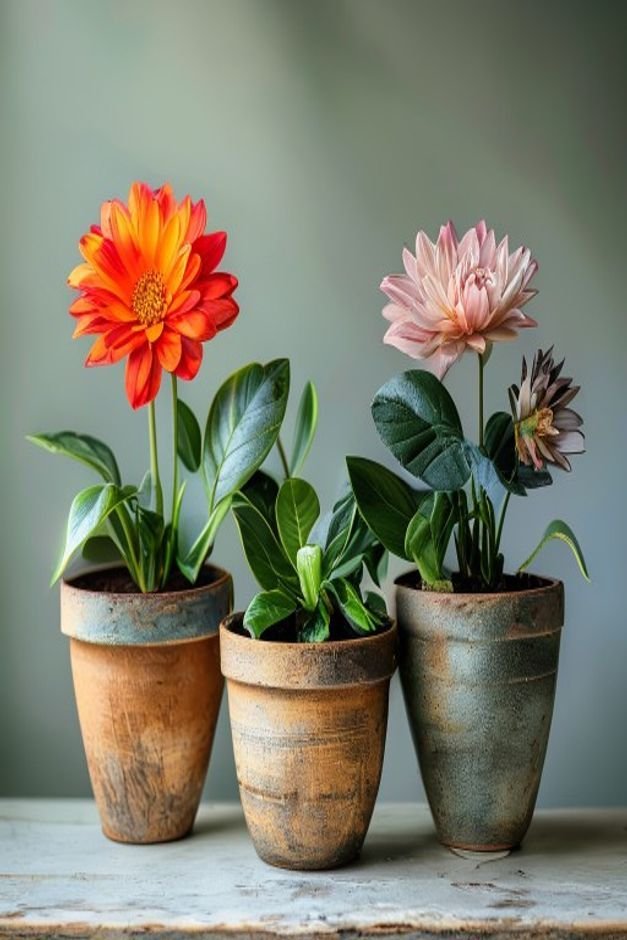
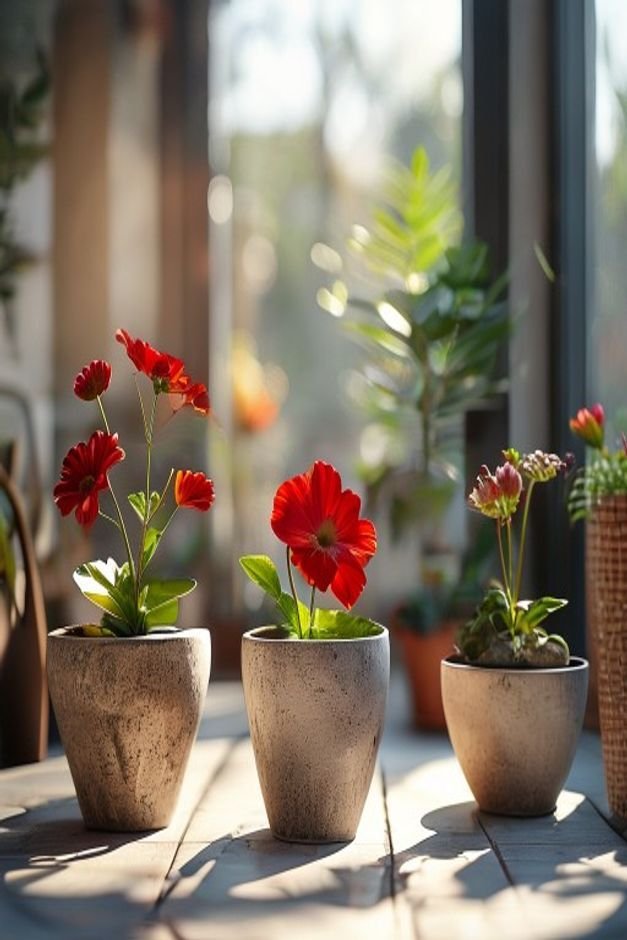
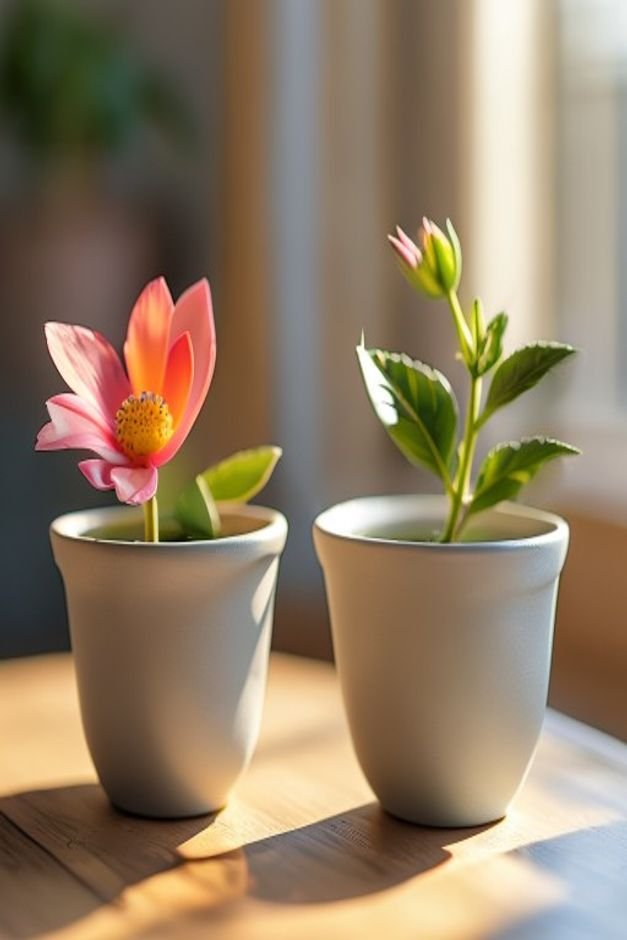
Strategic Plant Pairing
The plant you choose is as much a part of the craft as the pot itself. Don’t just pick any plant; select one that complements the pot’s style, color, and texture.
A rustic, earthy pot might look best with lush, trailing greens or succulents that echo its natural feel. A sleek, modern pot, on the other hand, can highlight a minimalist architectural plant or a vibrant, single bloom.
Consider the plant’s mature size and growth habit in relation to the pot. A plant that dramatically overflows or is dwarfed by its container will disrupt the visual balance. The plant and pot should work together, not against each other.
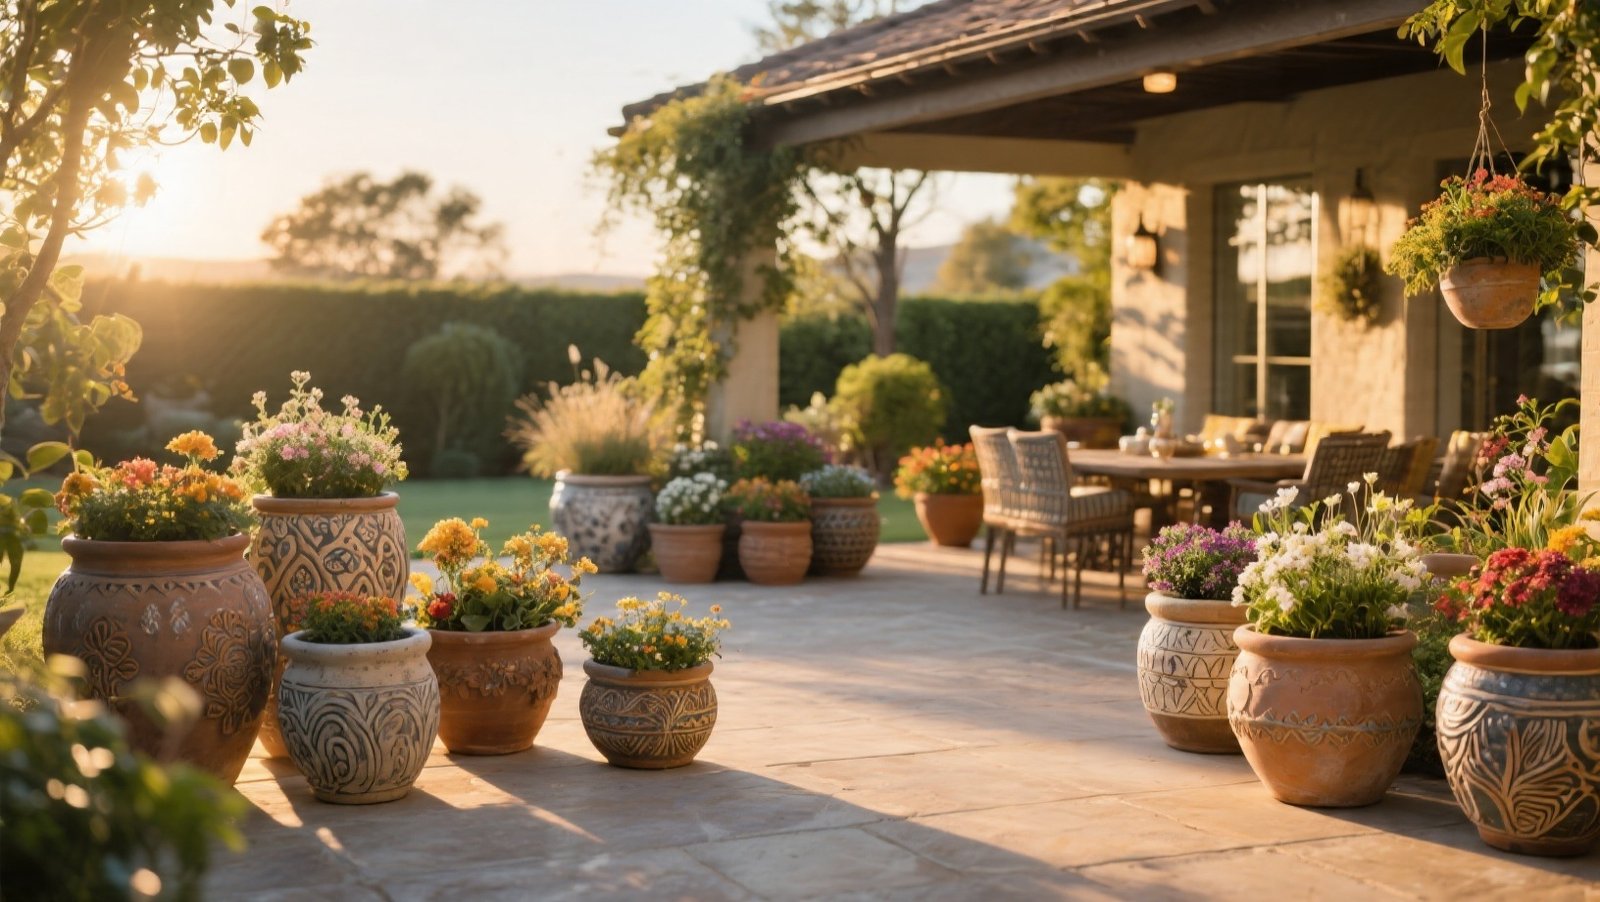
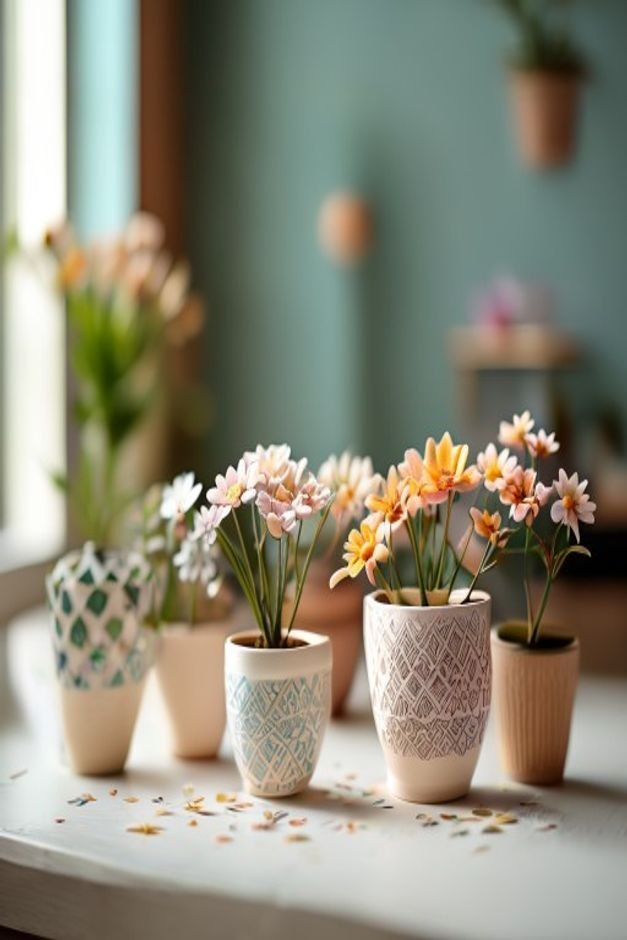
Thoughtful Groupings and Vignettes
One lonely pot can look isolated. Grouping several flower pot crafts together creates a more substantial and intentional display. Vary the heights, sizes, and textures within your grouping.
Use risers, bricks, or smaller pots inverted as stands to add vertical interest. Arrange them in odd numbers – threes, fives, or sevens – as this often feels more aesthetically pleasing and natural.
Think of each grouping as a miniature landscape or a curated still life. This approach transforms individual pots into a cohesive, eye-catching vignette that draws the eye.
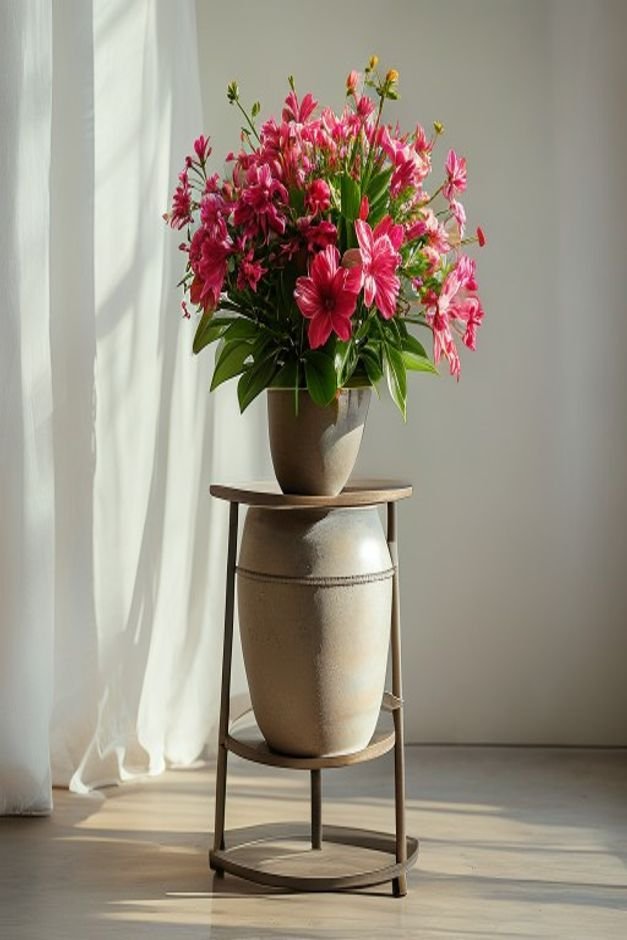
Integrated Hardware and Stands
Elevate your flower pot crafts, literally. Adding sturdy metal stands, elegant wooden risers, or even custom-built platforms can instantly upgrade their presence. This isn’t just about height; it’s about framing and presentation.
Consider adding handles to larger pots for a rustic, utilitarian look, even if they’re purely decorative. Small feet or decorative casters can also be added to the base of pots, lifting them slightly and adding a touch of furniture-like detail.
These hardware additions suggest a level of craftsmanship and permanence that simple pots often lack, making them feel more like designed objects.
Material Mix and Match
Don’t limit yourself to one material for your flower pot crafts. Incorporate elements like mosaic tiles, river stones, twine, or even small pieces of driftwood directly onto the pot’s surface. This adds texture and visual interest.
If you’re painting, consider adding stenciled patterns or freehand designs in contrasting colors. A simple band of jute rope wrapped around the rim of a painted pot can add an unexpected touch of natural texture.
The key is to use these additional materials thoughtfully, ensuring they complement the pot’s overall shape and the plant it will hold, rather than overwhelming it.
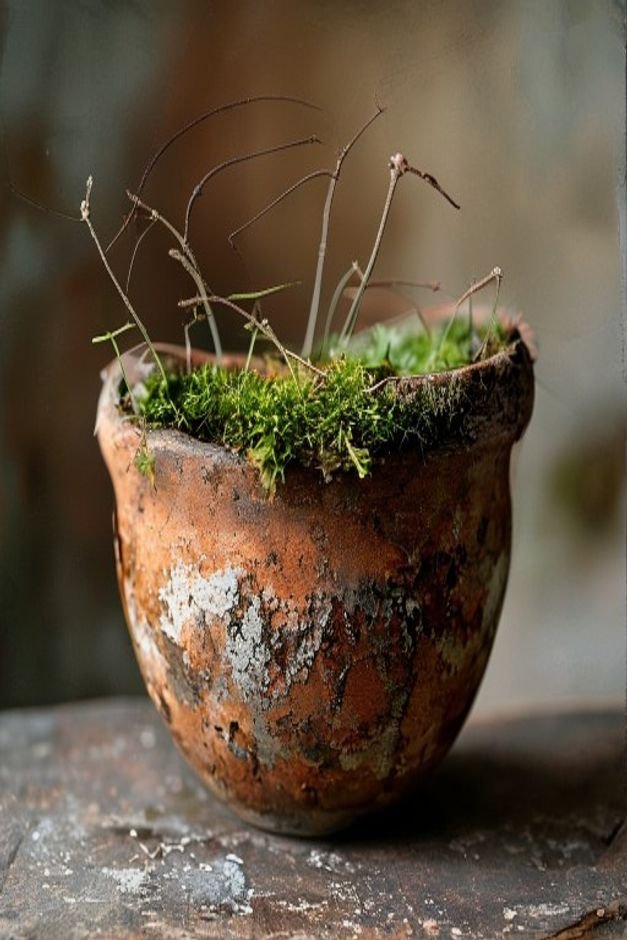
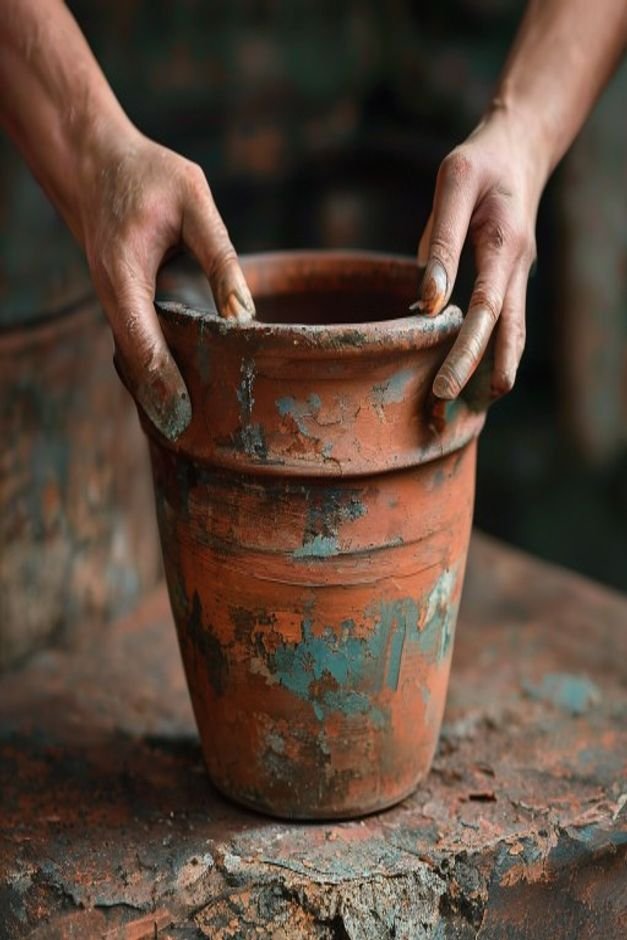
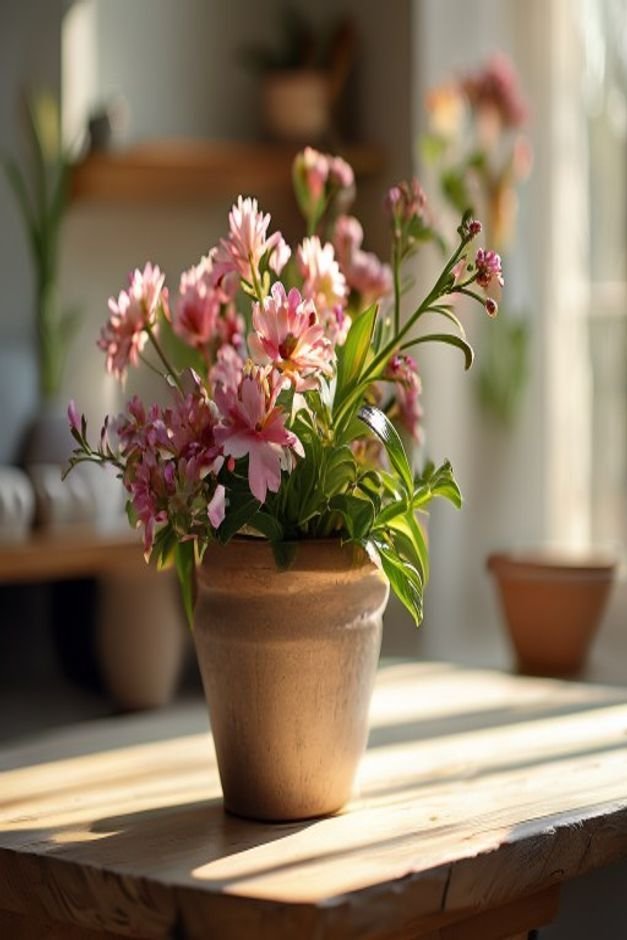
The Art of the Aged Finish
New pots, especially brightly painted ones, can sometimes look too stark. Create an illusion of age and history with intentional distressing and faux patina techniques. Dry brushing with a lighter or darker shade can highlight texture and create depth.
A dilute wash of dark paint or stain can be applied and then wiped away, settling into crevices and giving a weathered appearance. For terracotta, encourage moss or lichen growth with a buttermilk mixture for a truly organic, time-worn look.
These techniques make your flower pot crafts feel like they’ve been part of the garden for years, lending them a grounded, established character.
Subtle Theming and Storytelling
Give your flower pot crafts a subtle narrative. This doesn’t mean literal characters, but a consistent style or inspiration. Are you going for a coastal vibe? Use blues, whites, and natural textures like rope or shells.
A Mediterranean feel might involve terracotta, warm colors, and geometric patterns.
Even a simple color palette applied across several pots can create a strong sense of unity. When pots share a common thread, they feel like they belong together and contribute to a larger design story for your outdoor space.
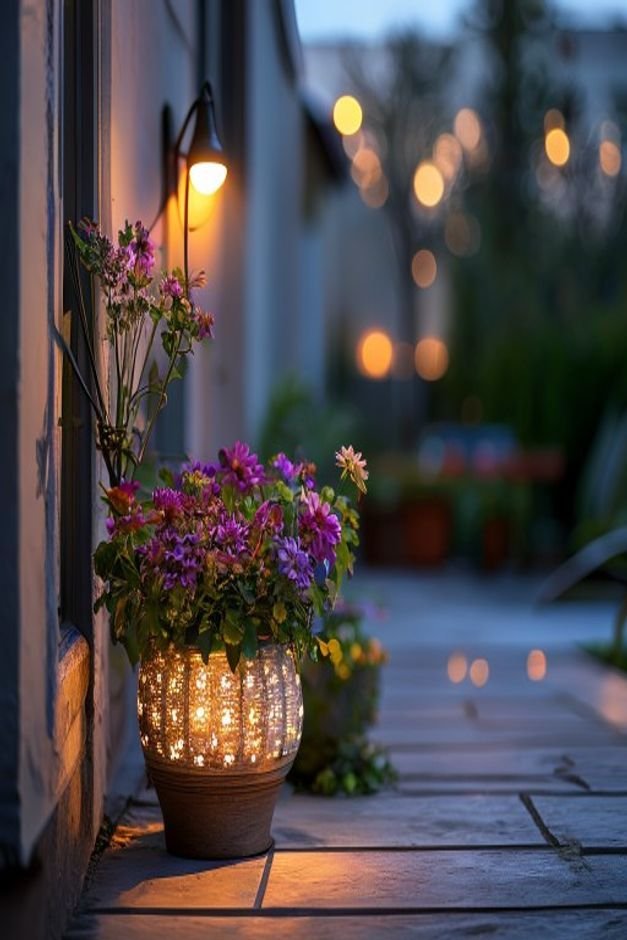
Lighting as an Accent
Don’t let your beautiful flower pot crafts disappear after sunset. Strategic lighting can transform them into evening focal points. Small, solar-powered spotlights can highlight a particularly striking pot and plant combination.
Wrap delicate fairy lights around a grouping of pots or a climbing plant within a larger container. Even a nearby lantern or a string of patio lights can cast a warm glow, drawing attention to their textures and forms.
Thoughtful lighting extends the enjoyment of your garden elements into the evening hours, adding depth and ambiance.
Thoughtful Placement for Curb Appeal
Where you place your flower pot crafts is just as important as how you make them. Consider the context of their surroundings. Do they enhance the entryway, define a patio corner, or soften a bare wall?
Ensure they are visible and accessible, not hidden away. For front-facing areas, think about symmetry: a pair of matching or complementary pots flanking a doorway creates a welcoming and balanced impression.
Placement should also consider the plant’s needs for sun or shade, but always with an eye towards how the pot contributes to the overall aesthetic of your home’s exterior.
Making Your Flower Pot Crafts Shine
Turning a simple DIY into a piece that feels truly intentional is about seeing the bigger picture. It’s about understanding that every choice – from the paint finish to the plant pairing to the final placement – contributes to the overall impression.
By applying these practical, expert-level approaches, your flower pot crafts will no longer just be charming projects. They will become integral elements of your outdoor design, speaking to a thoughtful eye and a love for a beautifully curated home.
These small, deliberate decisions are what transform a collection of pots into a cohesive, envy-worthy garden statement.