There’s a special joy in personalizing your garden or patio with painted flower pots. Yet, sometimes, these creative efforts don’t quite achieve the polished look we envision.
Instead of adding charm, they can sometimes feel a bit unfinished or out of place, detracting from your carefully curated outdoor space.
The good news is that making your painted flower pots truly shine doesn’t require a complete overhaul or advanced artistic skills. With a few thoughtful techniques and practical adjustments, you can easily upgrade their appearance.
We’ll explore 12 simple ways to upgrade your pots, ensuring they enhance your home’s curb appeal and contribute to a cohesive, inviting garden.
Embrace Texture Beyond Paint
Paint offers a world of color, but texture adds depth and character. Moving beyond a flat color coat can dramatically change how your pots feel and look, drawing the eye with subtle detail.
1. Add Stenciled Patterns
A simple stencil can introduce intricate designs without needing a steady hand for freehand painting. Choose geometric shapes, floral motifs, or even a subtle border. Use a contrasting but complementary color for the stencil to make the pattern pop without overwhelming the pot.
Think about where the pot will sit. A busy pattern might work best on a single accent pot, while a repetitive, subtle stencil can tie together a group of containers. Consider natural elements like leaf stencils for an organic feel.
2. Use Sand or Grit in Paint
For a truly tactile and earthy finish, mix fine sand, perlite, or even a little grout into your paint. This creates a textured surface that catches the light differently and feels more substantial.
This technique is particularly effective for achieving a weathered or rustic look. It helps disguise imperfections on older pots and gives a new pot an instant sense of history. Apply in thin coats to build up the desired texture.
Smart Color Choices and Placement
Color is powerful, but how you choose and place it determines its impact. Thoughtful palette selection and strategic grouping can transform individual pots into a cohesive display.
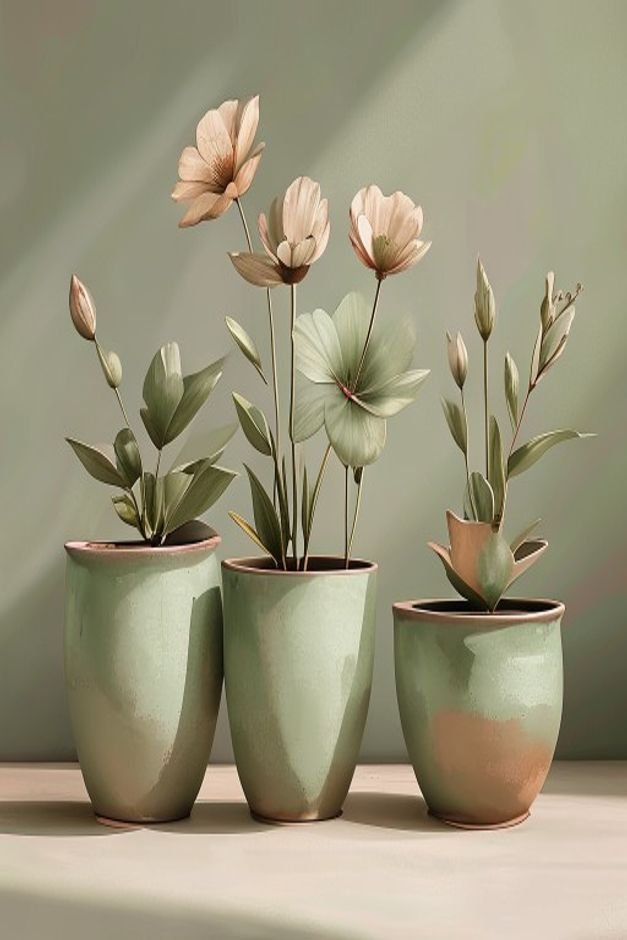
3. Muted and Earthy Tones
While bright colors have their place, muted greens, soft blues, terracotta reds, and warm grays often blend more seamlessly into a garden setting. These sophisticated hues allow the plants to be the star while providing a refined backdrop.
Consider the colors of your home and existing outdoor furniture. Choosing tones that echo these elements creates a harmonious outdoor living space. Earthy tones also tend to age gracefully, looking even better with a little natural weathering.
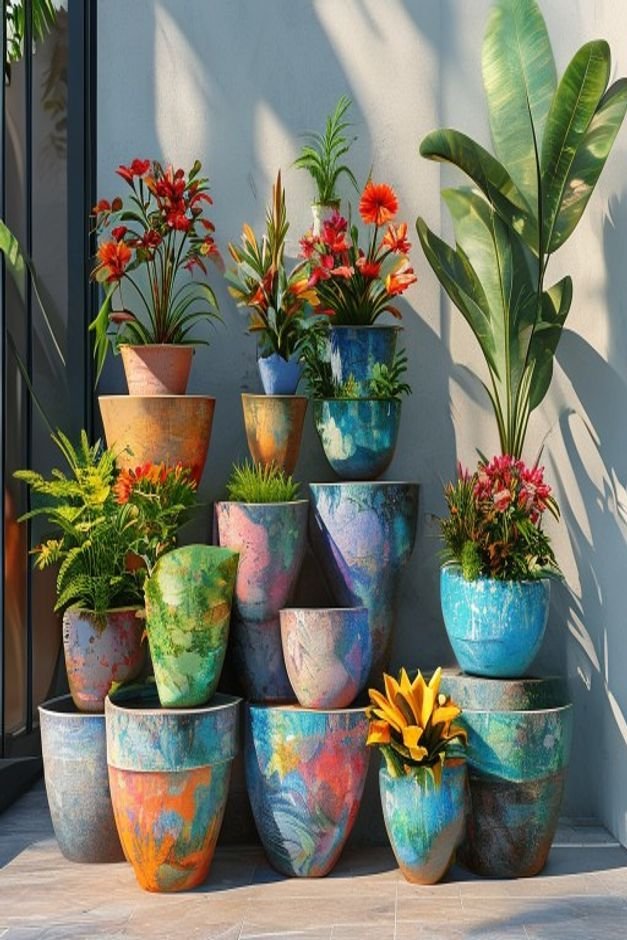
4. Grouping for Impact
A single painted pot can look lonely. Grouping several pots together, even if they are different sizes or shapes, creates a stronger visual statement. This technique makes your display feel more intentional and abundant.
When grouping, ensure the colors complement each other. You can use varying shades of the same color or a palette of two to three harmonious hues. This makes the collection feel unified rather than haphazard.
The Power of Plant Styling
A beautiful pot is only half the story; the plants you choose and how you arrange them are equally crucial. The right plant can make your painted flower pots sing.
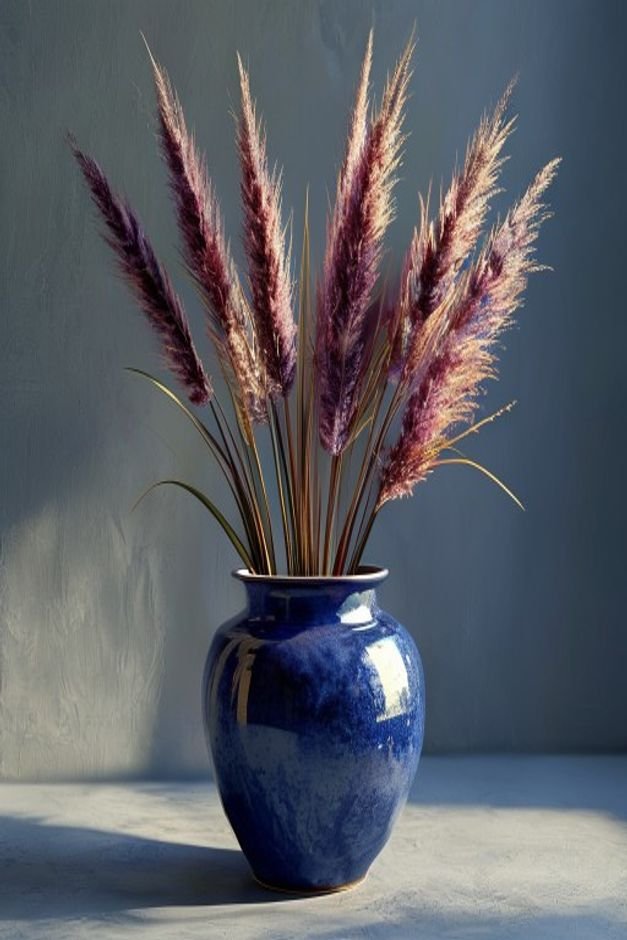
5. Choose Complementary Plants
Think about the overall style of your pot. A geometrically painted pot might pair well with architectural succulents, while a pot with a floral design could host a cascade of petunias. The plant should enhance, not compete with, the pot’s design.
Consider the plant’s foliage color against the pot’s color. Dark green leaves can pop against a light-colored pot, while variegated leaves add interest to a simple, solid-colored container. The goal is a balanced visual appeal.
6. Layering Plants for Dimension
Adopt the “thriller, filler, spiller” approach for a professional look. A “thriller” is a tall, upright plant for the center, “fillers” are mounding plants to fill the space, and “spillers” trail over the pot’s edges.
This layering technique adds incredible dimension and fullness to your containers. It ensures that the pot looks appealing from all angles, creating a lush and abundant display that feels complete.
Finishing Touches for a Polished Look
Sometimes, it’s the small details that make the biggest difference. These finishing touches take your painted flower pots from good to truly great, adding a sense of care and completion.
7. Seal Your Work
Once your paint is dry, apply a clear sealant. This protects the paint from the elements, prevents chipping, and can add a subtle sheen that makes colors appear richer. A matte sealant can also be used for a more natural look.
Sealing extends the life of your painted finish, keeping your pots looking fresh for longer. It’s a simple step that significantly impacts durability and visual quality, especially for outdoor pots exposed to sun and rain.
8. Add Decorative Toppers
Don’t leave bare soil exposed. Cover it with decorative elements like small river pebbles, polished stones, wood chips, or even Spanish moss. This instantly makes the pot look more finished and intentional.
These toppers also help retain soil moisture and suppress weeds. Choose a topper that complements both the pot’s color and the plant it holds, adding another layer of texture and visual appeal.
Strategic Display and Arrangement
How you display your pots can be as important as how you paint them. Thoughtful arrangement can transform a collection of individual pots into a captivating garden feature.
9. Vary Heights and Sizes
Avoid placing all your pots on the same level. Use plant stands, crates, or even sturdy inverted smaller pots to create varying heights. This adds visual interest and prevents a flat, monotonous look.
A dynamic arrangement draws the eye through the display, making the area feel more curated and less cluttered. Play with different combinations until you find a pleasing balance.
10. Integrate with Existing Decor
Your painted flower pots shouldn’t exist in a vacuum. Think about your patio furniture, outdoor rugs, and garden art. Choose paint colors and styles that complement these elements to create a cohesive outdoor room.
This integration makes your pots feel like an intentional part of your overall outdoor design. It ties everything together, creating a sense of flow and a truly finished look for your garden or balcony.
Creative Embellishments
For those who love to experiment, embellishments offer unique ways to add personality and a bespoke touch to your painted pots, making them truly one-of-a-kind.
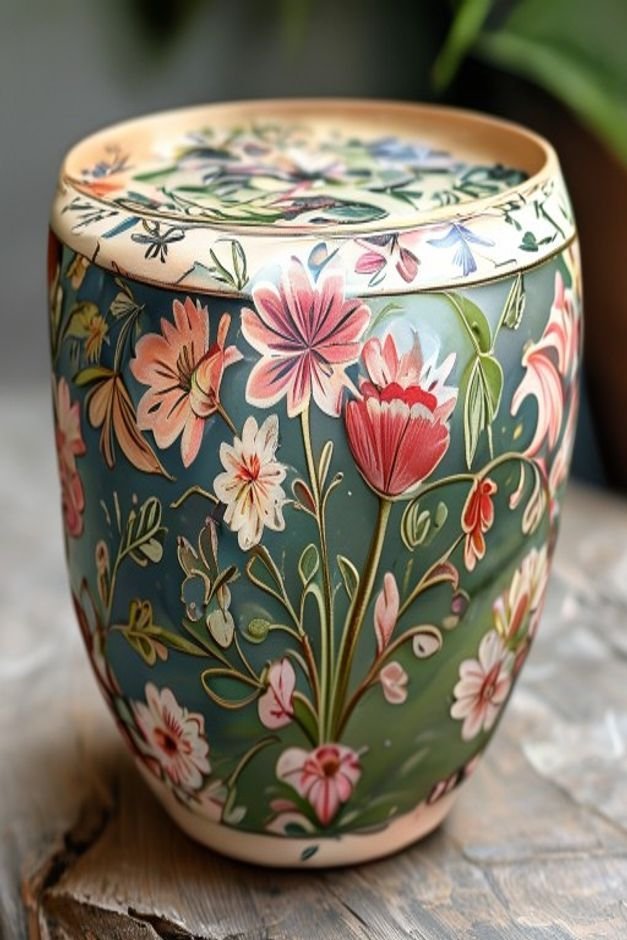
11. Decoupage or Fabric Accents
Beyond paint, consider using decoupage with patterned paper or fabric scraps to add unique designs. This can introduce intricate details or a specific theme that’s hard to achieve with paint alone.
Ensure any paper or fabric used is suitable for outdoor conditions or sealed thoroughly if the pot will be exposed to the elements. This method allows for endless creativity, from vintage botanical prints to bold geometric fabrics.
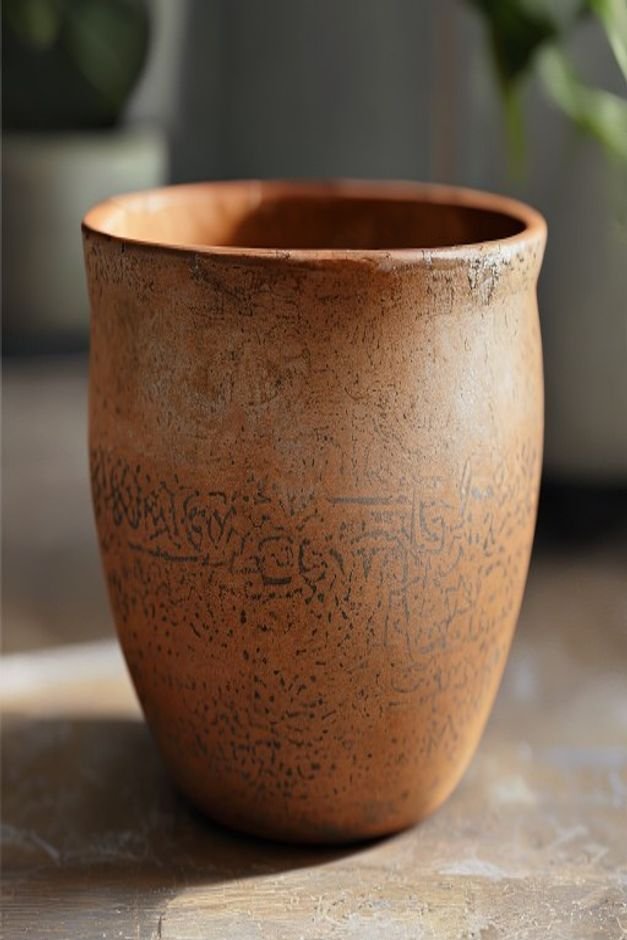
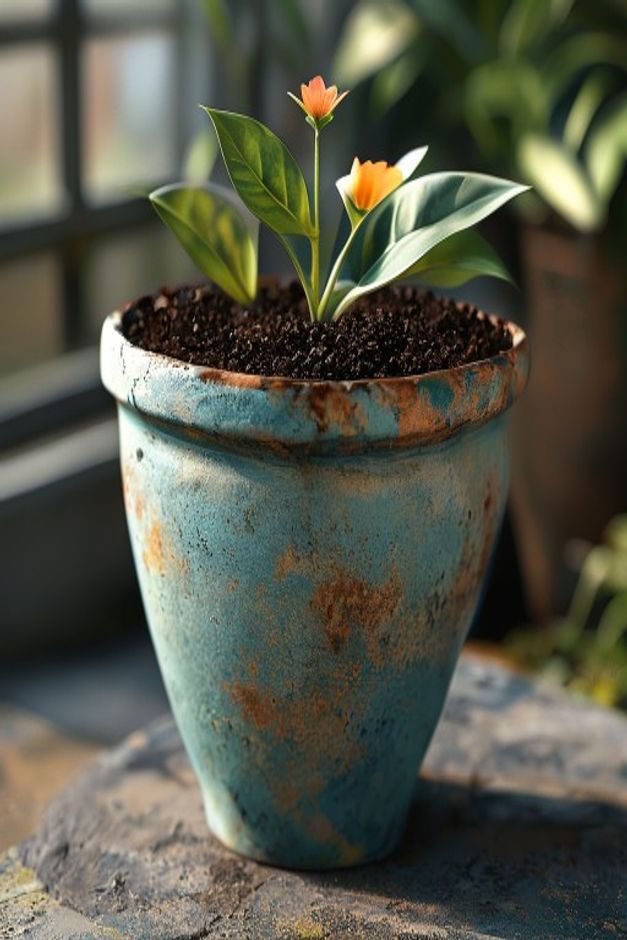
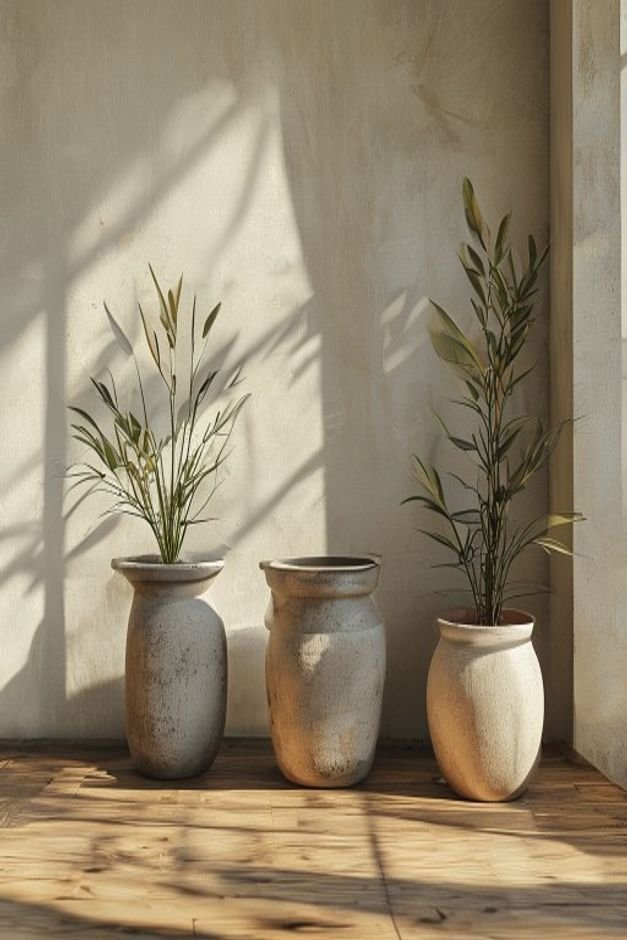
12. Weathered or Antiqued Finishes
Sometimes, the goal isn’t a pristine look, but one that suggests age and charm. Techniques like dry brushing, rubbing back paint, or applying a dark wax can create a beautifully weathered or antiqued effect.
This finish adds character and depth, making a new pot look like a treasured heirloom. It’s especially effective on terracotta pots, enhancing their natural texture and earthy appeal.
Making Your Painted Pots Stand Out
From choosing the right colors and textures to thoughtful plant pairings and strategic placement, there are many simple yet effective ways to enhance your painted flower pots. These aren’t just decorative items; they are opportunities to express your style and create inviting outdoor spaces.
By applying these practical tips, you can ensure your containers truly complement your garden and home. Each step, whether it’s adding grit to your paint or carefully selecting a plant, contributes to a more polished, visually appealing, and harmonious outdoor environment.
Your beautifully painted flower pots will become cherished focal points, reflecting care and creativity.